To access video tutorials for the Form Builder to go alongside the articles, click here.
Customizing your donation form is one of the essential steps to success in Donately. Completing this form will be the last step donors have to take before giving to your cause or organization, and the data entered becomes your primary source of donor data.
Customizing your form is simple! From any page, you'll first need to click on "Forms" from the left-hand menu.
Once you're on this page, you have a few options. The first is to edit the "Account Default" form. Your default form will show on your main Donately page and any Campaign (and attached Fundraiser) page that does not have a unique form attached to it. If you want to have the same form across all Campaigns, you can always edit your Account Default form.
However, if you'd like any of your Campaign pages to have a unique form, you can create another donation form, then attach that form to that Campaign.
Finally, if you are embedding a donation form on your website, you can create an additional version of forms to add Campaign earmarking so as to keep all your donations organized internally.
Before you begin, you need to set a Form Name:
The "Account Default" form's name cannot be changed, but any additional forms will require a unique name. Be sure to make this name easily identifiable so that you're able to find it from the list of forms later.
Here is a full walkthrough of each step of our form builder:
Step 1. Fields
In this section, you'll set the following:
Donation Suggestions
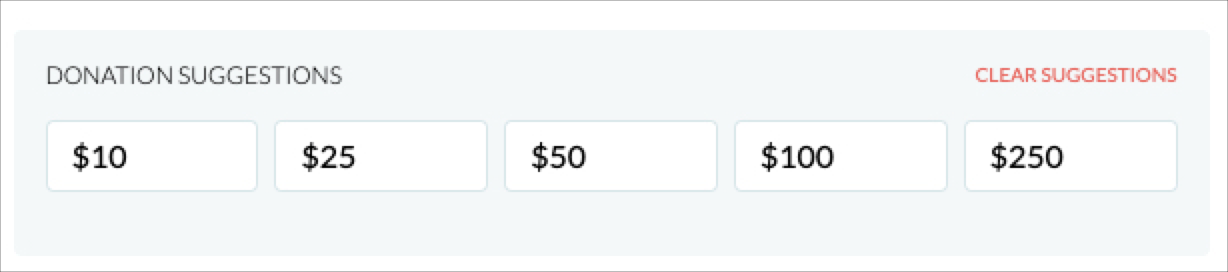
These are the amounts that will show at the top of your form. You need to have at least 2 presets and cannot have more than 5. Our suggestion with presets is to provide a wide range of preset amounts that speak to all levels of donors while keeping it conditional to your Campaign. For example, if you have a Campaign designed to get a large volume of smaller donations, keep that in mind when picking presets!
Default Donation Amount

The default donation amount is what will show inside the donation box when the form loads. By default, if you do not input anything into this section, the form will display $25 as placeholder text. You can also set this to be a specific amount (such as 50 in the example above), or set it to 0 so that the field shows as blank.
Additionally, toggling on "Show Currency Symbol" will add "USD" to the placeholder text if you do not input a value into the Default Donation Amount field.
Frequency Settings
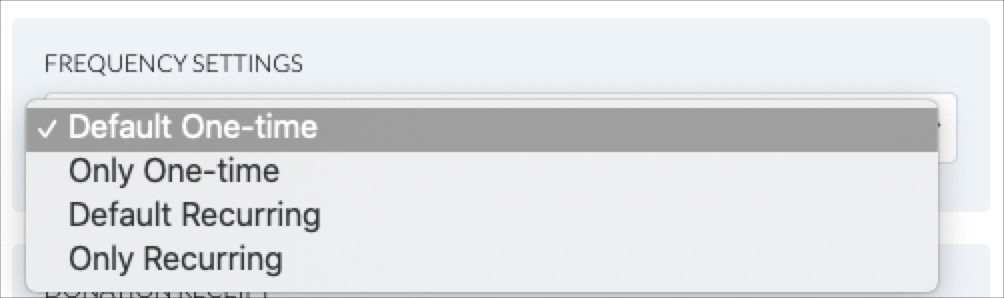
You have four options to choose from here, and the selection will depend on your specific goals. For general donations or broad Campaigns, our suggestion is always to allow the donor the option of either a one-time or recurring donation. However, for specific Campaigns, it may make sense to allow only one-time or recurring donations.
Additional Fields
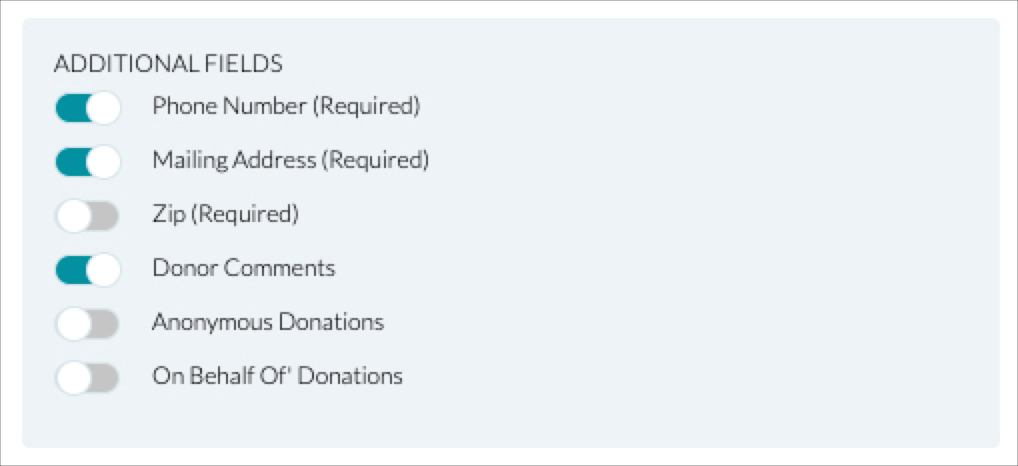
This block is the standard list of fields you can choose to add to your form. On every form, we require first name, last name, and email. If you'd like to add other fields, toggle those on here.
Note that if you require a full address, it's not necessary to select "Require Billing Zip Code" as well, as a zip code is also required in the full address fieldset.
Custom Fields
If there is information you'd like to collect that is not included in the fields above, you can create as many custom fields as you would like.
For a full guide of our custom field builder, please see this article.
Step 2. Payments
In this step, you will:
Payment Methods
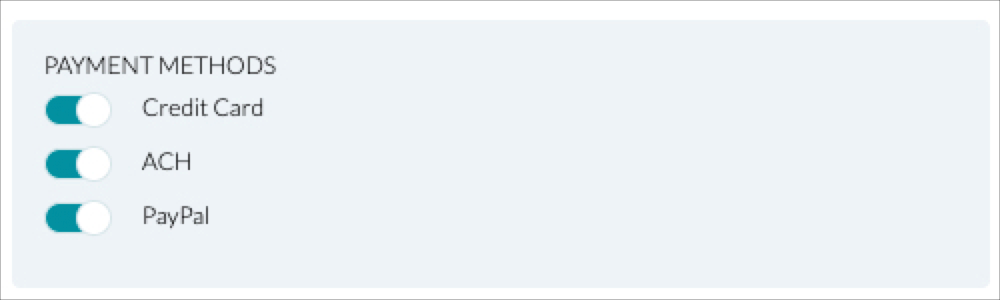
You have three options for accepting donations through Donately:
- Credit card (via Stripe)
- ACH, or direct bank transfer (via Stripe)
- PayPal
While credit card is the default payment method, you can choose any combination of the three methods.
If you have not linked your PayPal account to Donately, you can do that by going to Account Settings, then clicking PayPal settings. If there is still an orange error icon next to PayPal after connecting, you may need to refresh your page or try logging out then back in.
For a full breakdown of payment methods, please see this article.
Donor Pays Fees
Donor pays fees is the ability to ask your donors to cover all fees associated with their donation. If donors choose to do this, you will receive 100% of their intended donation.
For a full rundown on Donor Pays Fees options, please see this article.
Step 3. Design
In this section, you have the ability to add custom CSS in order to customize the styling of your form. With this, you can change the color of the donation button, change the background color, and many more customizations.
We have a handful of pre-built themes you can choose from, else choose "Custom" so you can control many aspects of the form easily.
For a full breakdown of the built-in theme & style options, please see this article.
If you desire even further customization, you can hand-code CSS. For a guide on that, please see this article. We recommend this technique for advanced users only.
Step 4. Post-Donation Settings
In this step, you can:
- Decide whether to use Donately's donation receipt
- Set custom post-donation content (Team & Enterprise Plan Only)
Donation Receipt

Turning off the donation receipt will mean that Donately will not automatically send an email receipt to donors after they donate. Turning the receipt off is only recommended if you have set up a custom receipt. Please note that you can turn receipts off globally (for all forms) from your Account Settings page.
If you do want Donately to send our donation receipt, check out this article on how to customize it.
Post-Donation Content
If you are on our Team or Enterprise plan, you can customize what happens after each donation. This includes changing the content that the donor sees, setting a custom social sharing message, or redirecting the donor to a new URL.
If you are not on our Team or Enterprise plan yet, please click here to learn more about upgrading!
Please see this article describing post-donation settings.
Step 5. Settings
The final step in the form builder is the Settings tab. In here, you will:
Earmarking to Campaign
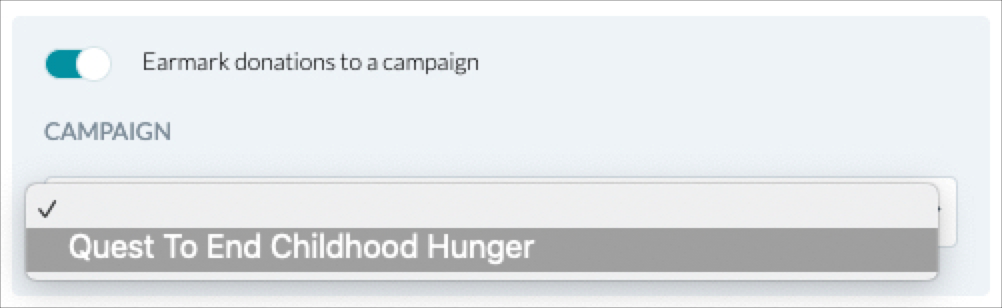
If you'd like to earmark all donations through this form to a Campaign, you can select it from the list of the of Campaigns already created and active. Earmarking is valuable if you are embedding the Donately form as this will earmark all donations through that form to that Campaign. That way, you'll have the full picture of where each gift is going.
- If you need to create a new Campaign, check out this guide.
- If you are using your Donately pages and want a unique form for a specific Campaign, you will create the form and then attached it to the Campaign after it is built.
View your analytics settings
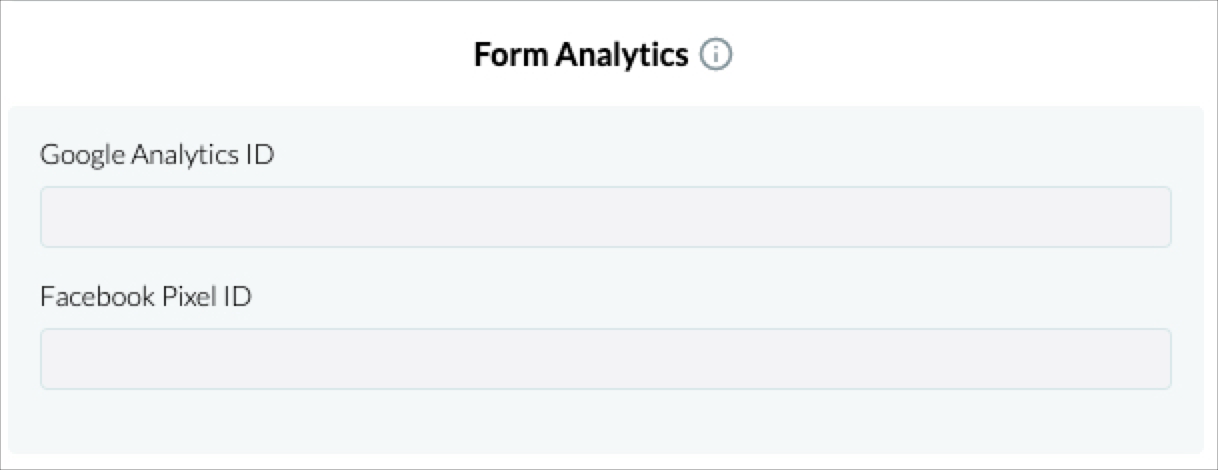
This section will show the Google Analytics ID and Facebook Pixel ID you have previously entered into your Donately account. You can edit these from the Account Settings page if you are on a Legacy, Team or Enterprise Plan.
If you are on our Free Plan and would like to upgrade, click here to upgrade from your Donately dashboard.
For more information on our Google Analytics integration, click here.
For more information on our Facebook Pixel integration, click here.
After Publishing: Share your form
Once you're satisfied with your form, click "Publish Form" at the bottom.
Warning: if you have previously embedded with the "Simple Script", this will push any changes made to this form live to wherever it is embedded. This will also push any changes live to any Campaign or Fundraising pages.
Now that your form is created, you have a few options for making it public so donors can give through it.
Option 1: Your main Donately page ("Account Default" form only)
Option 4: Embed to your website
Option 1: Main Donately Page
If you're customizing your "Account Default" form, your donation form will always show if donors are donating through your main Donately page.
To learn more about your main Donately page, please see this article.
Option 2: Hosted Form Page

Each form will have its own unique URL, ready to accept donations. You can use this form URL to link to directly from your website, to share on social media, or to share via email.
Option 3: Attach to a Campaign Page
If this donation form was built for a specific Campaign page, you can attach this form to a Campaign. This will make it so when someone goes to that Campaign page and clicks "Donate", this will be the form that will show.
Option 4: Embed to your own website
For a full rundown of your options for embedding a donation form, please see this article.