Donately sends a thank you email automatically after each donation, but if you want a completely custom email receipt, the easiest way to enable that is through Zapier. We partner with Zapier to make complex connections like this simple.
With Zapier, every time you send data from Donately to another service, like you will here, that is called a "Zap". Zapier does have a free tier, which includes 100 "Zaps" per month along with some other restrictions. For more information on their plans, see their pricing page.
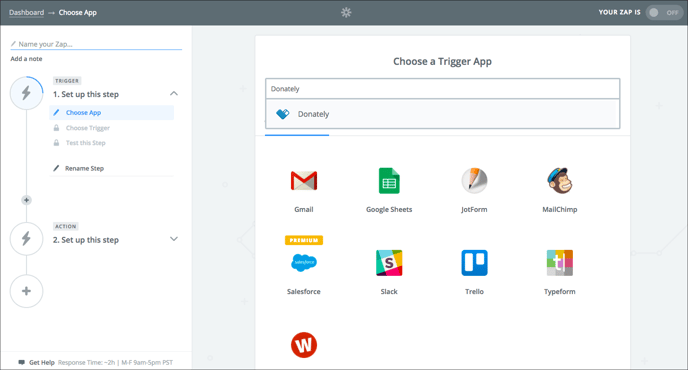
You'll need to sign up for a Zapier account if you don't already have one. Signing up is very quick, and you can always start on the free plan and upgrade as needed.

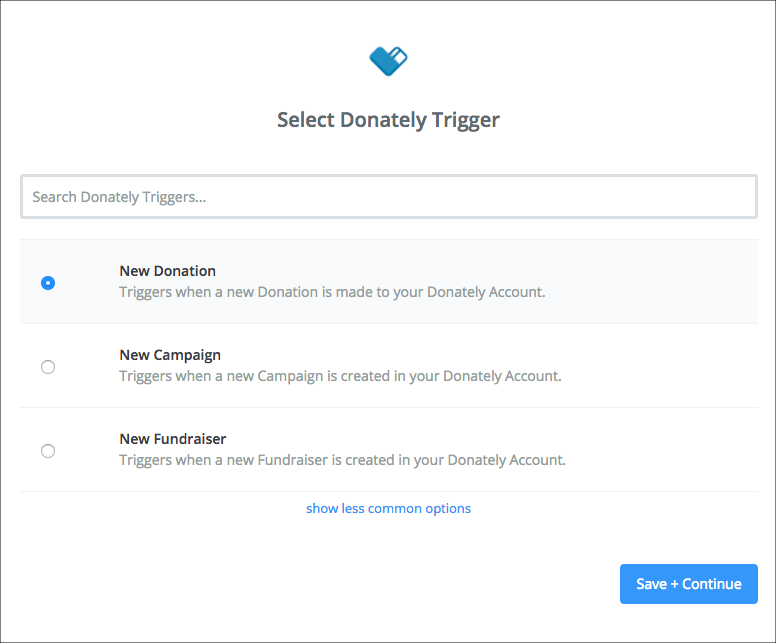
This means that the "Zap" will trigger every time a donation is made. Click "Save + Continue"
Note: You should only have to do this once! If you've already done this, please skip to Step 6.
The next step will trigger a pop-up, asking for information to connect your Donately account to Zapier. See the instructions below on how to find each of these elements.
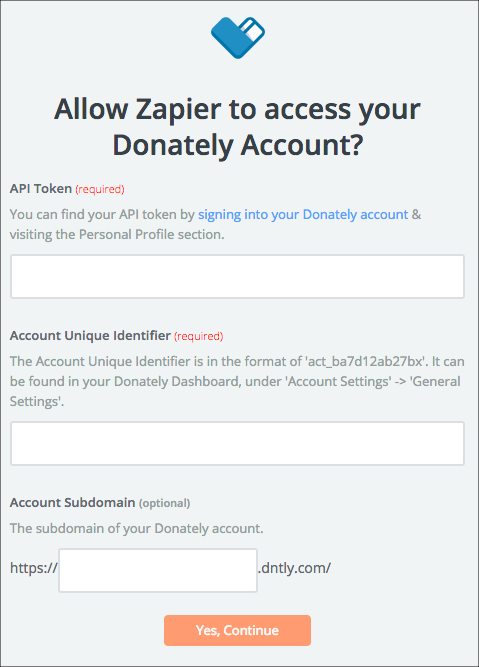
Go directly to this page, or click on "Integrations" along the left-hand menu. Once on the "Integrations" page, click "Donately API". The next screen will have both your Account ID as well as your API token. Simply click "Show API Token" to reveal your token.

Copy and paste both into the appropriate fields in the Zapier pop-up. Note: When you paste in your Account ID, be sure no space is added to the end!
Go directly to this page, or click "Account Settings" from the left-hand menu. Your "Account Subdomain" is your "Account Slug" in the Donately dashboard. This is the second field under the "Account Attributes" section.
Copy and paste the slug into the "Account Subdomain" field in the Zapier pop-up.
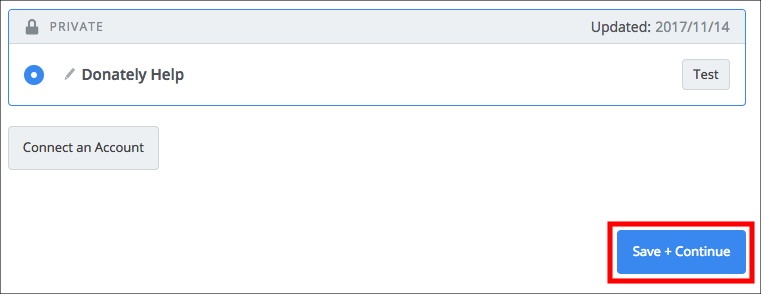
After you fill in all of that information, click "Yes Continue." When you're back to Zapier, click "Save + Continue".
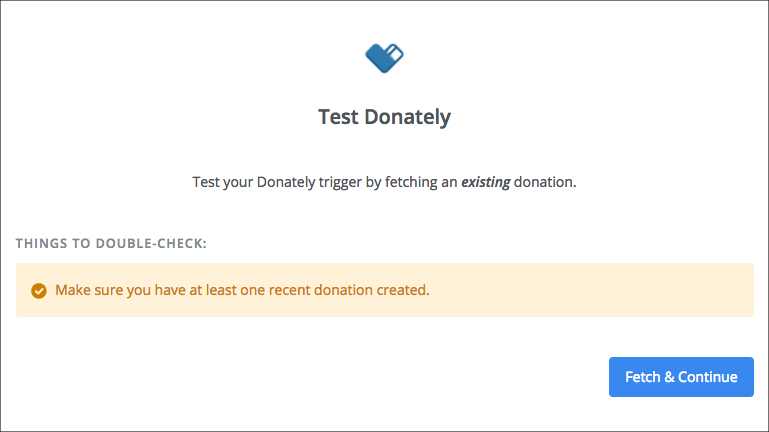
For the next screen, you'll need to be sure you have at least 1 donation to pull from. If you do not have any donations, you can create a cash/check donation. When you have at least one donation in there, click "Fetch & Continue."
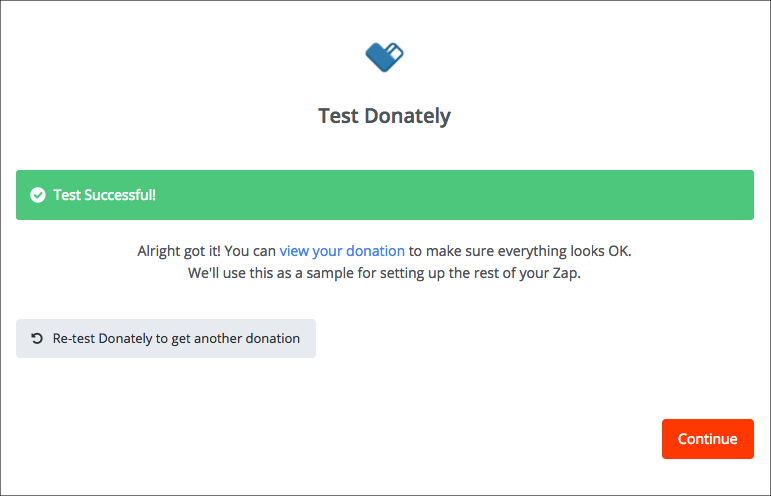
If this is successful, you should see this screen:
For this example, we are going to use Zapier's built-in email system. Note that Zapier's built-in email has a throttle of 10 emails per hour. If you anticipate getting more than 10 donations per hour, we recommend using a higher volume service, such as Mailgun or Mandrill.
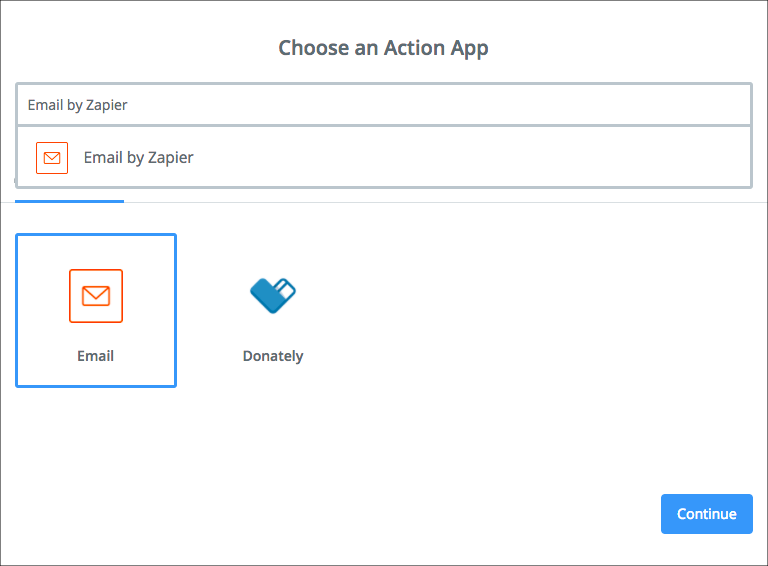
Click "Continue"
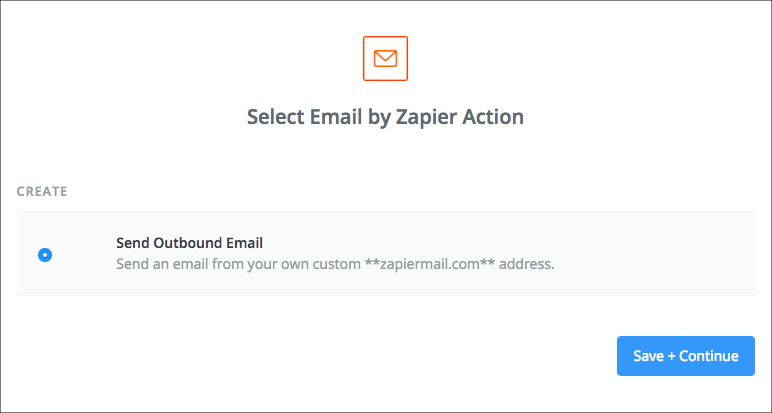
Click "Save + Continue"
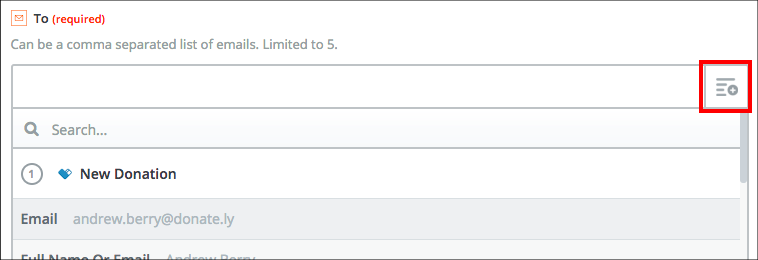
"To" Field: Click the button on the right of that field, and select "Email", which pulls from the information entered by the donor.
"Subject" Field: This is what is shown to donors in their email inbox before they open the message.
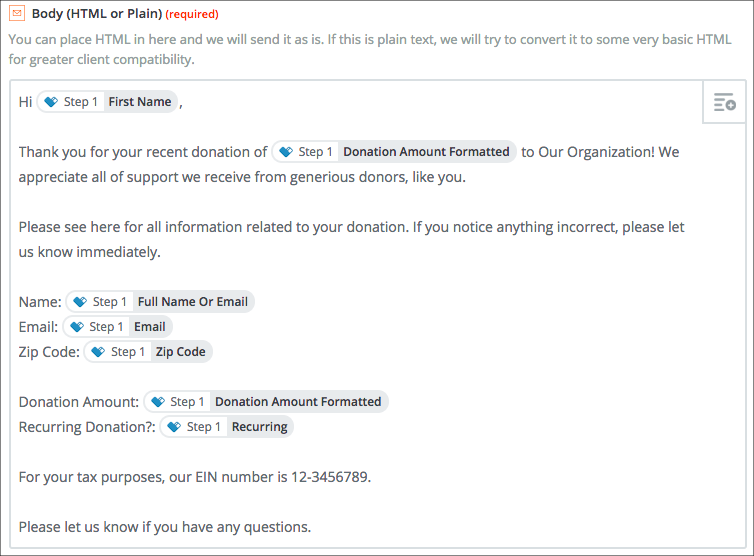
"Body" Field: This is the main content of the email. Similar to how we used the fields from the donation for the "To" field, we will pull donation information into this part of the email.
You'll definitely want to include information like the Donation Amount and your organizations EIN number if you are a nonprofit. We also suggest you use fields such as "First Name" to help personalize the message.
Note, when including a donation amount, we suggest using the field "Donation Amount Formatted," as that field looks best in writing.
Here is our example email:
Read through any of the other fields, and complete any that apply to your organization. After you're satisfied, click "Continue".
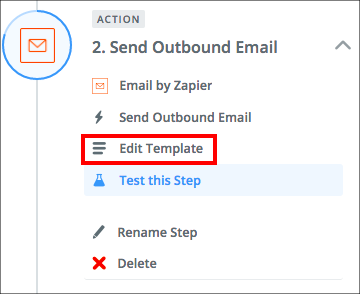
Zapier should render a mock of what your email will look like. If you notice anything incorrect, you can click "Edit Template" from the left-hand column, or click the back button.
If the test donation that Zapier pulled in was real donation information, not test data, then you may want to skip the test. If you do test, it will send to the email to whichever email was used when Zapier pulled an example. This means it could send to a donor!
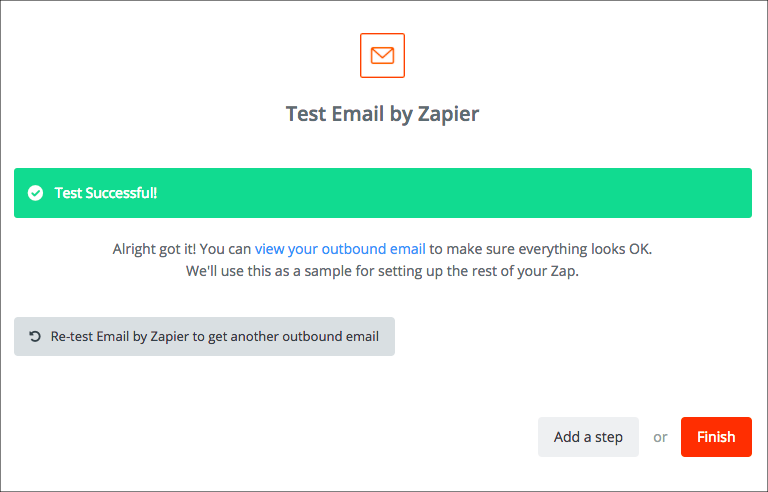
If you'd like to skip the test, click "Skip Test & Continue". If you would like a test email to send, click "Create + Continue".
You should see a confirmation screen on the next page:
Click "Finish"
Note: The name for the Zap will only be present on your Zapier dashboard. It will not be shown to donors.
Switch the Zap from "Off" to "On", and if all is firing correctly, you should see this screen:
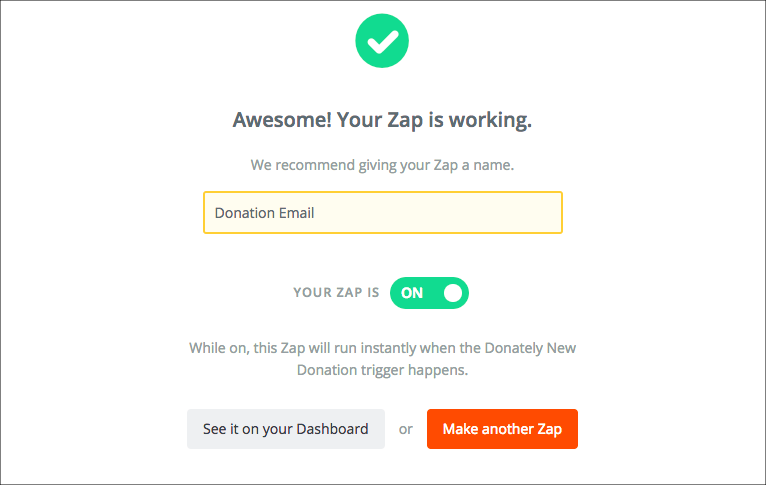
If you see that screen, you're all set! Zapier will automatically start sending the emails out that you just set up.
Just note, you'll probably want to turn off Donately's automated emails at this point so donors don't get two. Click here for instructions on how to do that.