By default, Donately does not notify you for every donation. We thought that this could get excessive on some accounts, especially if this is not desired.
There are a few different options for getting notified for donations, including the simplest option available through Stripe. Please see this article for more information.
If you desire a custom notification for every donation, you can use Zapier to alert you whenever one comes in.
(If you need a primer, read more about Zapier here.)
Step 1. Navigate to ZapierYou'll need to sign up for a Zapier account if you don't already have one. Signing up is very quick, and you can always start on the free plan and upgrade as needed.

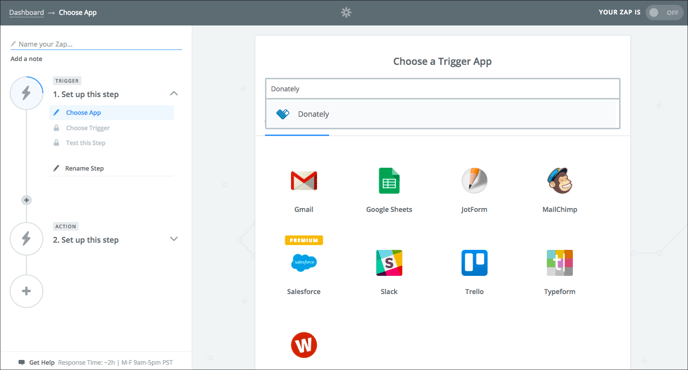

This means that the "Zap" will trigger every time a donation is made. Click "Save + Continue"
Note: You should only have to do this once! If you've already done this, please skip to Step 6.
The next step will trigger a pop-up, asking for information to connect your Donately account to Zapier. See the instructions below on how to find each of these elements.
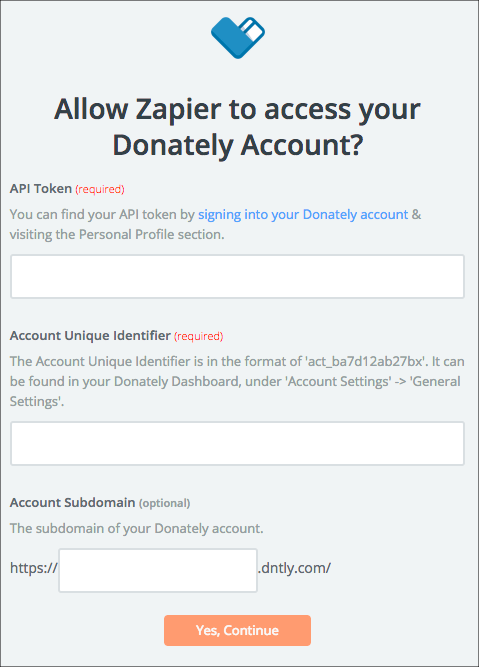
Go directly to this page, or click on "Integrations" along the left-hand menu. Once on the "Integrations" page, click "Donately API". The next screen will have both your Account ID as well as your API token. Simply click "Show API Token" to reveal your token.

Copy and paste both into the appropriate fields in the Zapier pop-up. Note: When you paste in your Account ID, be sure no space is added to the end!
Go directly to this page, or click "Account Settings" from the left-hand menu. Your "Account Subdomain" is your "Account Slug" in the Donately dashboard. This is the second field under the "Account Attributes" section.
Copy and paste the slug into the "Account Subdomain" field in the Zapier pop-up.
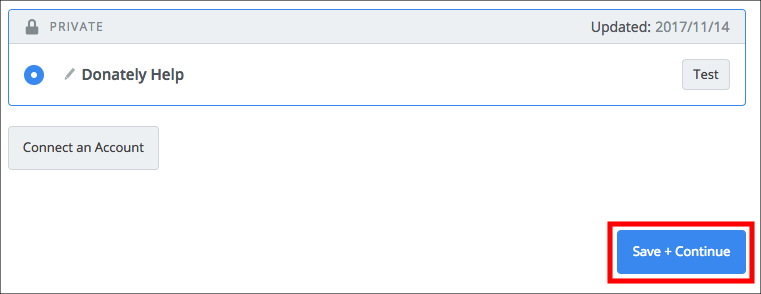
After you fill in all of that information, click "Yes Continue." When you're back to Zapier, click "Save + Continue".
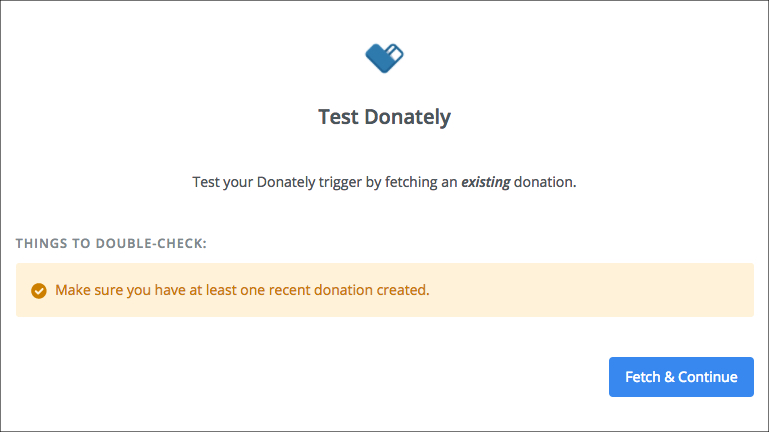
For the next screen, you'll need to be sure you have at least 1 donation to pull from. If you do not have any donations, you can create a cash/check donation. When you have at least one donation in there, click "Fetch & Continue."
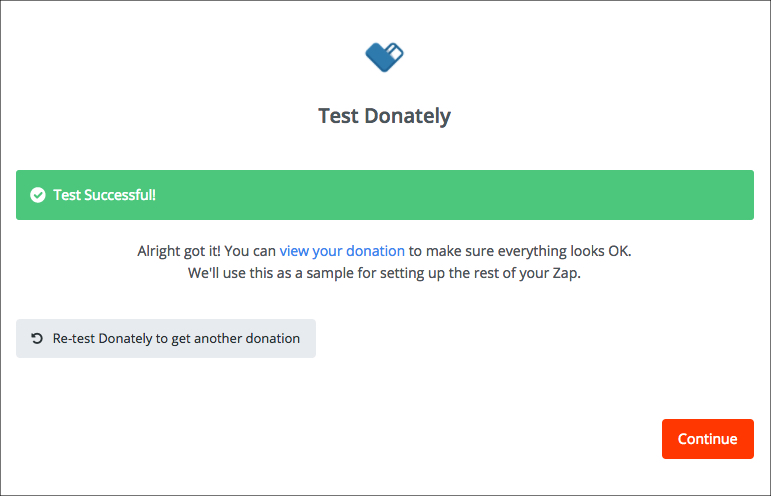
If this is successful, you should see this screen:
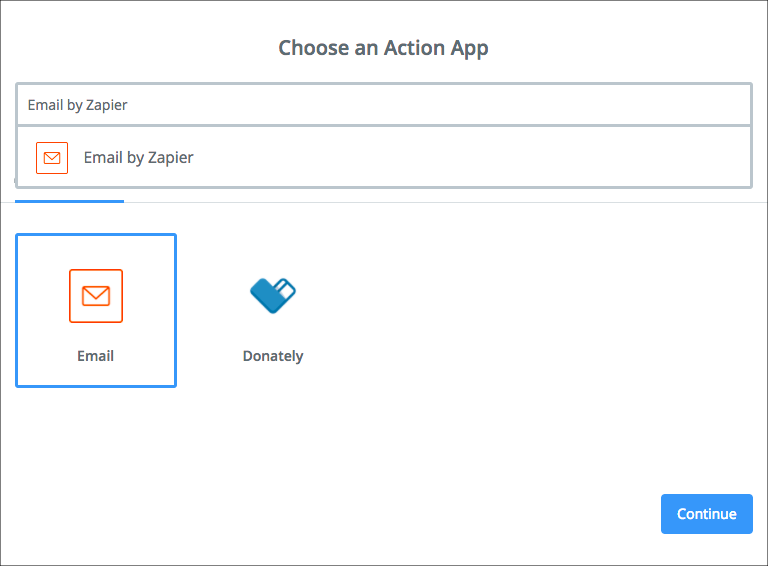
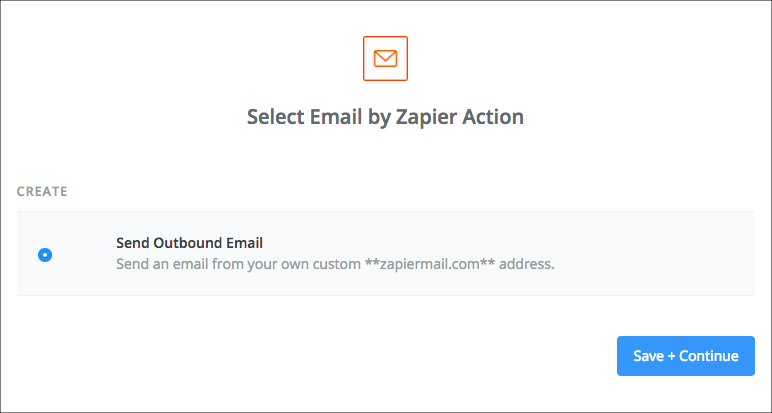
For this purpose, we are going to use Zapier's built-in email system.
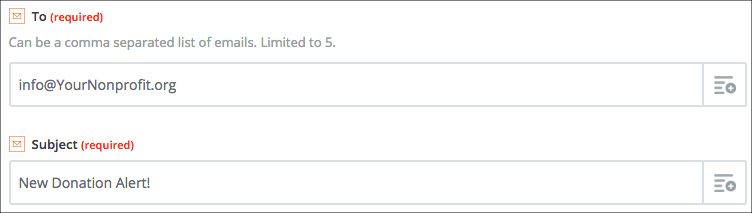
Step 8. Fill out the form
Fill out the form with who you'd like the notifications to go to, and what you'd like the subject line to be. The subject line is especially useful if you'd like to create a specific filter in your email provider.
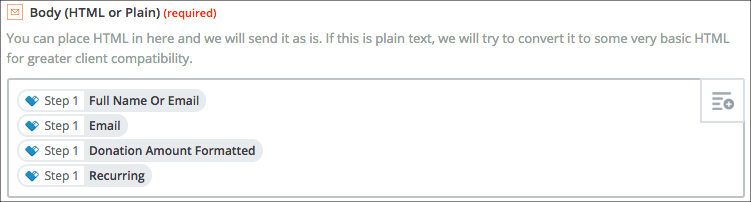
In terms of the body, this is also up to your organization but is probably one of the more important fields to consider. You can use the data that comes from Donately in order to fill this in with actual donation data.
To do this, click on the box to right (in red below).

For this example, we are going to fill in this information with:
- Donor Name
- Donor Email
- Donation Amount
- Recurring Donation?
The next screen will show you an example based on the test donation pulled from your account.
If everything looks good, click on "Create & Continue," and Zapier will send a live test to the email you entered.
Give it a peek, make sure it all looks as you'd expect. If so, go back to Zapier and click "Finish."
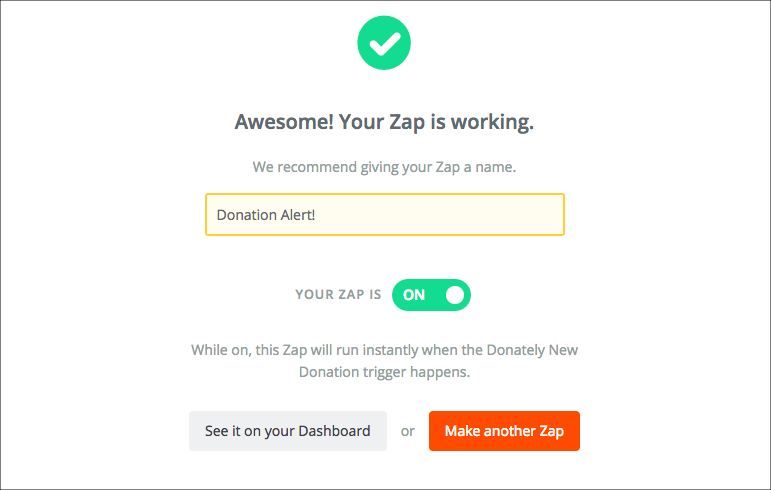
Step 9. Name your zap and turn it on!
The final step, and one of the easiest: Name your Zap and flip the switch! If all is working, you should see this screen: