Stripe Sign Up Help
Stripe is Donately's preferred payment processing partner. In order to accept live credit card and ACH donations directly through the form, without the donors needing to set up any accounts, you must link Donately to an active Stripe account.
Just like Donately, Stripe has no out-of-pocket costs or commitments needed to sign up! Additionally, Stripe offers a nonprofit discount. Once you create a Stripe Account, see this article for more information on their discount. These instructions are also included in the final step of this guide.
Note: If you'd only like to use PayPal to accept donations, you still need to confirm your email and country. While this will start the process of creating a Stripe account, you can skip the remaining steps, and ignore all prompts from Stripe to finish setting up an account. Please get through Step 1 of this guide, then see this article for how to connect to PayPal.
Step 1. Sign up for Donately, and confirm your email
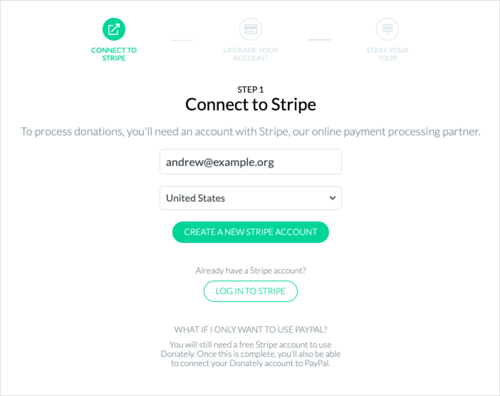
Once you sign up for Donately and set your password, the first screen you'll see is asking you to confirm your email and country. This is the first step in creating a new Stripe account. If you do not already have a Stripe account, click "Create a New Stripe Account".
If you already have an active Stripe account, simply click "Log In To Stripe".
Note: If you'd only like to use PayPal to accept donations, you still need to confirm your email and country. While this will start the process of creating a Stripe account, you can skip the remaining steps, and ignore all prompts from Stripe to finish setting up an account.
See this article for how to connect to PayPal.
Step 2. Activate your Stripe account
Once you decide whether or not to upgrade to our Team Plan, and then either view or skip the tour, you’ll be on your Donately homepage. In the large banner, click on “Activate Stripe Account”.

On the next page, you’ll want to click “Activate Stripe Account”.
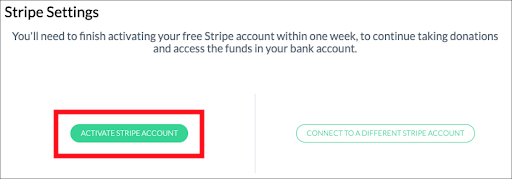
You’ll then be brought directly over to Stripe to complete the application.
Step 3. Complete Stripe Sign Up Process
There are a few tricky parts of the Stripe sign up process, but most are easily navigable! Let’s walk through them here. Below are each section of the process:
- Business Type
- Business Name
- Business Website
- Business Description
- Executive Details
- Credit Card Statement
- Bank Details
- Two-Step Authentication
Business Type
Under Type of Business, most folks should select “Nonprofit organization”, however, please select the category that best describes your business. For the purposes of our main user base, the remainder of this help guide is specific to the experience that a nonprofit organization would take.
If you are an individual, corporation, agency, etc, please reach out to us if you run into issues signing up for Stripe with your specific concerns.


Once you select “Nonprofit organization”, many of the fields below will change to be more specific to this type of account.
Business Name
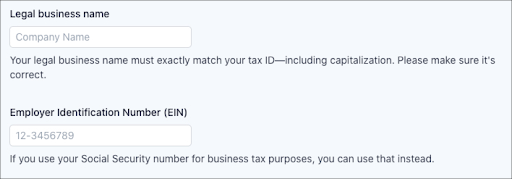
On the next few lines, enter your legal nonprofit name (sometimes known as your “DBA Name”), and your IRS issued EIN number.
Business Website

For the website, you have a few options. If your organization has an official website, enter that here! If not, you can enter your Facebook page. Note, do not enter just “facebook.com”. This will likely get your account rejected by Stripe.
Rather, enter your actual Facebook Page URL, typically something like:
“https://facebook.com/MyOrganizationName”.
You can also enter in your Donately page URL here. You can find this by going to your Dashboard page, clicking on "View my Donately Page", then copying that URL. That URL will be something like:
"https://pages.donately.com/OrgName"
Business Description
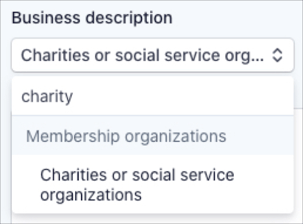
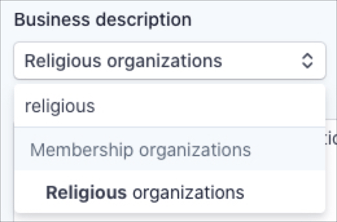
In this section, your first step is to search for “charity” or “religious” in the business description box. Again, feel free to choose something more specific, but for the purposes of this guide, we're going to continue down the path of these two.
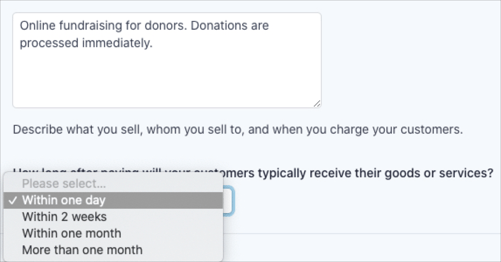
In the description box, feel free to copy this exact statement:
“Online fundraising for donors. Both one-time and monthly recurring donations are processed immediately.”
In the bottom box select that donors will receive their “goods or services” within one day. This could refer to the tax-deductible receipt that Donately sends, which is delivered immediately.
Executive Details
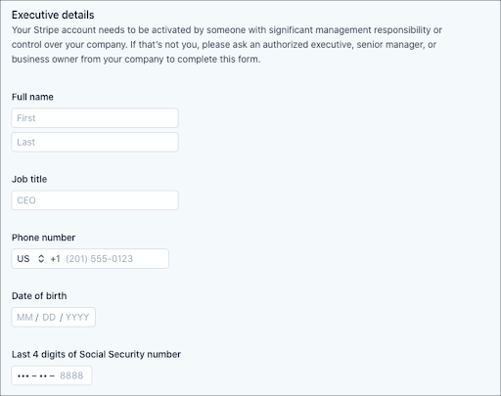
In the next section, you’ll need to enter details about an executive or otherwise person of importance at your organization. This section is required by law and is mandatory. Be sure that you have explicit permission from this person to complete this form, else have them complete it themselves.
For the SSN number, that again is required by laws and regulations by which Stripe is bound. For more information, please see this help article.
Credit Card Statement
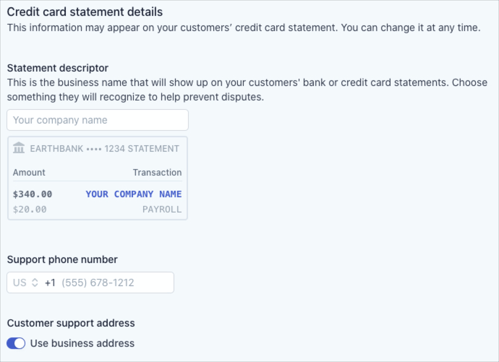
For the next section, simply decide how you would like the donation charge to show on each donor’s credit card statement.
We recommend simply entering your organization's name in the “Statement Descriptor” box.
You’ll also need to provide the phone number of your organization. We recommend leaving the “business address” toggle where it is.
Bank Details
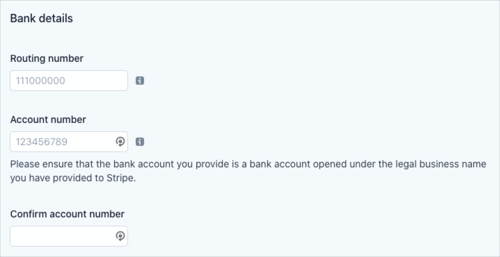
In this section, you’ll need to tell Stripe where to deposit your donations. This bank account will need to be an official bank account of your organization. You should not link your personal bank account.
Please note, direct deposit is the only withdrawal method available. Stripe does not issue paper checks as payouts. If your organization is unable or unwilling to enter your bank details for direct deposit, you will be unable to set up a Stripe account. While you can use PayPal with Donately instead, they too only offer the ability to withdraw via direct deposit.
Two-Step Authentication
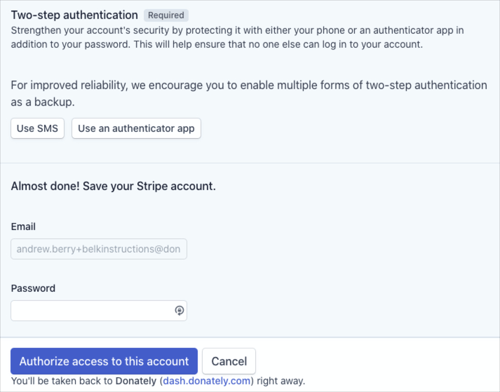
Final two steps! First, you will need to set up two-step (sometimes referred to as "two-factor") authentication. This means Stripe will send you a text message to ensure that you are really the one logging in. Additionally, you can use an authenticator app if you’d like. SMS is the most common choice.
Finally, set a password for Stripe! This is a different password than what you set for Donately, but will still need to be very strong.
Once you do those two steps, click “Authorize access to this account” and you’ll be sent back to Donately.
Step 4. Verify You're Set Up, and Apply for Stripe's Discount
Once you submit the form, your account should be fully activated and ready to accept donations! You’ll know this is the case if you see “Your Stripe Account is connected and active” on this page.

Now that your account is all set up, we strongly recommend applying for Stripe's nonprofit discount. Find out more about that here: Stripe Nonprofit Program