Connecting Donately to ActiveCampaign is very simple. We partner with a third-party site called Zapier to make complex connections like this possible. An example of this is pushing new donor emails into a MailChimp campaign. Every instance of data flowing between Donately and ActiveCampaign through Zapier is called a "Zap".
Zapier does have a free tier, which includes 100 "Zaps" per month with some other restrictions. For more information on their plans, see their pricing page. Note that Zapier also offers a nonprofit discount. Please see this page for more information.
You'll need to sign up for a Zapier account if you don't already have one. Signing up is very quick, and you can always start on the free plan and upgrade as needed.

If you're on the newer version of Zapier's dashboard, you may have to click on "Make A Zap" from the left-side menu.
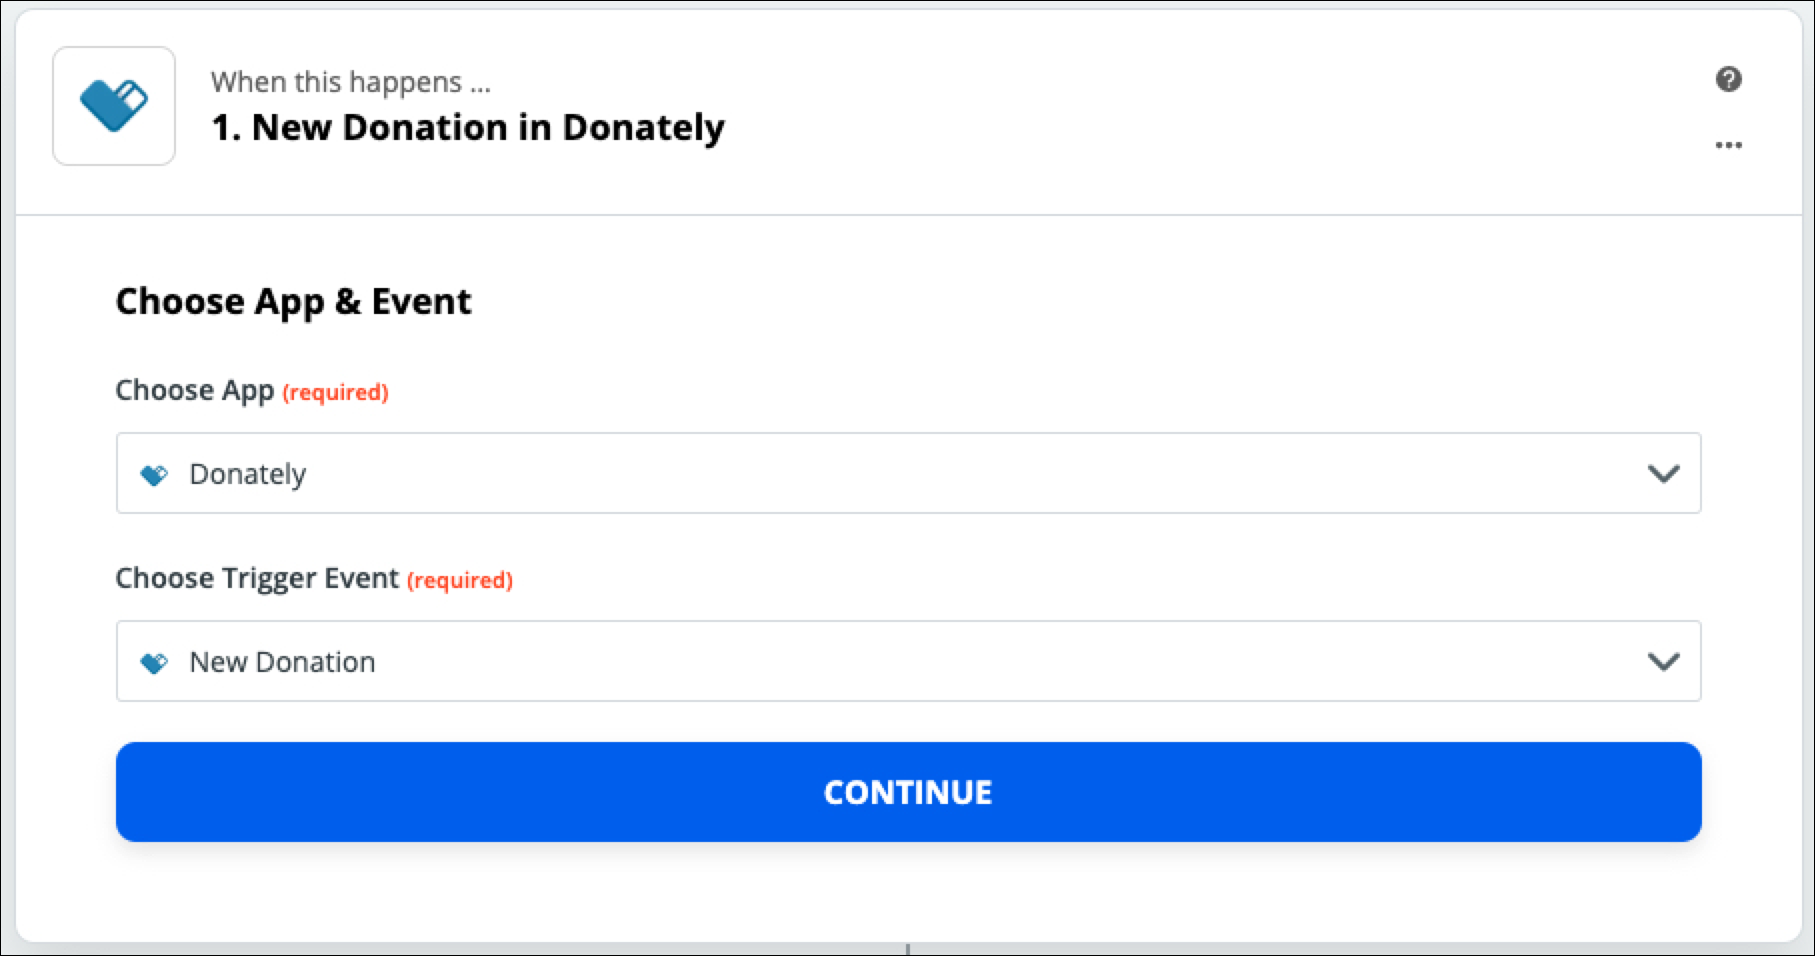
This means that the "Zap" will trigger every time a donation is made. Click "Save + Continue"
Note: You should only have to do this once! If you've already done this, please skip to Step 6.
The next step will trigger a pop-up, asking for information to connect your Donately account to Zapier. See the instructions below on how to find each of these elements.
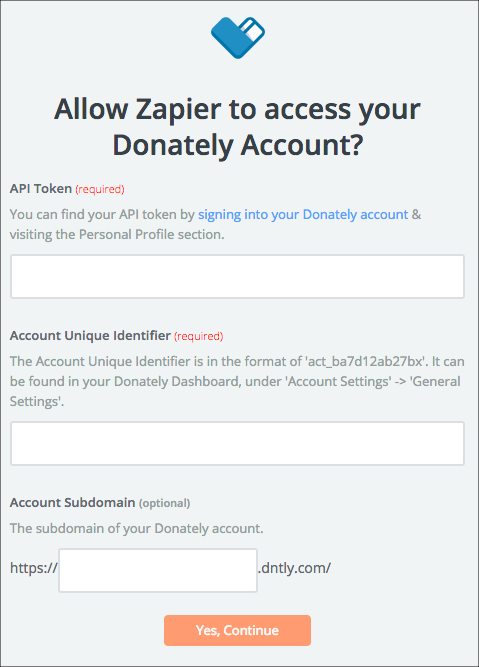
Go directly to this page, or click on "Integrations" along the left-hand menu. Once on the "Integrations" page, click "Donately API". The next screen will have both your Account ID as well as your API token. Simply click "Show API Token" to reveal your token.

Copy and paste both into the appropriate fields in the Zapier pop-up. Note: When you paste in your Account ID, be sure no space is added to the end!
Go directly to this page, or click "Account Settings" from the left-hand menu. Your "Account Subdomain" is your "Account Slug" in the Donately dashboard. This is the second field under the "Account Attributes" section.
Copy and paste the slug into the "Account Subdomain" field in the Zapier pop-up.
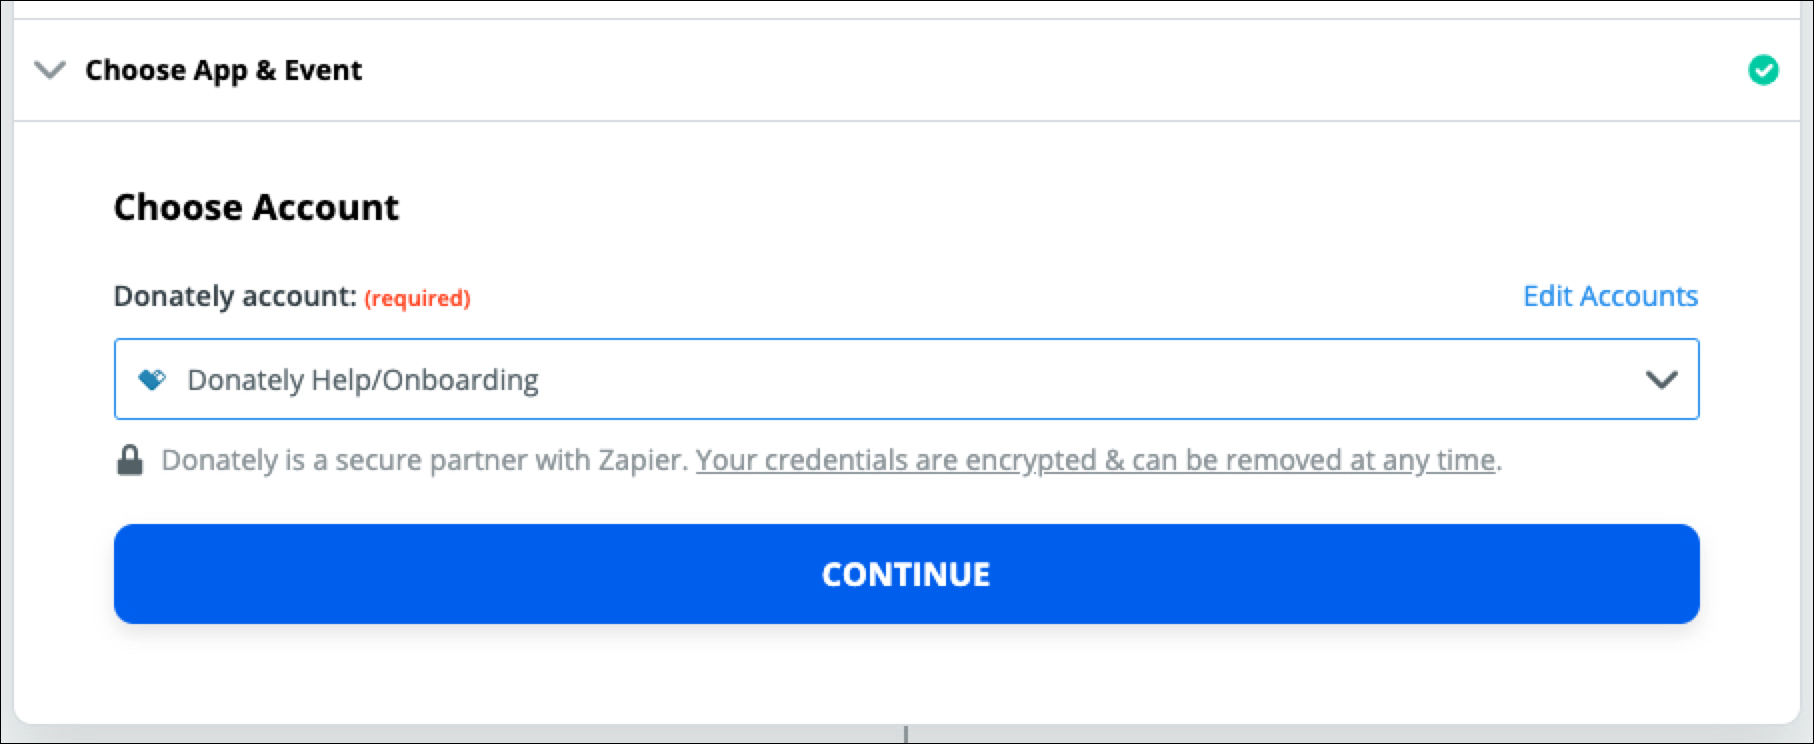
After you fill in all of that information, click "Yes Continue." When you're back to Zapier, click "Continue":
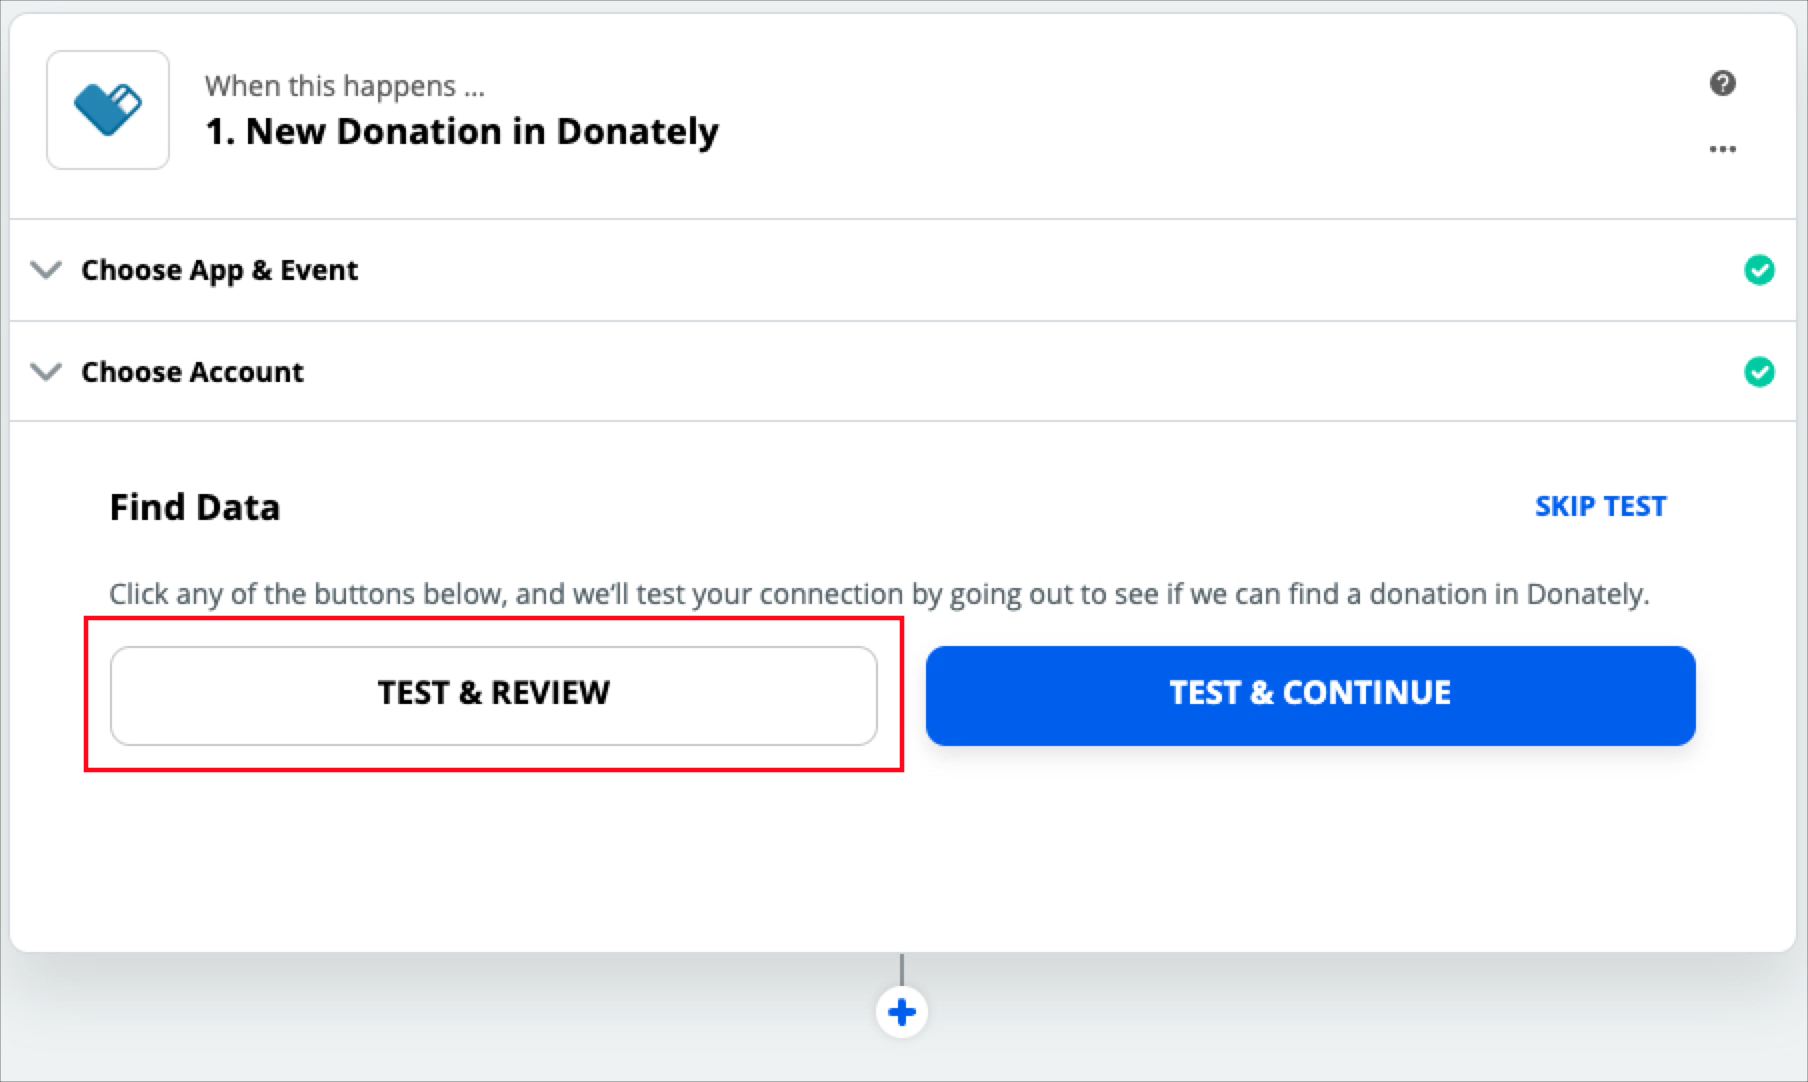
On the next page, you'll want to pull in example donation data, so that you have context for where you'll send data into HubSpot. We recommend clicking "Test & Review" to pull in donations from your Donately account.
If you do not have any donations yet, you can create a cash/check donation. Once you have one, click "Test & Review".
On the next screen, select the donation you'd like to use as your example:
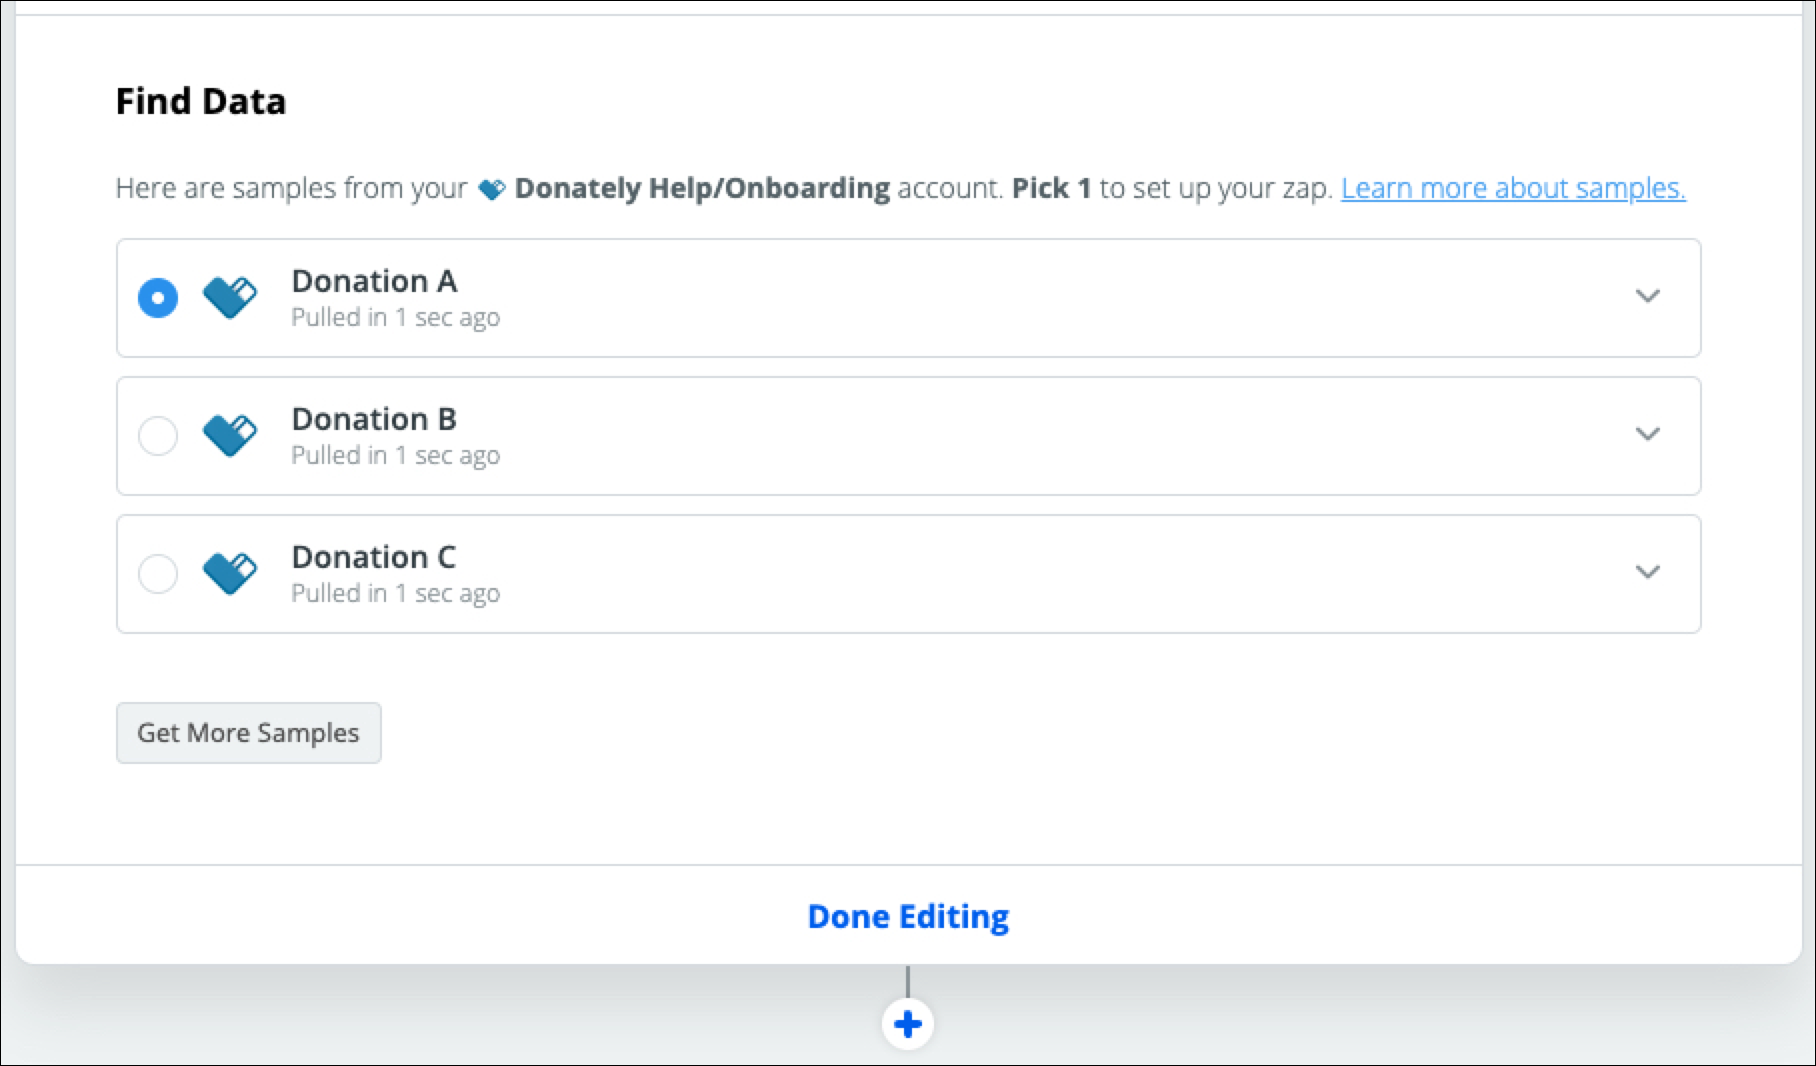
Click "Done Editing" to move on to the next step. You may need to click the little "+" button to bring up your choice of apps.
For this example, we'll be creating/updating a contact, adding to a list called "Donors".
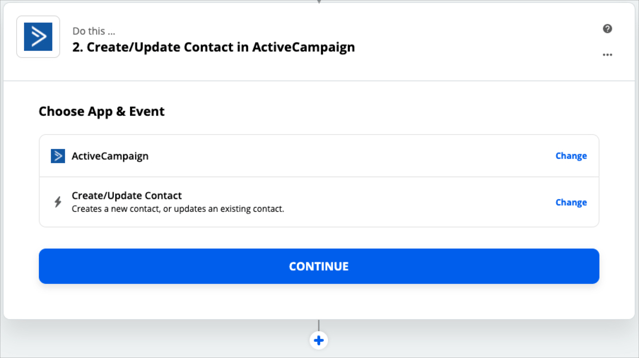
Once you choose your action, click "Continue".
Step 6. Choose, or connect, your ActiveCampaign account
If you've previously connected your ActiveCampaign account to Zapier, simply select the account from the list.
If you've never connected your ActiveCampaign account to Zapier, click on the button prompting you to sign in or connect to ActiveCampaign. After that, follow the instructions in the pop-up to gather your API URL and API Key from your ActiveCampaign account.
Once you are connected, click "Continue".
Step 7. Map your data
On the next step, you'll tell Zapier which and where the data from the donation should go into ActiveCampaign.
This could include a specific list (such as "Donors"), the donor's email address (required), tags, and any custom fields you've created in ActiveCampaign.
Note: If you do have custom fields, to be sure that all are showing in Zapier, we recommend scrolling down to the bottom and clicking "Refresh Fields" prior to mapping data.
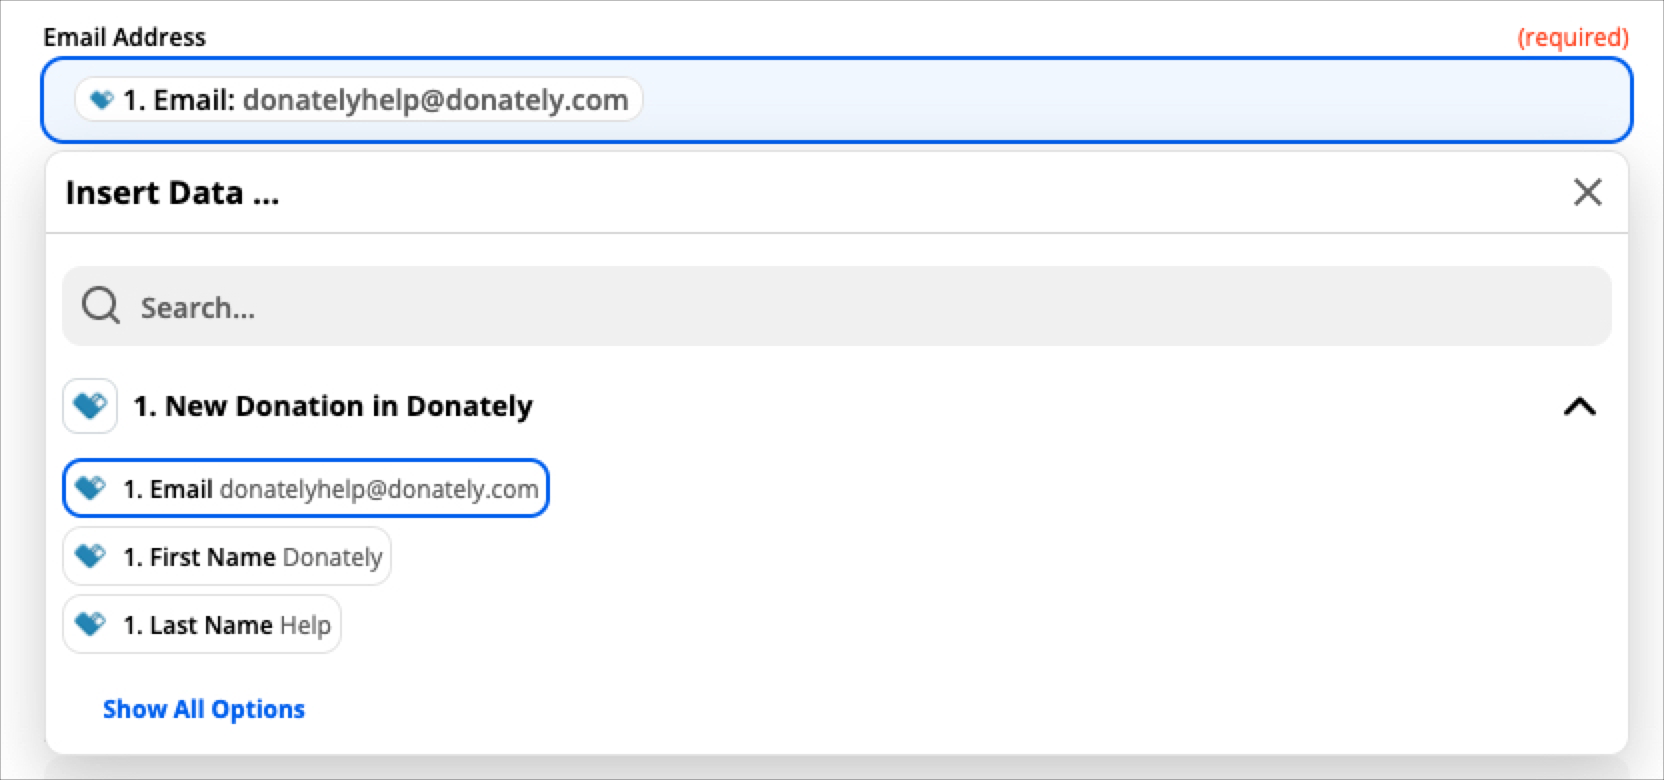
To map data from the donation to the specific field in ActiveCampaign, simply click into the field, as seen below. Once you do that, you'll be able to choose from any data available from the donation. This data will dynamically update with each donation.
You can also type your own value into the field, noting that this will be the same on every donation. This could be useful for things like "Tags", where you want every donor to be assigned the same tag (such as "online donors").
Once your satisfied, click "Continue" at the very bottom.
Step 8. Test your connection (optional)