Integrating Donately with Quickbooks Online
Connecting Donately to Quickbooks Online is very simple. We partner with a third-party site called Zapier to make complex connections like this possible.
The example we'll be using here is creating a Sales Receipt when new donations occur. You could also use Zapier to create new Customers, Invoices, or Products. It's important to note that every instance of data flowing between Donately and Salesforce through Zapier is called a "Zap".
Zapier does have a free tier, however, the Quickbooks Online integration with Zapier requires a premium subscription. For more information on this, please visit Zapier's pricing screen. Note that Zapier does offer a nonprofit discount. Please see this page for more details.
You'll need to sign up for a Zapier account if you don't already have one. Signing up is very quick, and you can always start on the free plan and upgrade as needed.

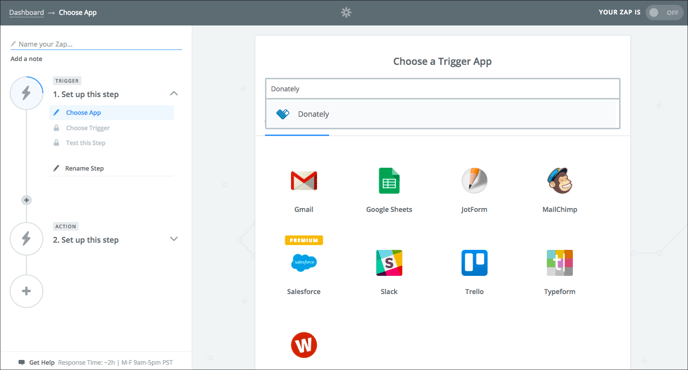
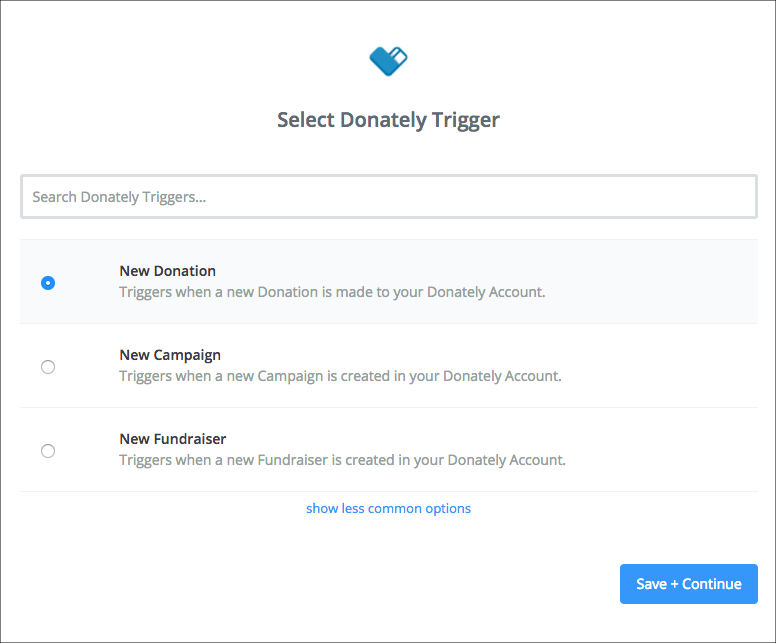
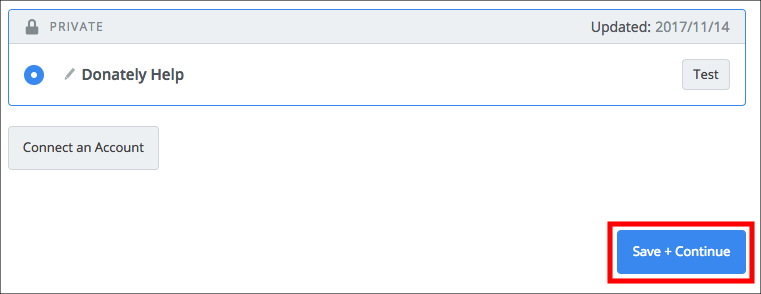
This means that the "Zap" will trigger every time a donation is made. Click "Save + Continue"
Note: You should only have to do this once! If you've already done this, please skip to Step 6.
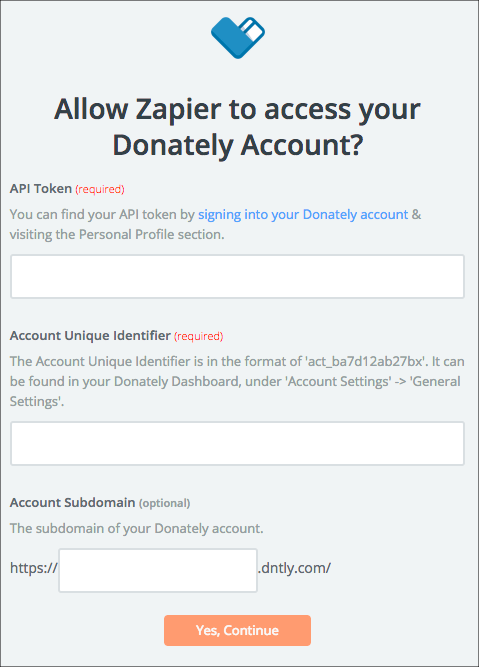
The next step will trigger a pop-up, asking for information to connect your Donately account to Zapier. See the instructions below on how to find each of these elements.
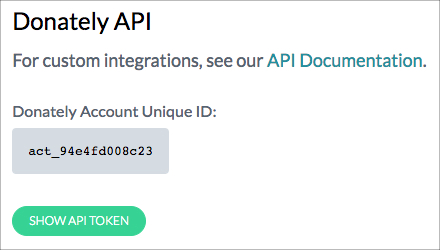
Go directly to this page, or click on "Integrations" along the left-hand menu. Once on the "Integrations" page, click "Donately API". The next screen will have both your Account ID as well as your API token. Simply click "Show API Token" to reveal your token.
Copy and paste both into the appropriate fields in the Zapier pop-up. Note: When you paste in your Account ID, be sure no space is added to the end!
Go directly to this page, or click "Account Settings" from the left-hand menu. Your "Account Subdomain" is your "Account Slug" in the Donately dashboard. This is the second field under the "Account Attributes" section.
Copy and paste the slug into the "Account Subdomain" field in the Zapier pop-up.
After you fill in all of that information, click "Yes Continue." When you're back to Zapier, click "Save + Continue".
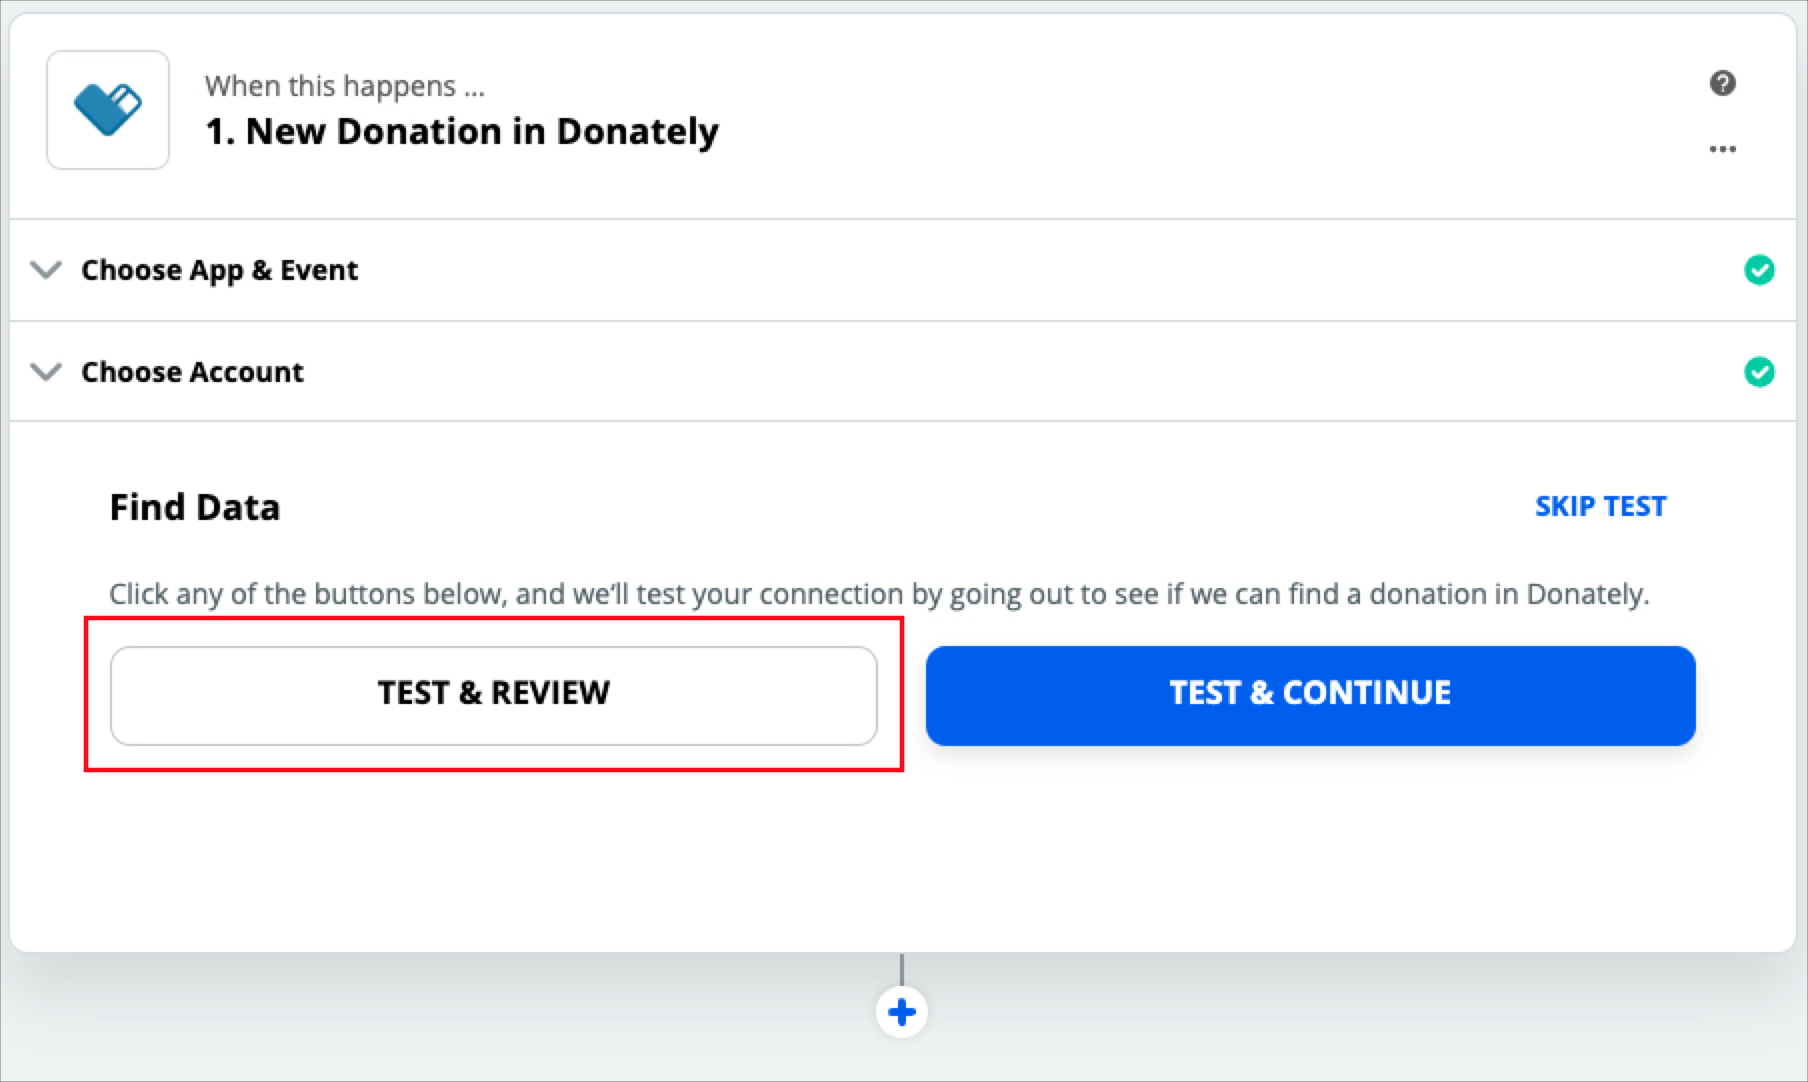
On the next page, you'll want to pull in donation data, so that you have context for where you'll send data into Quickbooks. We recommend clicking "Test & Review" to pull in donations from your Donately account.
If you do not have any donations yet, you can create a cash/check donation. Once you have one, click "Test & Review".
On the next screen, select the donation you'd like to use as your example:
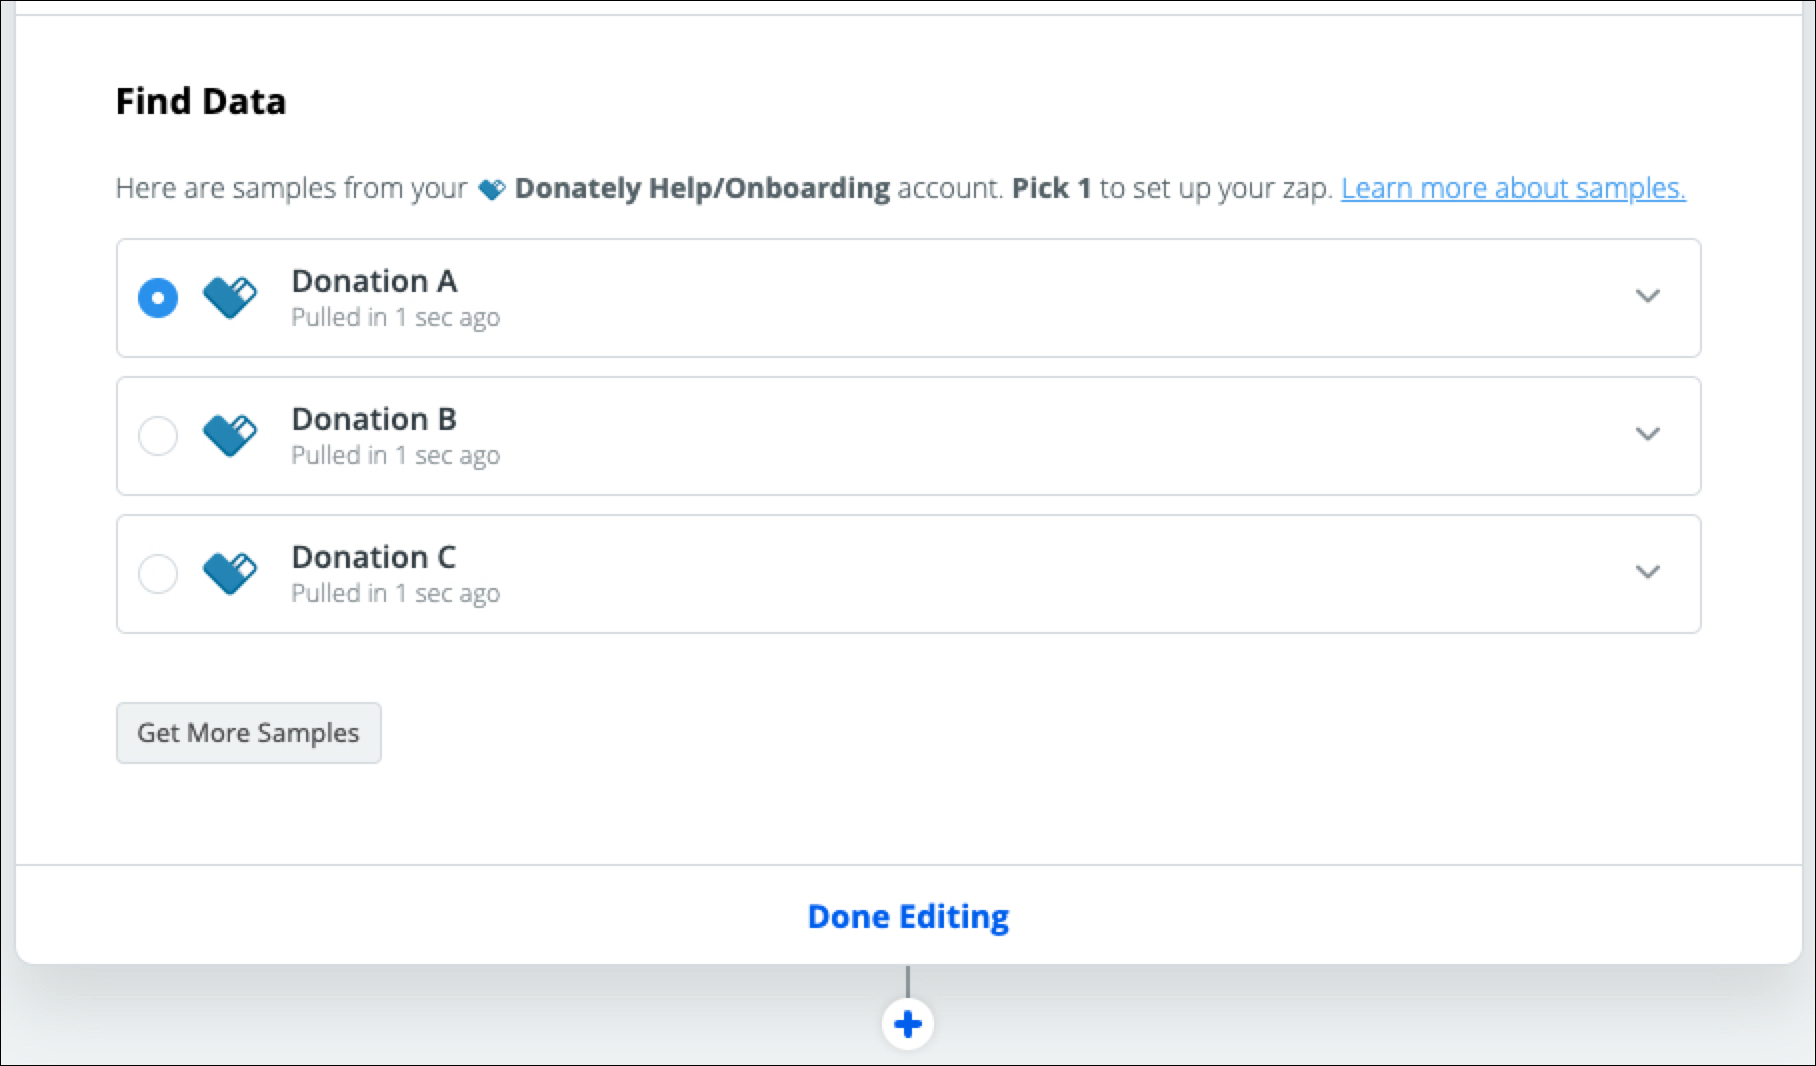
Click "Done Editing" to move on to the next step. You may need to click the little "+" button to bring up your choice of apps.
Step 6. Search for "Quickbooks"

Once the search brings back results, select it from the displayed list.
Step 7a. Find or Create a New Customer (Optional, but recommended)
As noted, this step is optional, however, we would recommend this step as it will either create a new customer in Quickbooks or connect the donation to an existing customer. Skipping this step will result in the donation not being automatically attributed to a Customer. If that is not important to your organization, feel free to skip. If that is important, take the time to complete this step.
In the "Choose Action Event", search for "Find Customer".
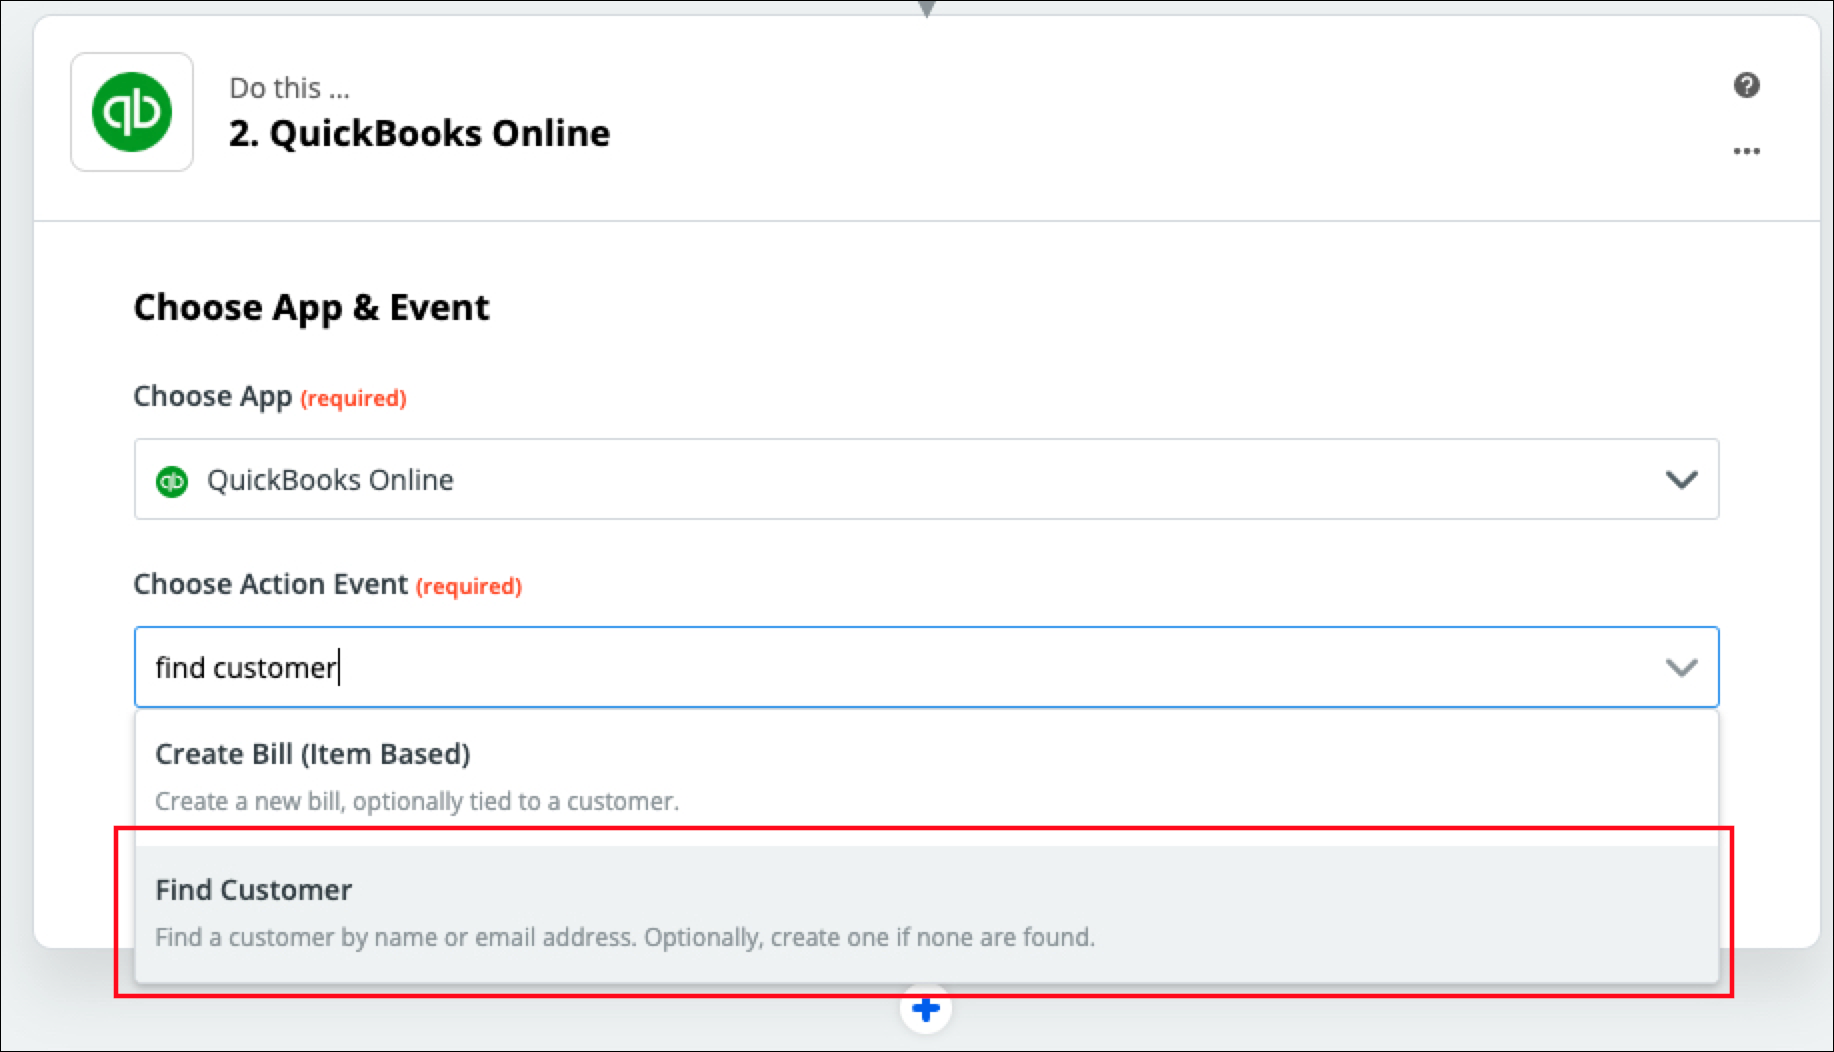
Click "Continue"
Step 7b. Sign in to Quickbooks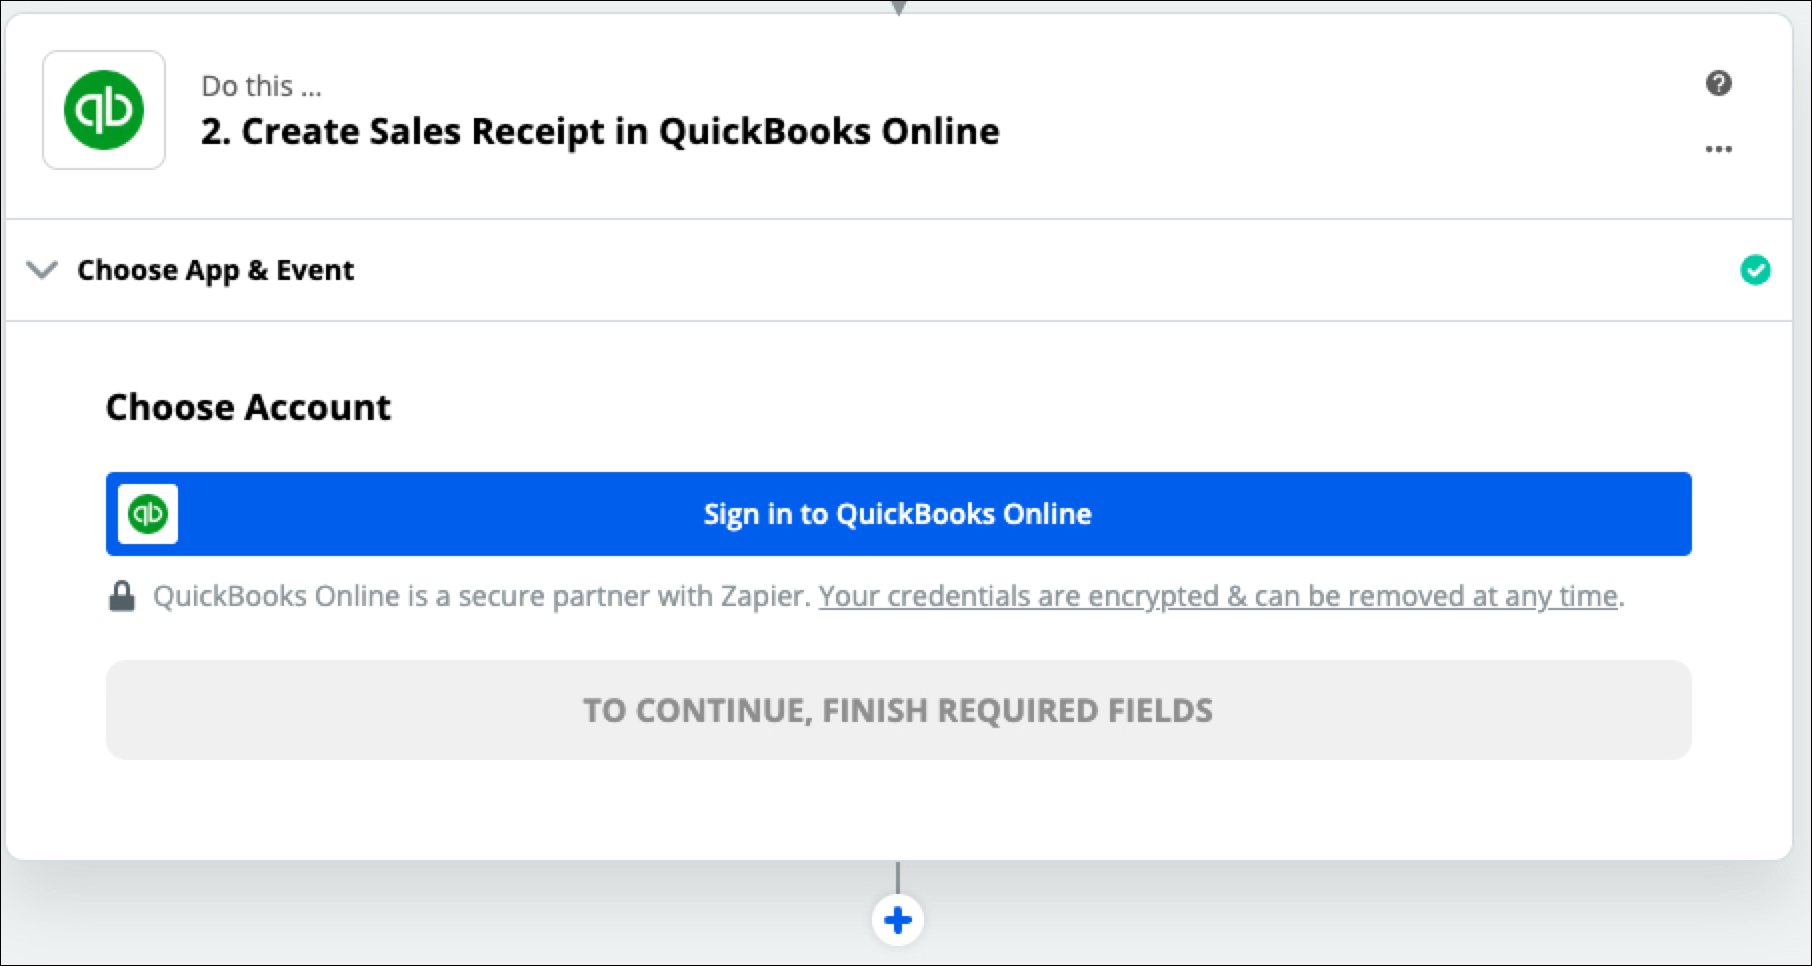
Clicking the "Sign in to Quickbooks Online" button will open a pop-up. Follow the instructions in that pop-up to link your Quickbooks account to Zapier, giving them permission to send data from Donately into Quickbooks.
If you've already signed into Quickbooks Online via Zapier, simply select the correct QuickBooks account from the displayed list.
Once connected, you should be able to click "Continue".
Step 7c. Set Your DataThere are 4 things to do on this page:
1. Change the "Search Field" to "Email"

2. Select the email from the donation data
Click the list icon with the plus sign on the right side of the "Search Value" field. This will bring up data from the donation record you brought in through Step 5.

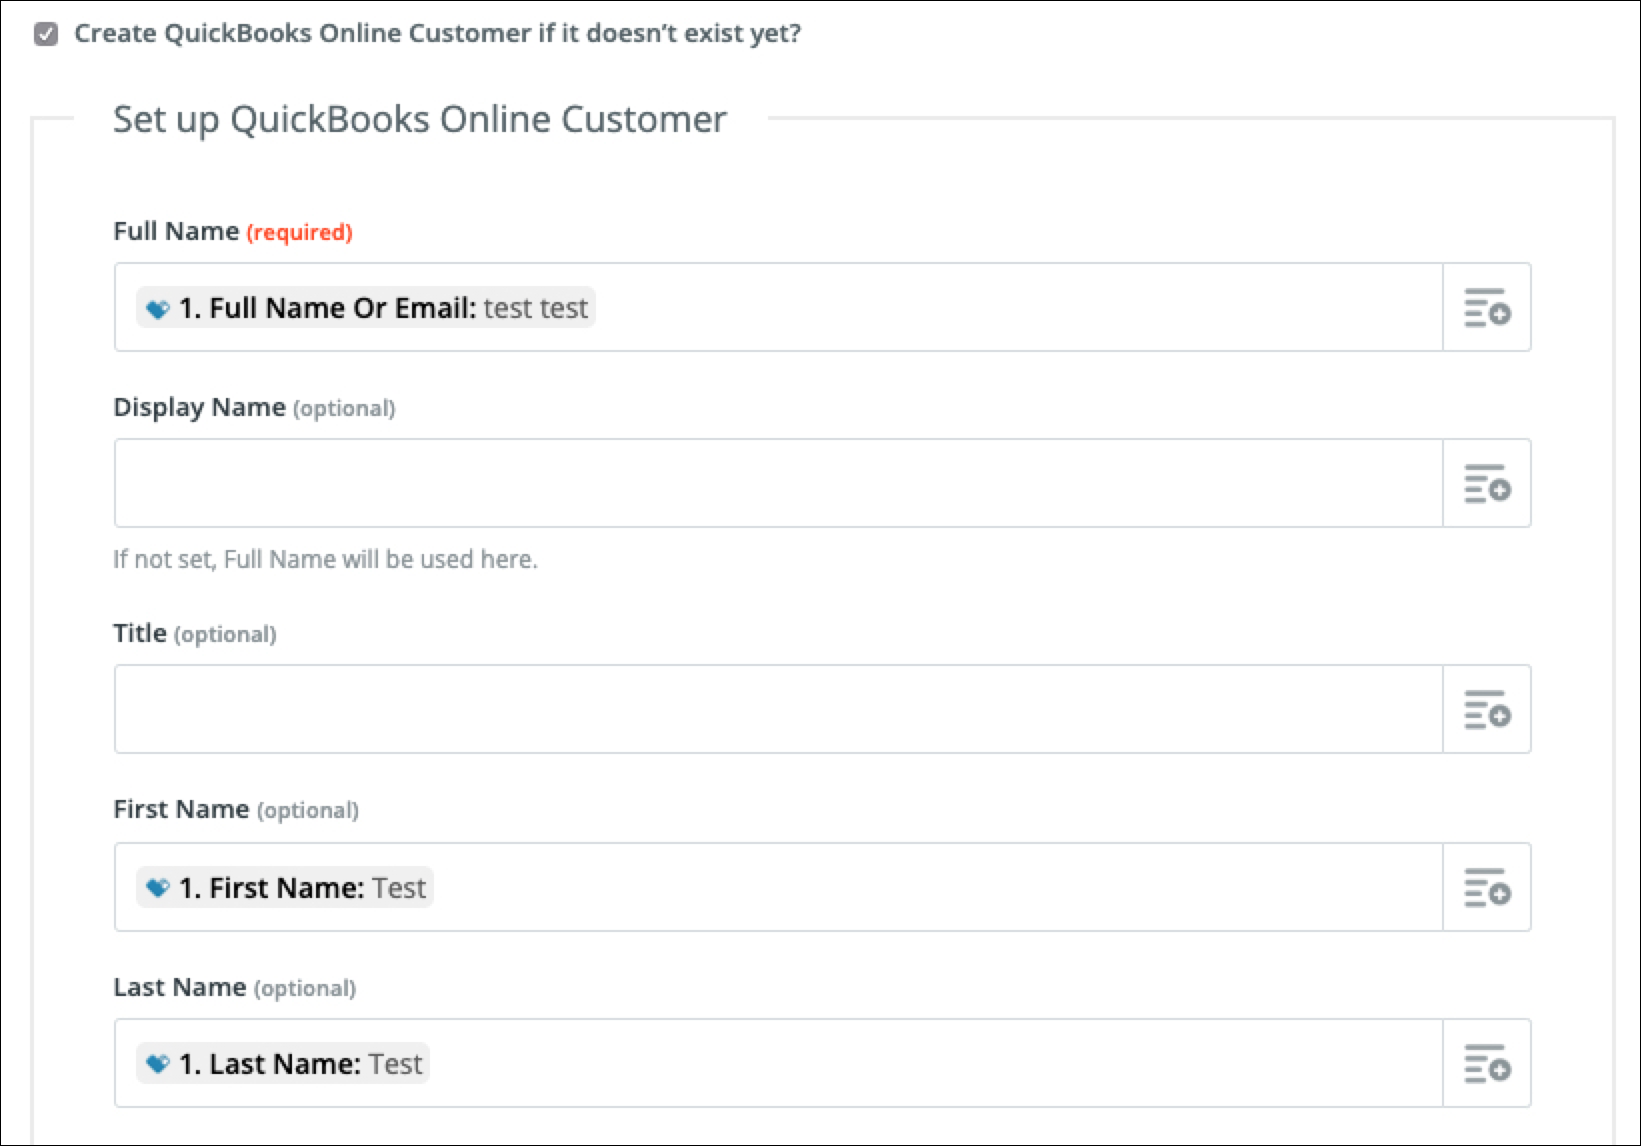
3. Check "Create QuickBooks Online Customer if it doesn’t exist yet?"
Clicking on that will ensure that a customer is either matched or created with each new donation. This ensures your data will be fully up-to-date.
This will also bring up a host of new fields to fill with data. You can add as much or as little as you want to create this new customer, but at a minimum, we would recommend:
- Full Name
- First Name
- Last Name
As you scroll down, you could also add Address and Phone Number, among others.
4. Test This Step
On the next screen, you'll see a summary of the data you've chosen to send into Quickbooks. Clicking "Test & Review" will send this exact example into your Quickbooks account so you can be sure it's behaving as expected. We strongly recommend clicking "Test & Review" to be sure that this data gets into Quickbooks as you expect. If you'd like, however, you can skip this test.
Once you're done testing or skipping the test, do not click "Done Editing". Instead, click on the little plus sign below the box.

Once again, search for Quickbooks when the search bar pops up.
Once you select Quickbooks, you can choose your Action Event again. For this example, we'll be creating a Sales Receipt for each donation.
Once you've selected your action, click "Continue".
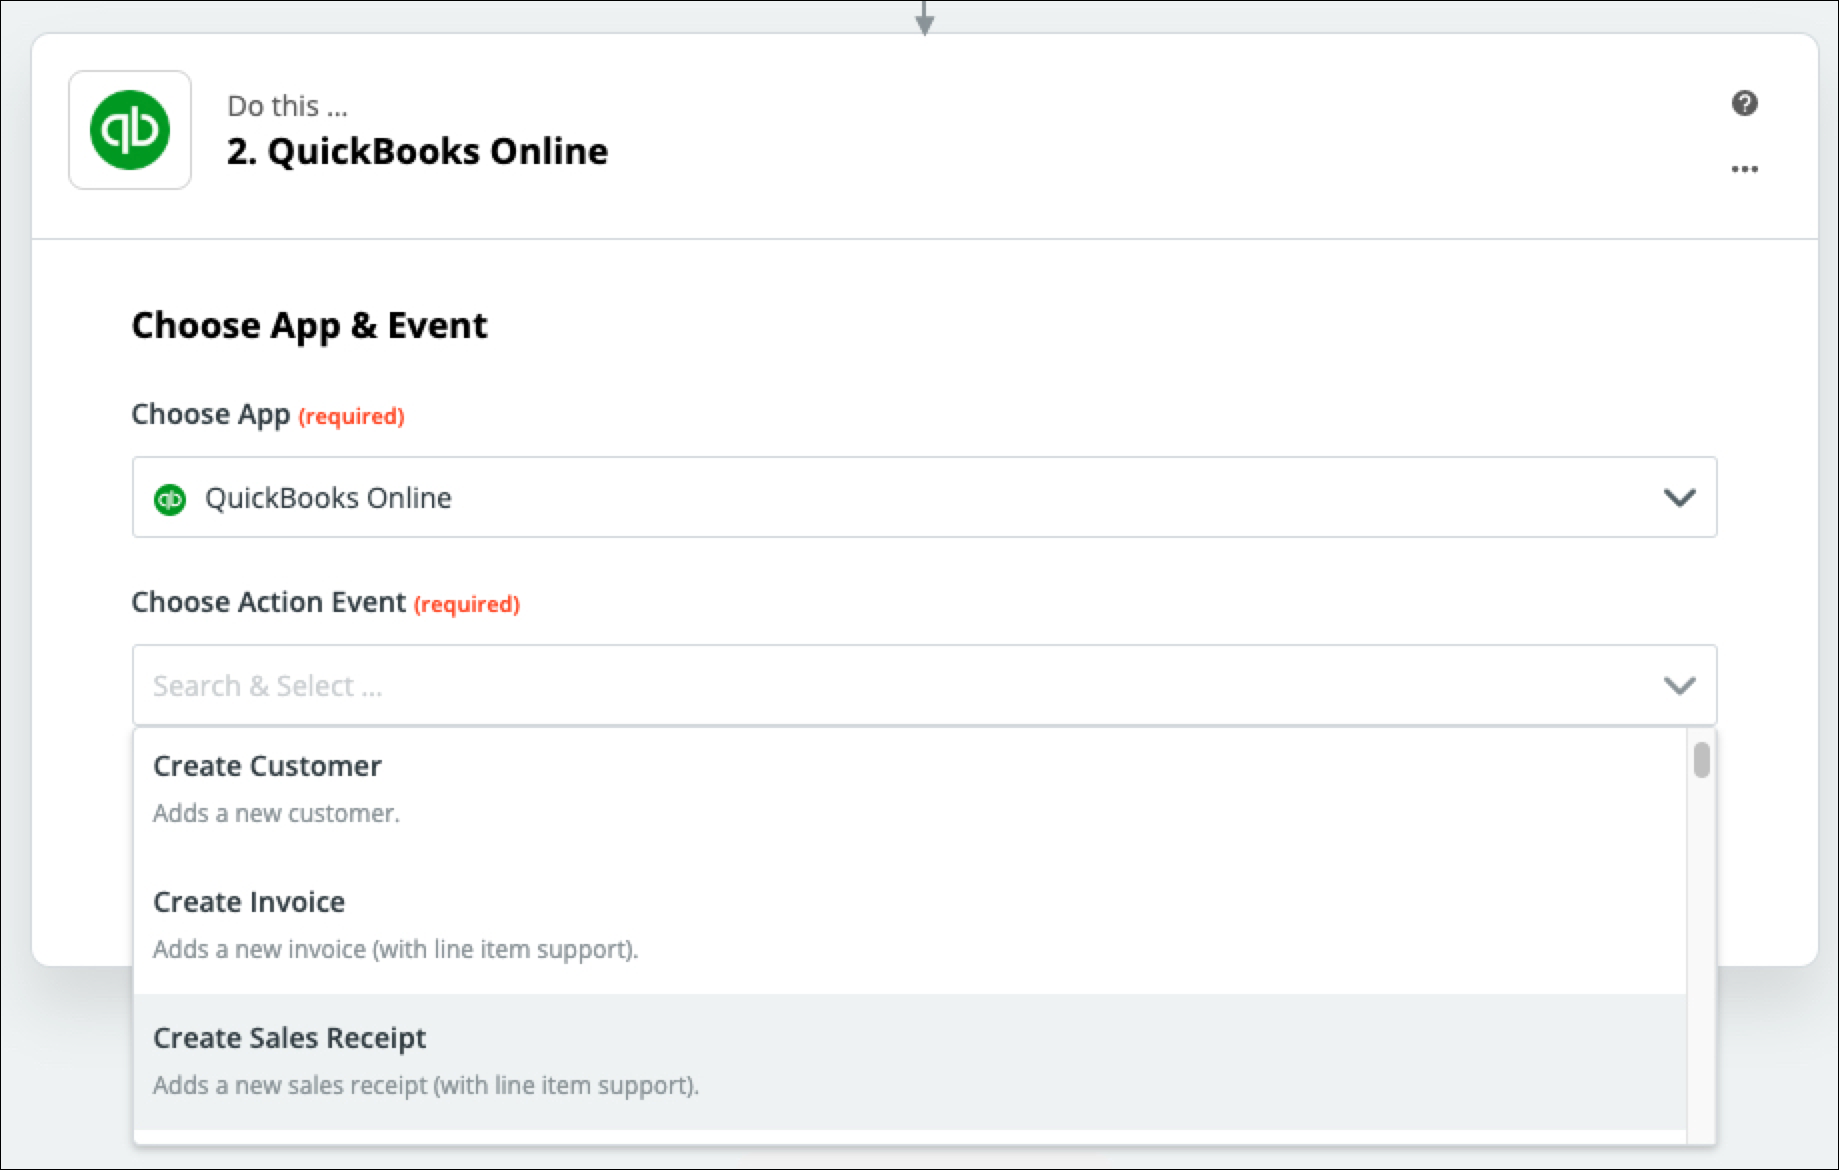
On the next screen, select the Quickbooks account you signed into in a previous step, then click "Continue".
Step 9. Customize the Data Going Into Quickbooks
On the next screen, you're able to dictate which data from the donation goes into which fields in your Quickbooks Online account.
The first step is to match the data for the new action to the customer you created or found in Step 2 of the Zap:
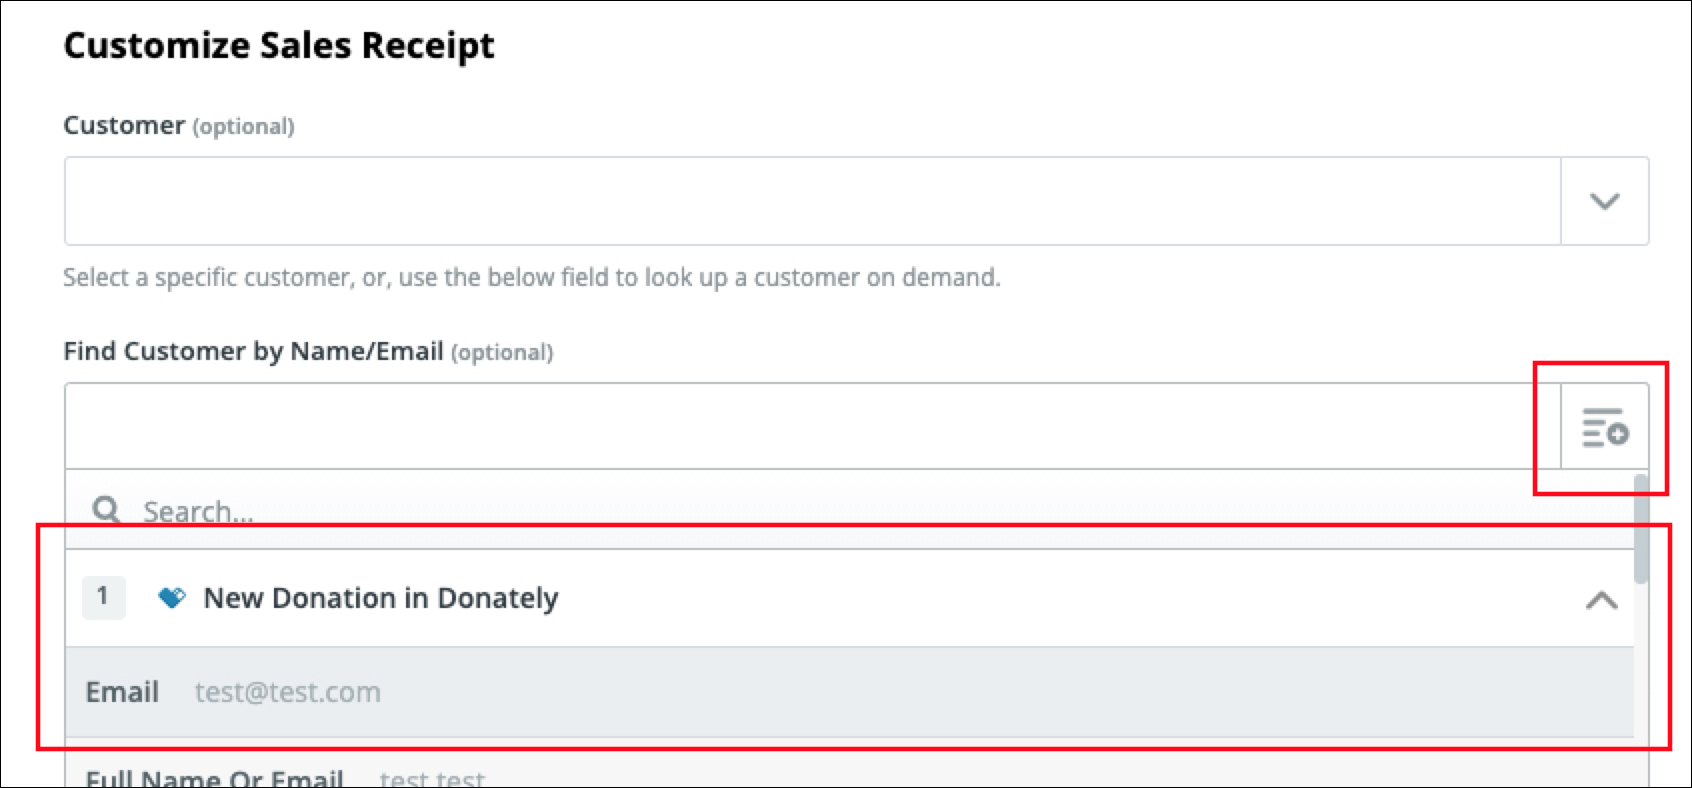
We recommend matching this with the "Find Customer by Name/Email" field. Click on the list/plus sign on the right, then use the email from the New Donation in Donately. This ensures your matching to the same field as you did from the second Zapier step.
Now, you can fill in all the data you'd like to send into Quickbooks Online with each donation. Next to most fields, you'll see a small list icon with a plus sign to the right. Clicking on that will bring up all data from the donation you found in Step 5. This will help you visualize what data is going into each field.
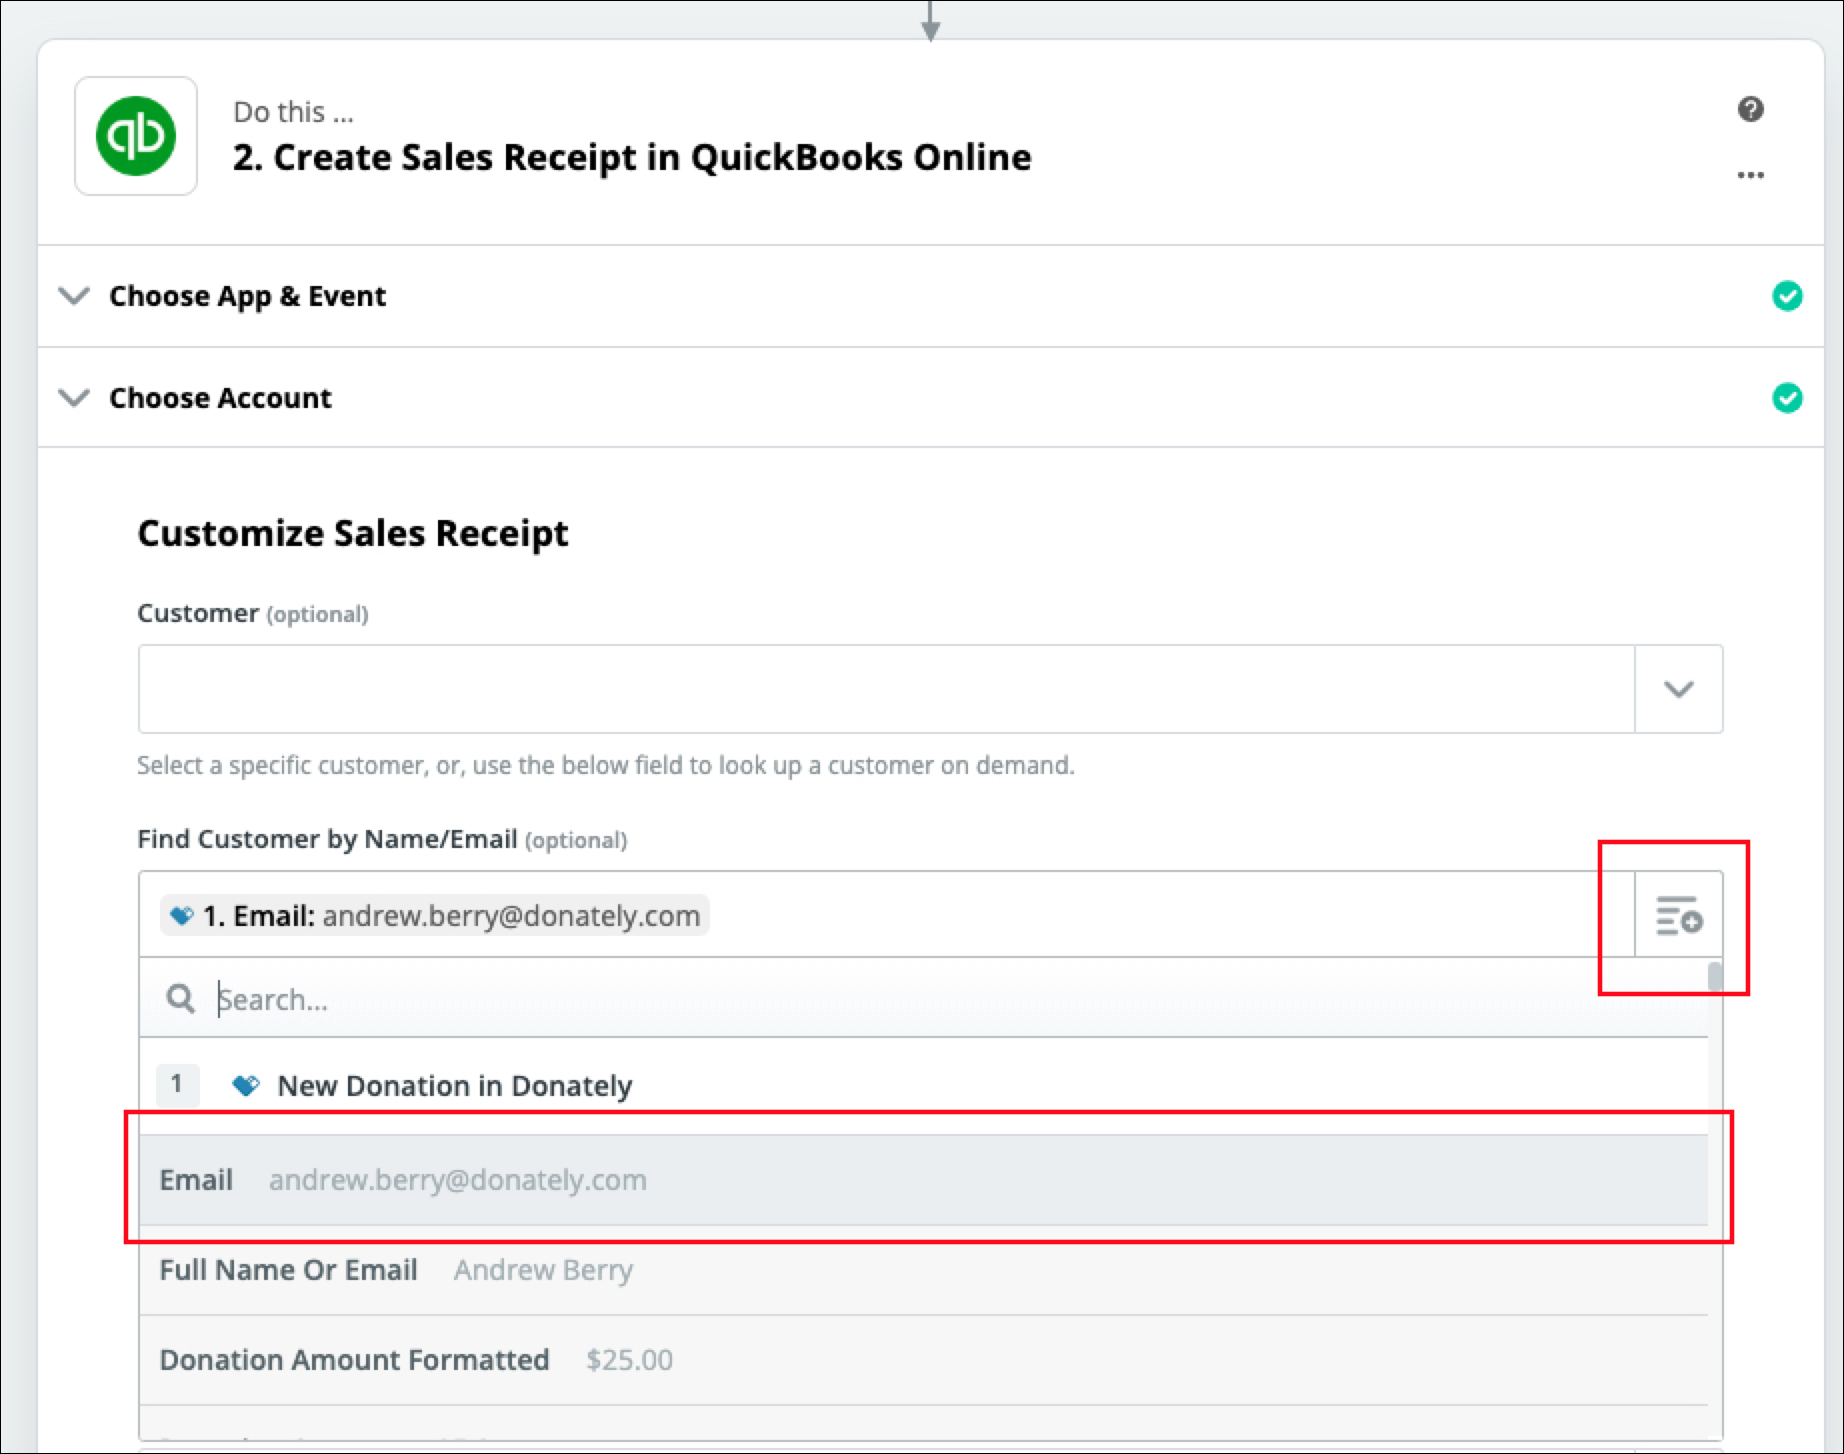
Be sure to read through the entire list, bringing in all the data you need from the donation into QuickBooks.
If you have custom fields in QuickBooks, you may need to first scroll down to the bottom of this step, and click "Refresh Fields". This should bring in extra, custom fields.
For reference, in this example, we brought in:
- Email
- We used "Email" from the donation data.
- Line Amount
- We used "Donation Amount Formatted" from the donation data.
- Product/Service
- We added a product called "Donation" in Quickbooks. By default, this will be listed as "Sale". You can customize this if you wish.
- Transaction Date
- We used "Created At" from the donation data
- Address (Address Line 1 -> Address Country)
- In the donation data, you may see "Charge Source Address" fields. Instead, we commend using simply "Street Address", "Street Address 2", "City", "Zip" and "Country".
When you're satisfied, click "Continue" at the very bottom.
Step 10. Test Your Integration
On the next screen, you'll see a summary of the data you've chosen to send into Quickbooks. Clicking "Test & Review" will send this exact example into your Quickbooks account so you can be sure it's behaving as expected. We strongly recommend clicking "Test & Review" to be sure that this data gets into Quickbooks as you expect. If you'd like, however, you can skip this test.
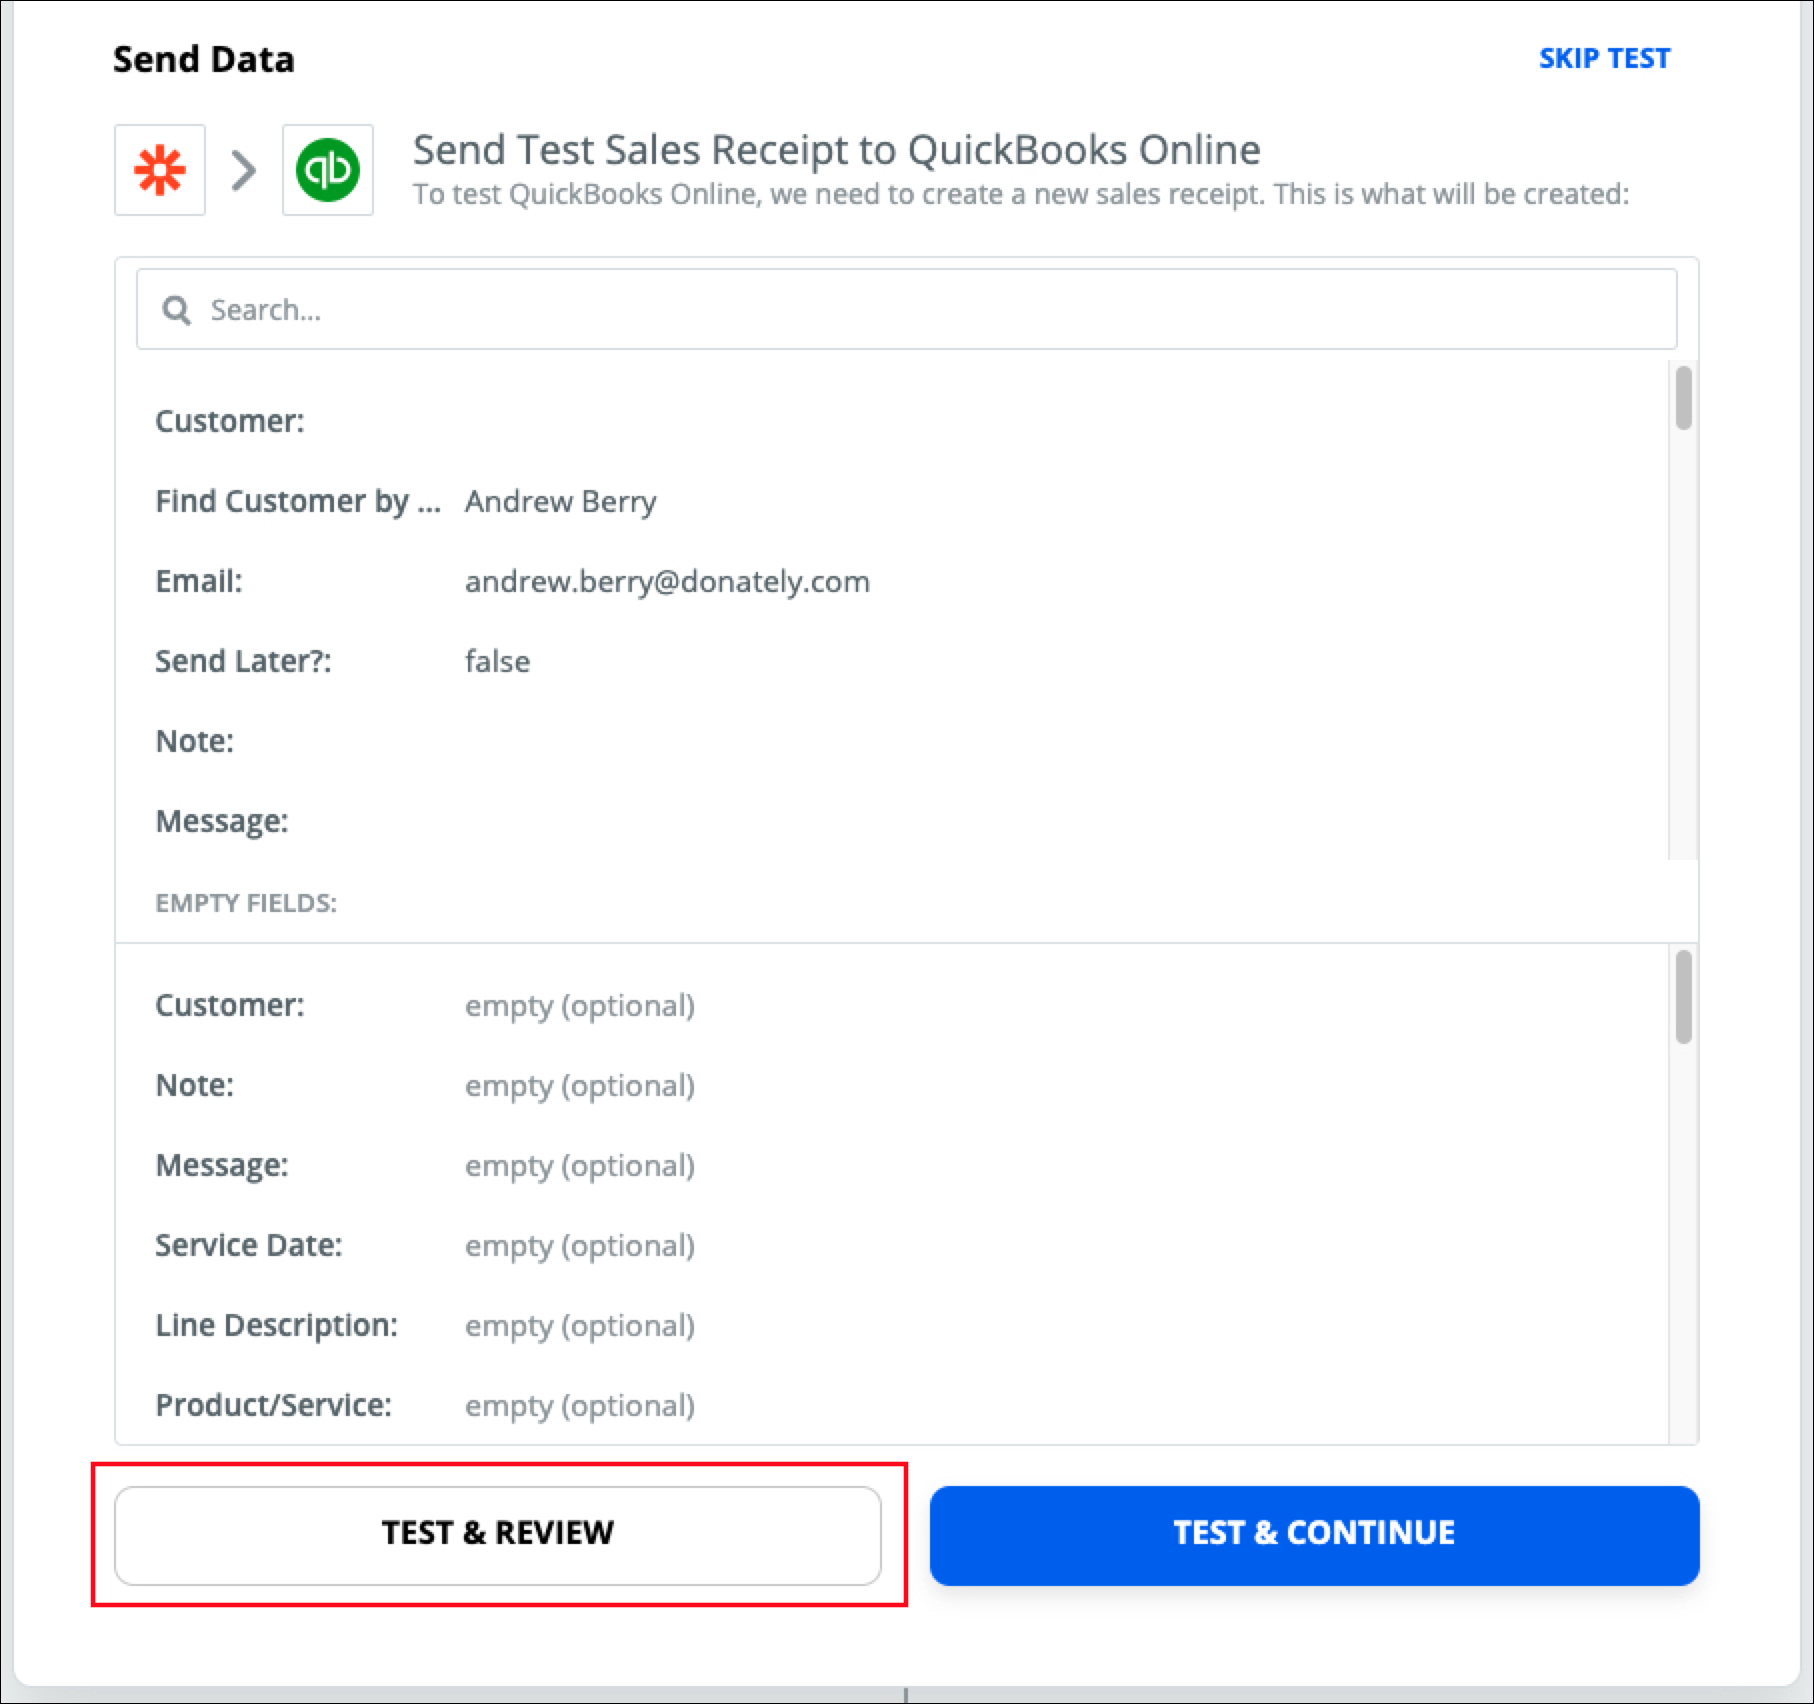
You should see confirmation that the test was successful and data was sent to QuickBooks.
Back in QuickBooks, you should see this data under the "Sales" tab. Clicking on the sale you just sent in, you should see all the data you chose in this step:

If this is satisfactory, head back to Zapier, and turn your Zap on!
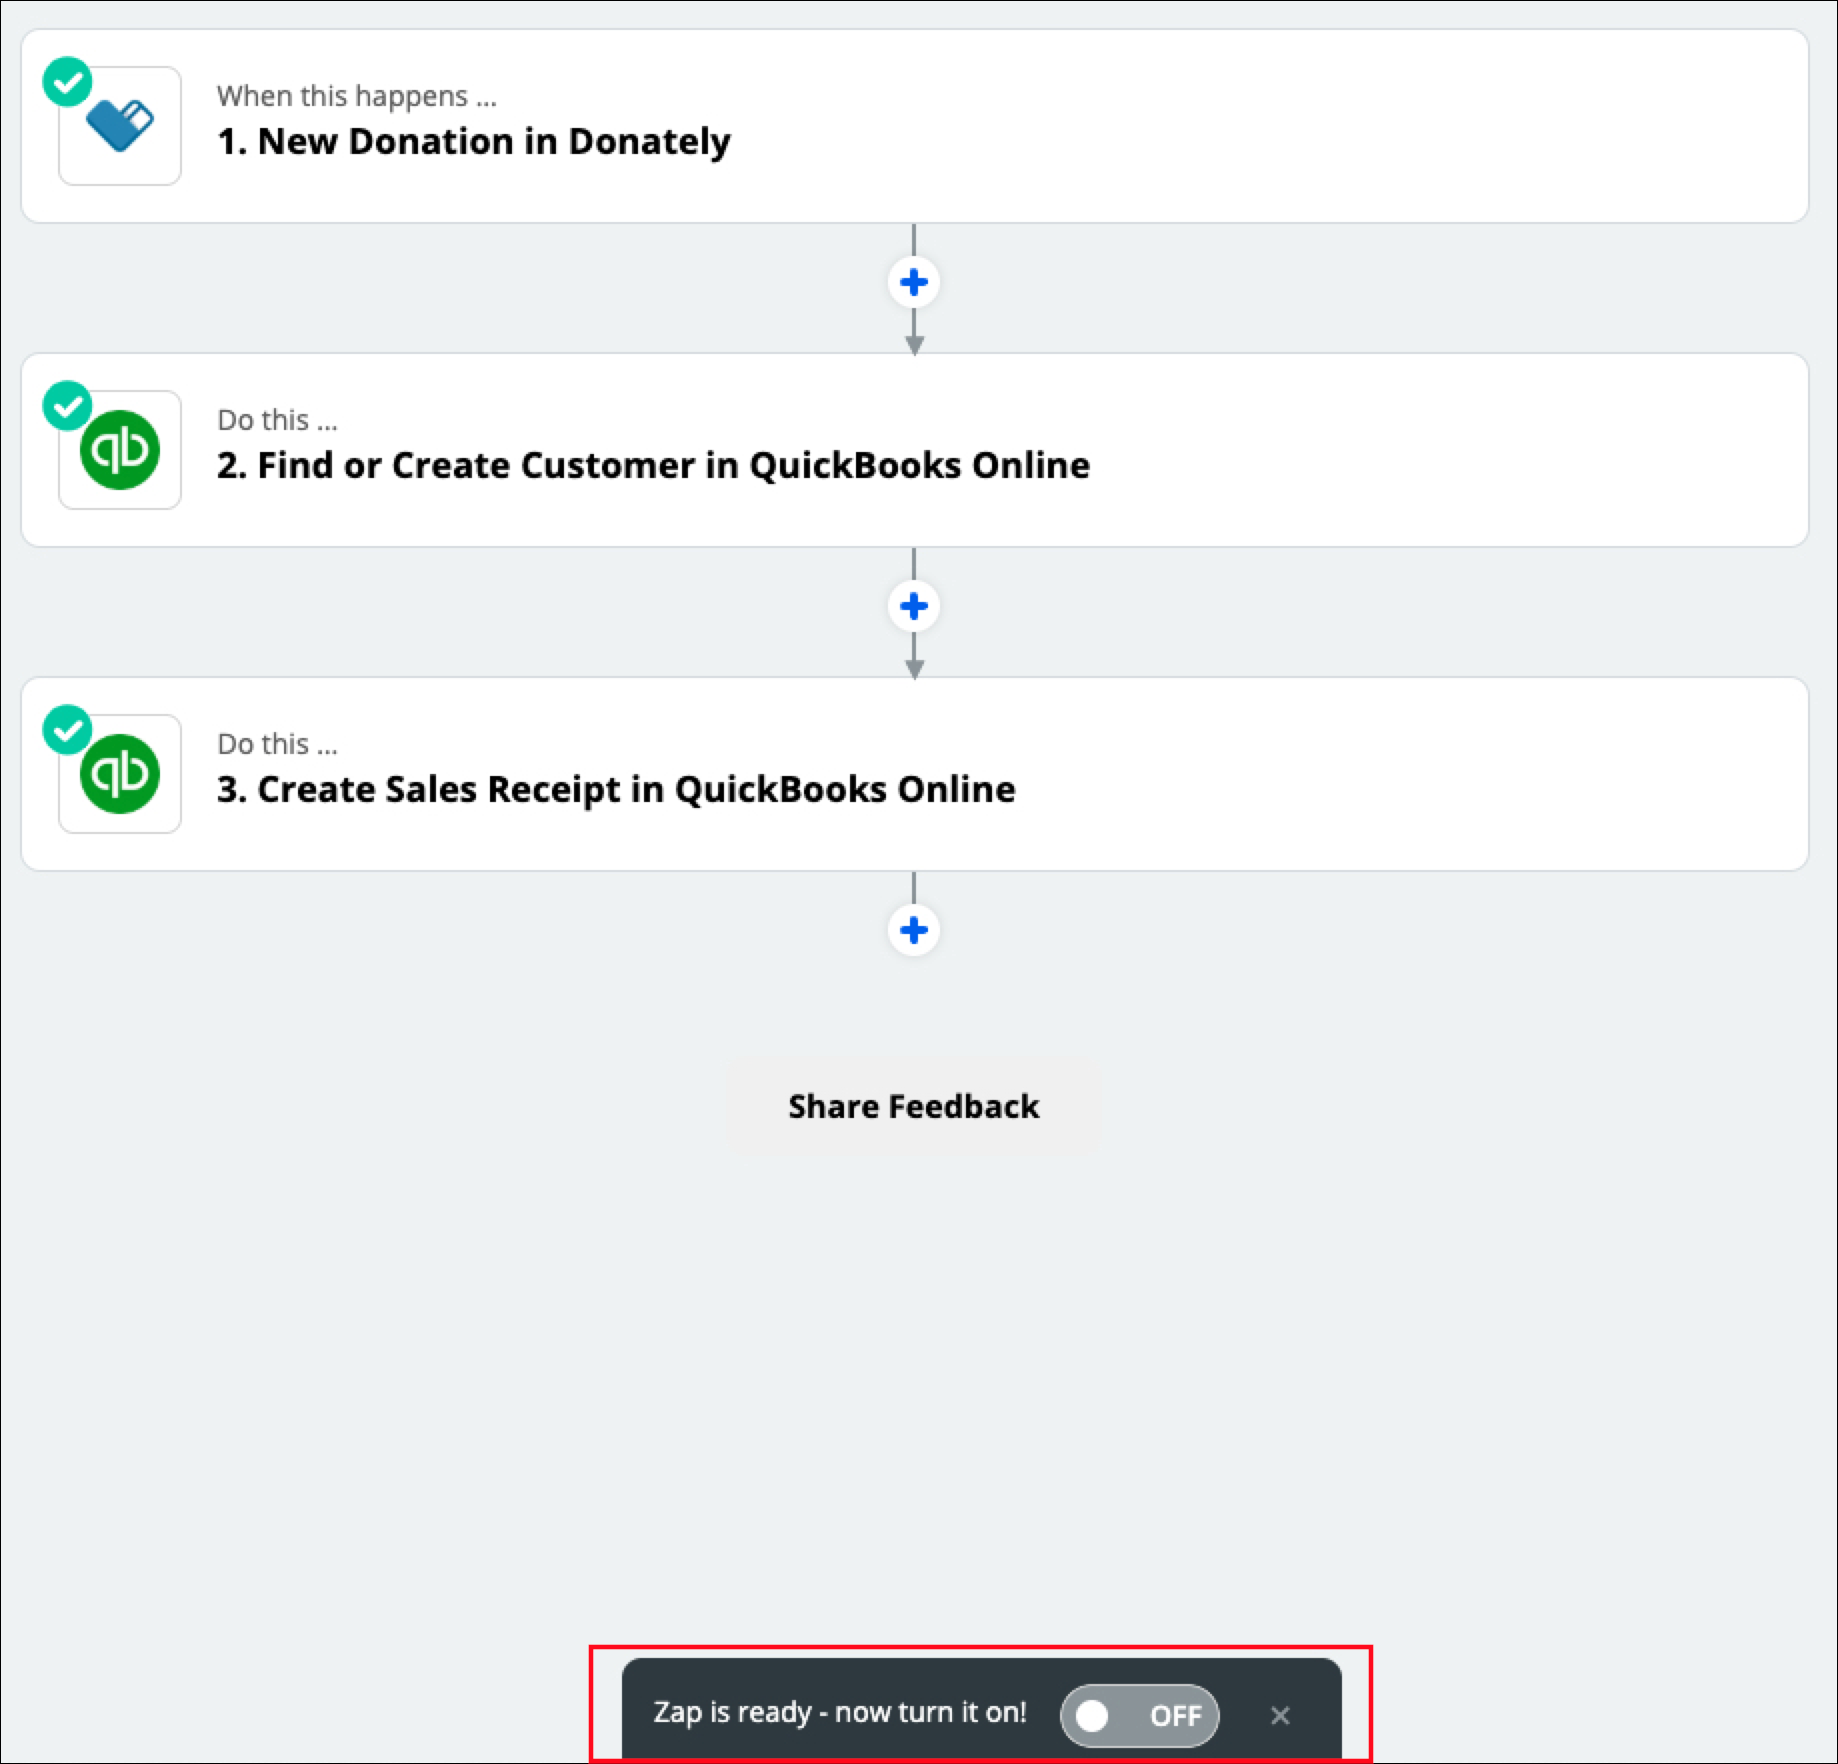
Once the Zap is on, you'll see confirmation in the top right-hand corner. It should be green, showing "On".
With that, you're all set! Now with each donation, this zap will first match the donor to an existing customer, or create a new customer, then send the selected donation data in your QuickBooks account. This should keep your systems in sync at all times.
Have any questions? Let us know!
