Embedding a Donately donation form on Webflow
Webflow is a great option for building a visually stunning website with no coding experience.
Please note, you'll need to be on Webflow's "Lite Account" plan, or have a paid Site Hosting plan for your project in order to embed external content, such as our donation form. Additionally, you'll need to be on a Legacy, Starter, Team or Enterprise plan in order to embed your donation form. If you're not a user yet, please see our pricing here. If you're a Free tier user, read more about upgrading in your dashboard: https://dash.donately.com/upgrade.
Step 1. Customize your donation form
Check out this collection of guides for help customizing your Donately donation form. After you customize your form, feel free to save it, but leave the form builder open as you'll need it in Step 5.
Step 2. In a new tab, navigate to Webflow
Open up a new tab or window, leaving your Donately dashboard open. Sign in, or create an account if you don't have a Webflow account yet. As noted above, you'll need to be on their "Lite" plan, or higher.
Step 3. Create a new site, and pick your theme
For this guide, we'll be using the Business Starter theme from Webflow.
Step 4. Decide where you'll put your Donately form
For this guide, we'll be creating a new "Donate" page, where we'll be putting our donation form. To get there, click on the white paper icon from the left-side menu.
Once the list of your pages shows, click on the top-right hand icon, as pictured below.
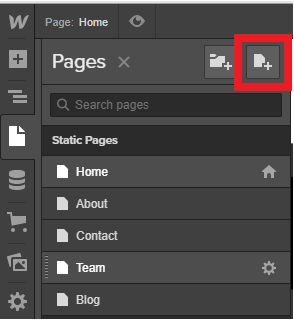
Fill out as much information as you'd like on the form that pops up.
Step 5. Add the "Embed" element to the pageOnce you have created the new page or decided where you'd like to embed your form, you'll want to click the plus symbol from the left side menu.

Once the menu of elements pops up, scroll down to the bottom until you see the "Embed" button. Click on that. This should pop up an empty code box.
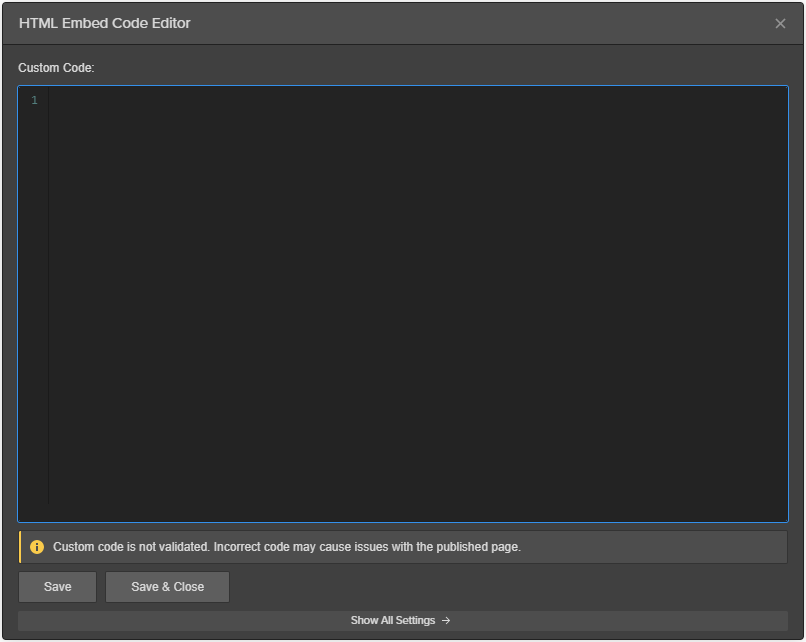
Step 6. Copy your Donately donation form script
Head back to your Donately dashboard, scroll down to the bottom of your form builder, and click "Copy Script". You can use either the Script tag or the iFrame tag, though we recommend the Script tag.
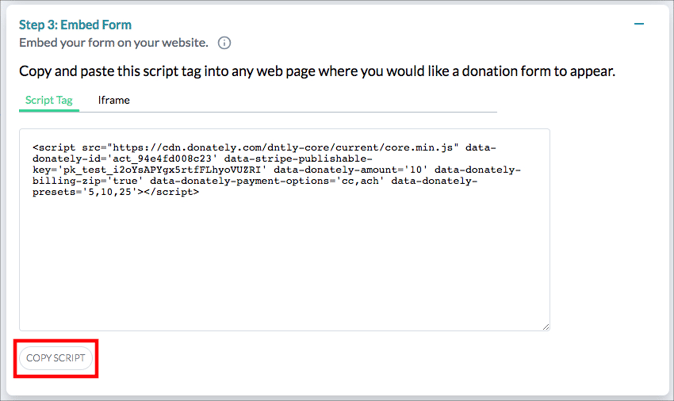
Step 7. Head back to Webflow, and paste in the code
In the code box from Step 5, paste that script is in there, and click "Save & Close".
Note, if you simply add an embed code without putting it inside another container or column, the form might take on the width of the entire page.
If you'd like to constrain the width, we recommend putting the embed block inside a "Container" block, as instructed here:
Step 7a. Add an element, and select "Container". Note, you could also add a column if you'd like!
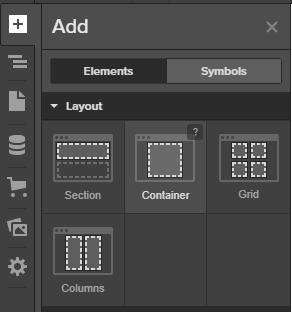
Drop this container on the spot on the page where you want your donation form.
Step 7b. Add another element, and scroll down to select "Embed". Drag that into the Container you added just above.
Step 7c. Paste in your embed code, as instructed earlier in Step 7
Step 8 (optional). Publish your Webflow site
Whether you put the form on its own, or inside another container, you will see a message that lets you know the script will only display on published sites. This simply means the site will need to be live for the content to display.
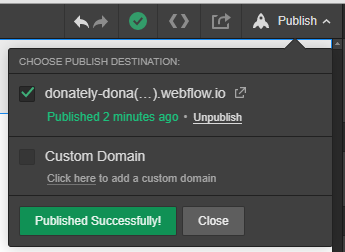
If you want to see a preview by publishing, you can simply click "Publish" in the upper right-hand corner. You're always able to come back and unpublish once you've approved the look.
If you do go to preview your form, it will look similar to this:
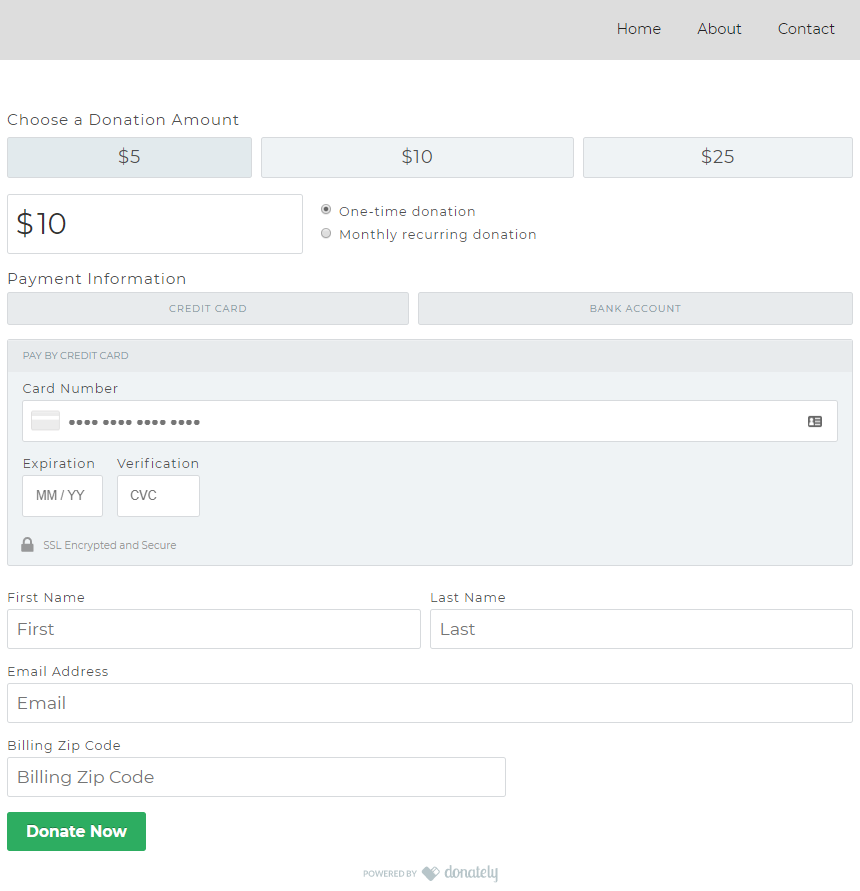
Note, our donation form is designed to inherit the styles of any site so that it always fits with the rest of its environment. This means that unless you change it specifically via CSS in the form builder, your button color will default to whatever you chose in your Webflow site settings.
On Webflow, you can fine-tune the styling of any element and page on your site by clicking on the Paintbrush icon on the right side. This will give you almost complete control over the styles of the form.