This guide is for creating INDIVIDUAL fundraisers.
For instructions on creating a TEAM fundraiser, view guide here.
Creating a peer-to-peer Fundraising page is a great way to support a cause you care deeply about! What's more, setting up your own page is a very simple process. Follow the steps below to create an INDIVIDUAL peer-to-peer fundraiser:
Step 1. Create Your Page
The first step, naturally, is to create your own page! You can do so by going to your organization's Campaign page, or directly to the Fundraiser form. You should get one of these two links from the organization. Each will look something like this:
"https://pages.donately.com/exampleorganization/campaign/examplecampaign"
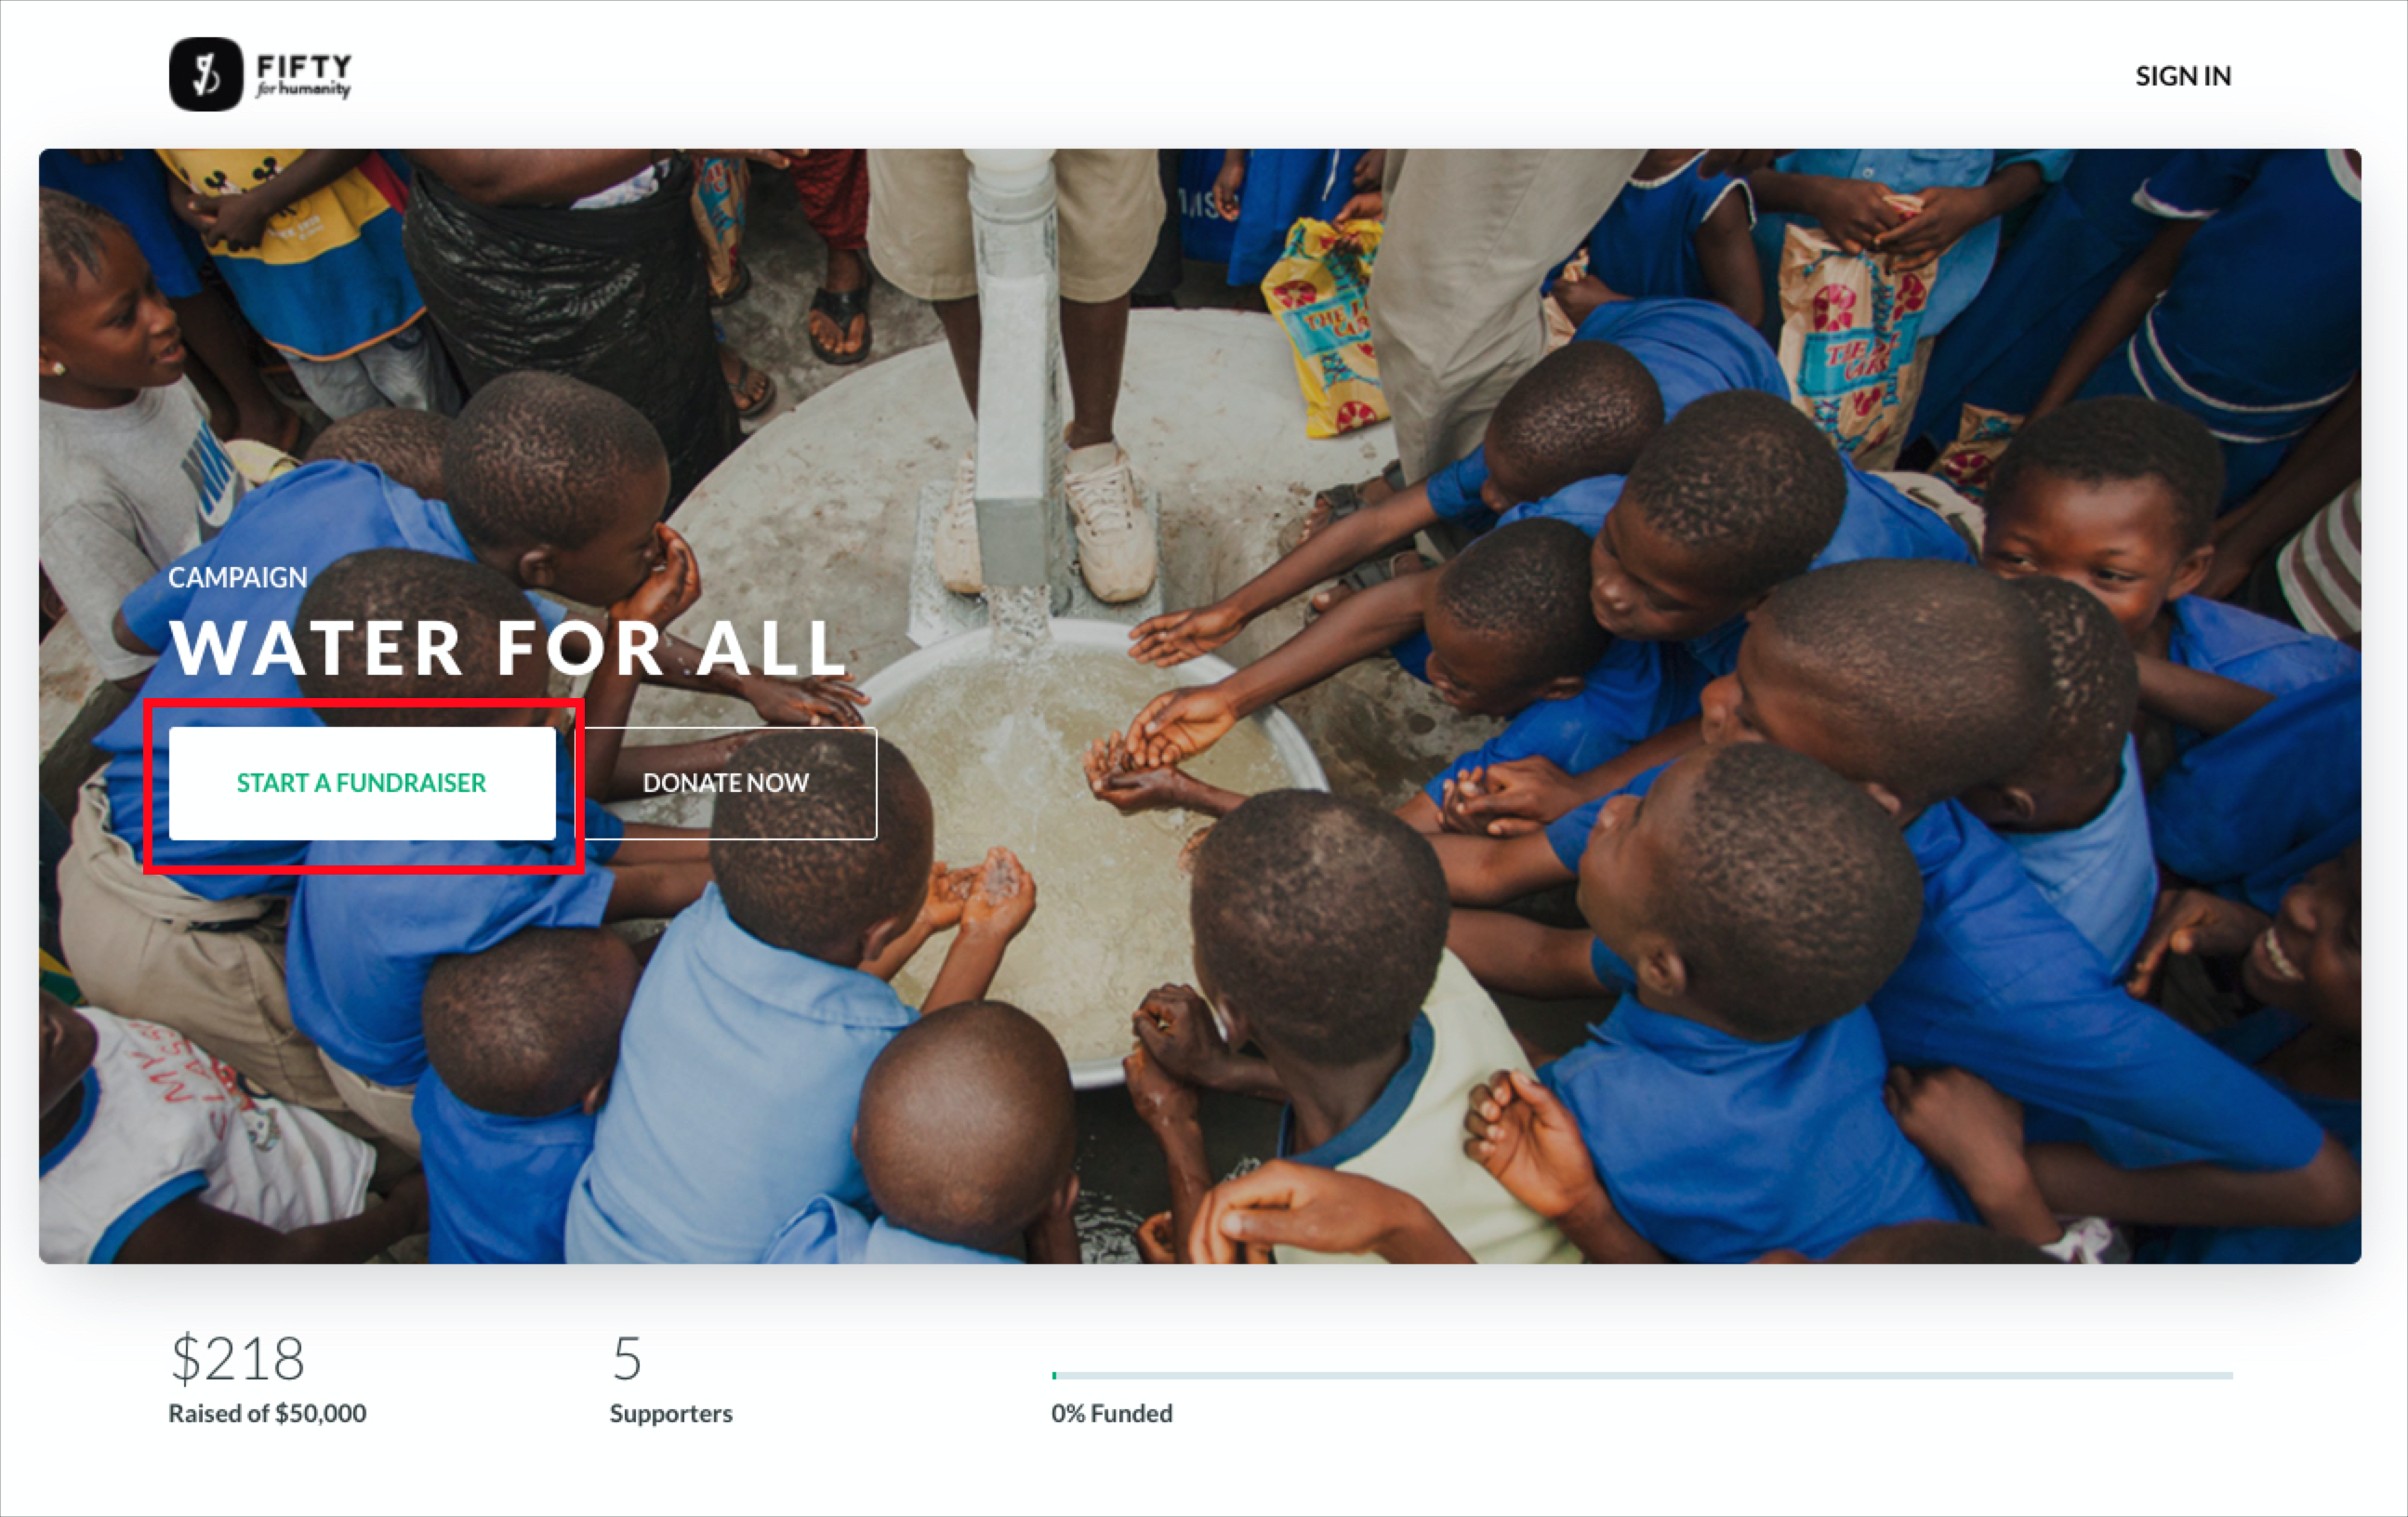
Here is an example of what a Campaign page could look like. You'll want to click on the "Start a Fundraiser" button, outlined in red below:
Once you click on that button, here is what the signup form will look like:
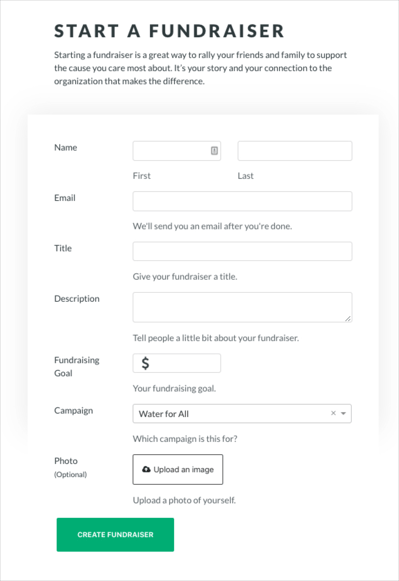
You'll need to fill in all the fields, with the exception of adding a photo. However, we do recommend uploading a simple photo of yourself so that your supporters will be certain they are giving to the correct page! You are able to edit the goal at any time, so feel free to set a goal to start and adjust as you go.
For the description, we recommend keeping that fairly short. Your supporters will be able to see what the organization writes as a description for the Campaign, so we recommend keeping your description to 2-3 sentences about why this cause is important to you!
You should not need to change the "Campaign" dropdown!
One important note: only one First and Last Name can be attributed to one email. That is - if you are creating multiple pages using the same email, the same First and Last name will be shown on both pages. A workaround is to either use two unique emails or add a +1 to one your emails before the @ symbol. See below for an example of what we mean:
- Fundraiser 1: example@gmail.com John Smith
- Fundraiser 2: example+1@gmail.com Jane Smith
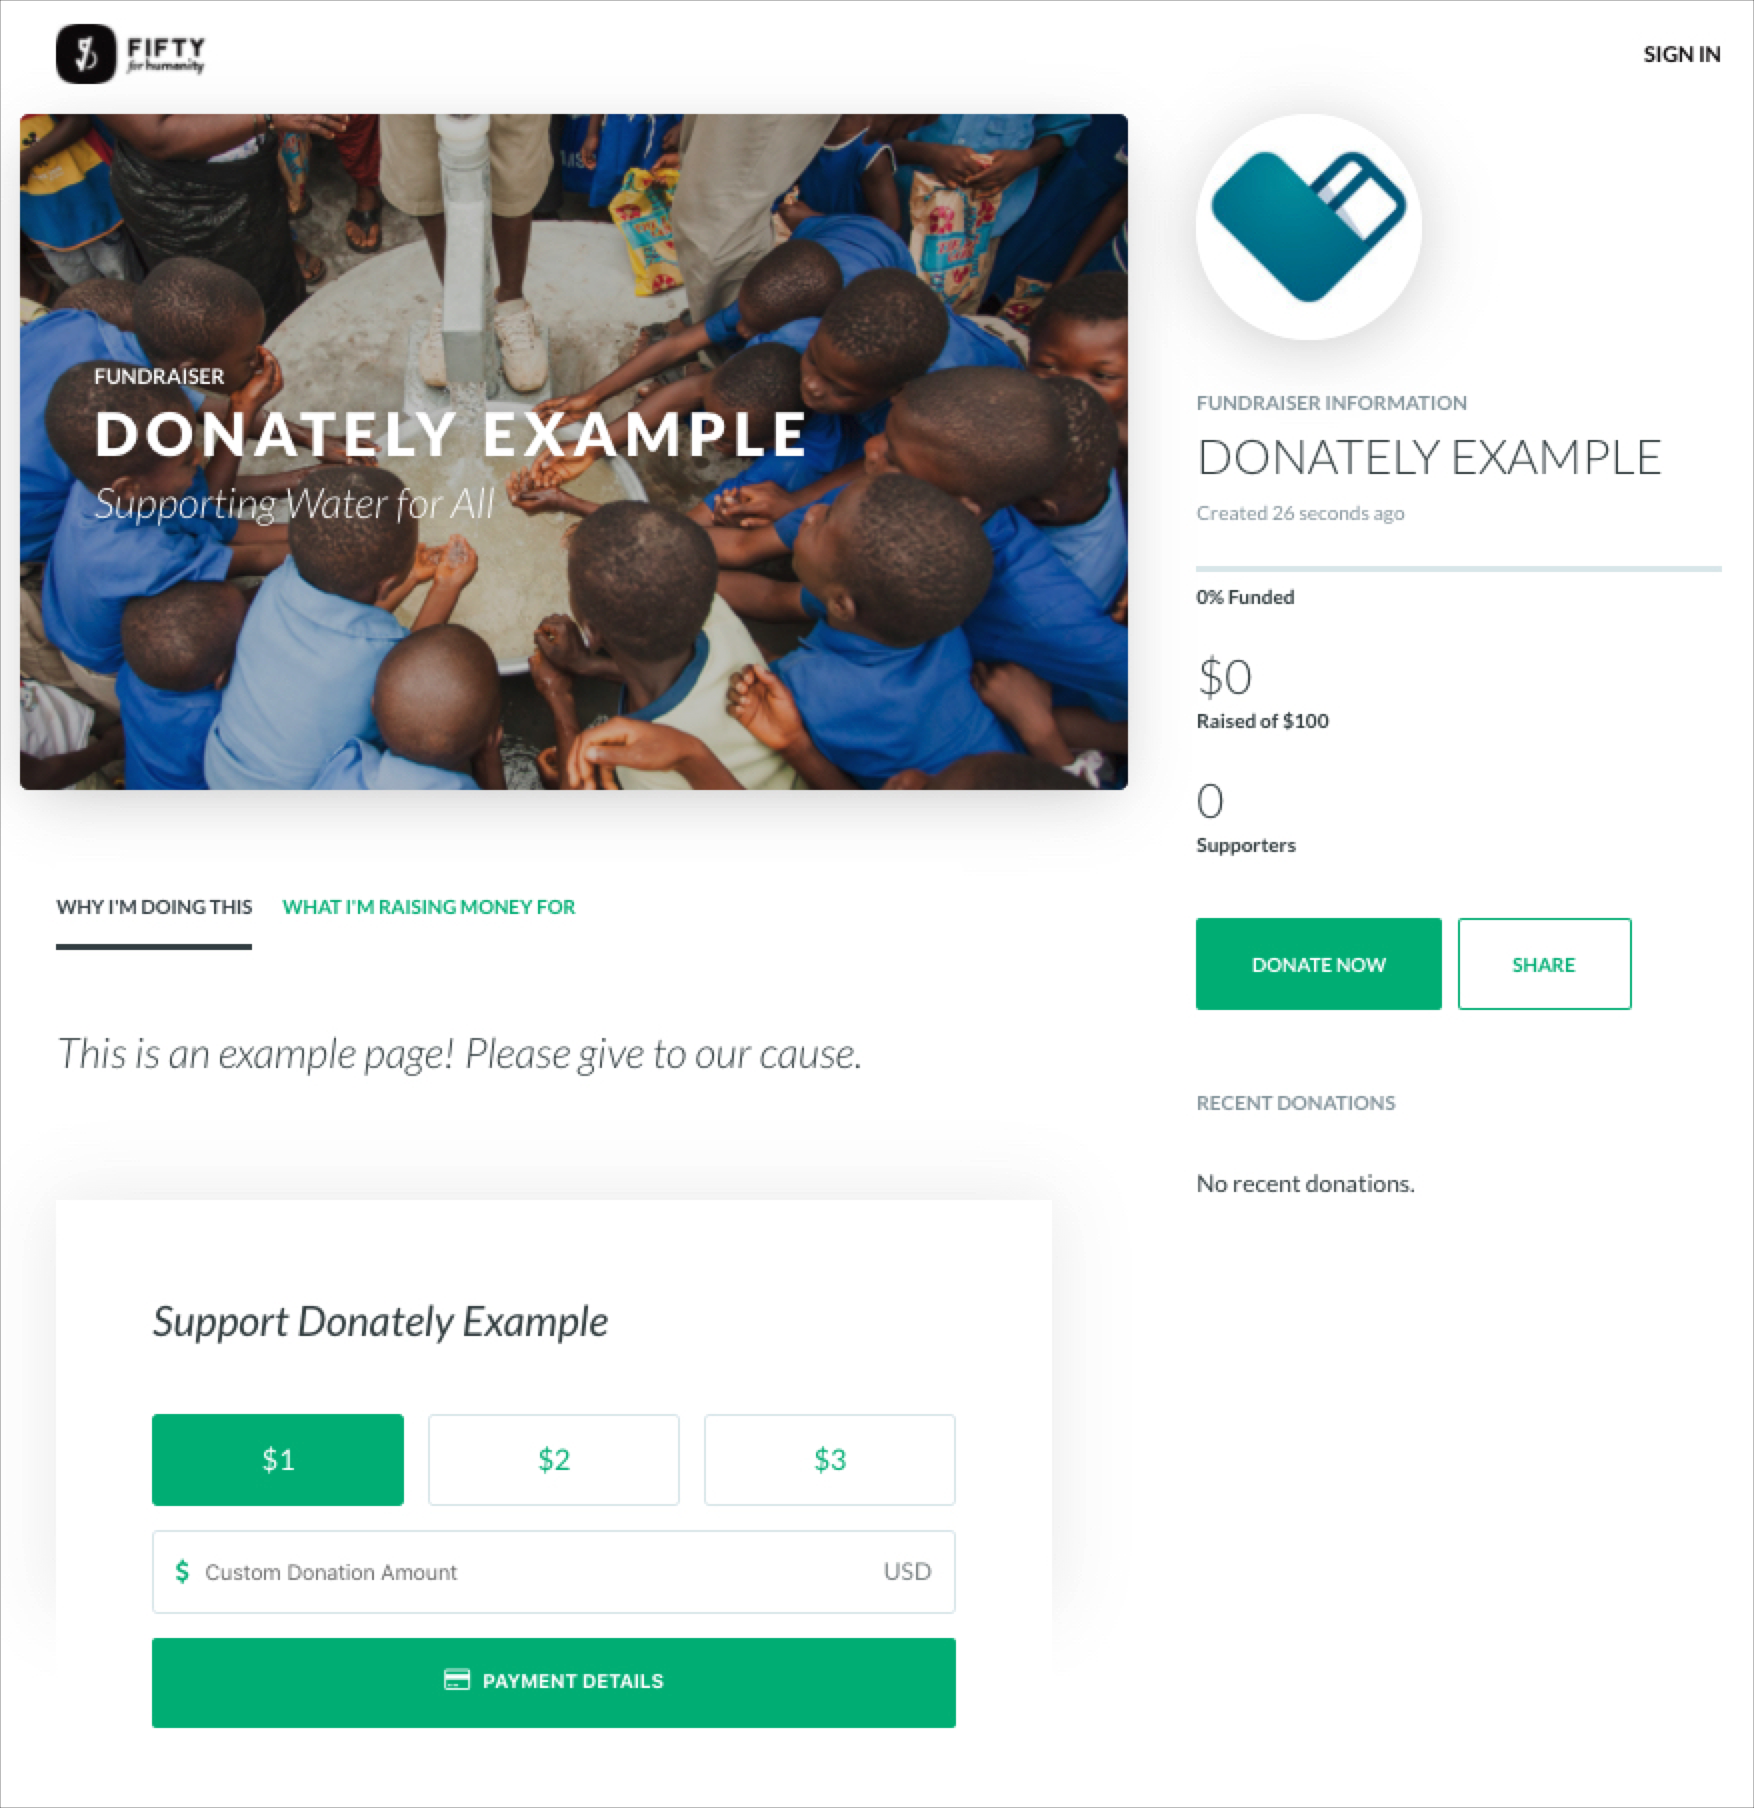
Once you click "Create Fundraiser", you should be redirected to your new page! That will look something like this:
Step 2. Check Your Email
Once you create the page, we'll send you an email with the link to your page, and instructions on how to edit your page if necessary.
Look for an email with the subject line "Getting started with your new fundraiser". It will look something like this:
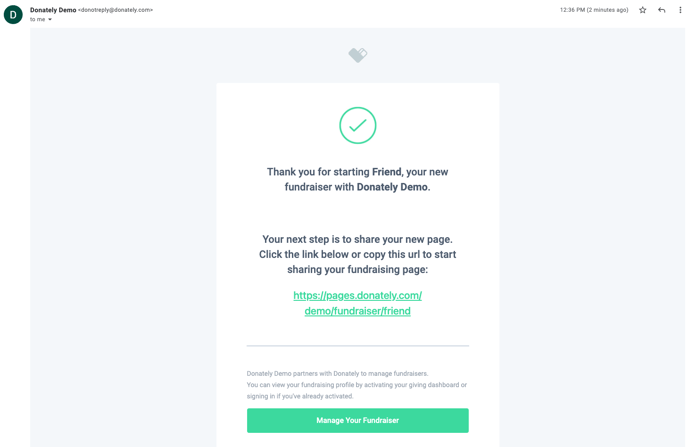
From here, you can click the link to go directly to your page, copy that link and share on social media, or activate your profile in order to edit the page and view donations.
If you'd like to activate your profile now, click on the blue "activating" button in the footer of the email. You'll need to confirm your email and set a password. Once you do that, you're able to log in and edit your page.
For instructions on how to activate your profile, check out this article.
Just a note, you should not create a Donately account on https://donately.com/signup. If you get to a page that asks you to create a Stripe account, simply send us an email at support@donately.com. This is not something you need to do in order to create a Fundraising page.
Step 3. View Your Page & Progress
Once you've created your page, and activated your profile as outlined above, you can view your progress and edit your page at any time. Head to this page: https://dash.donately.com/my_profile/dashboard
Once there, click "My Fundraisers" on the left side. That will bring up a page like this:
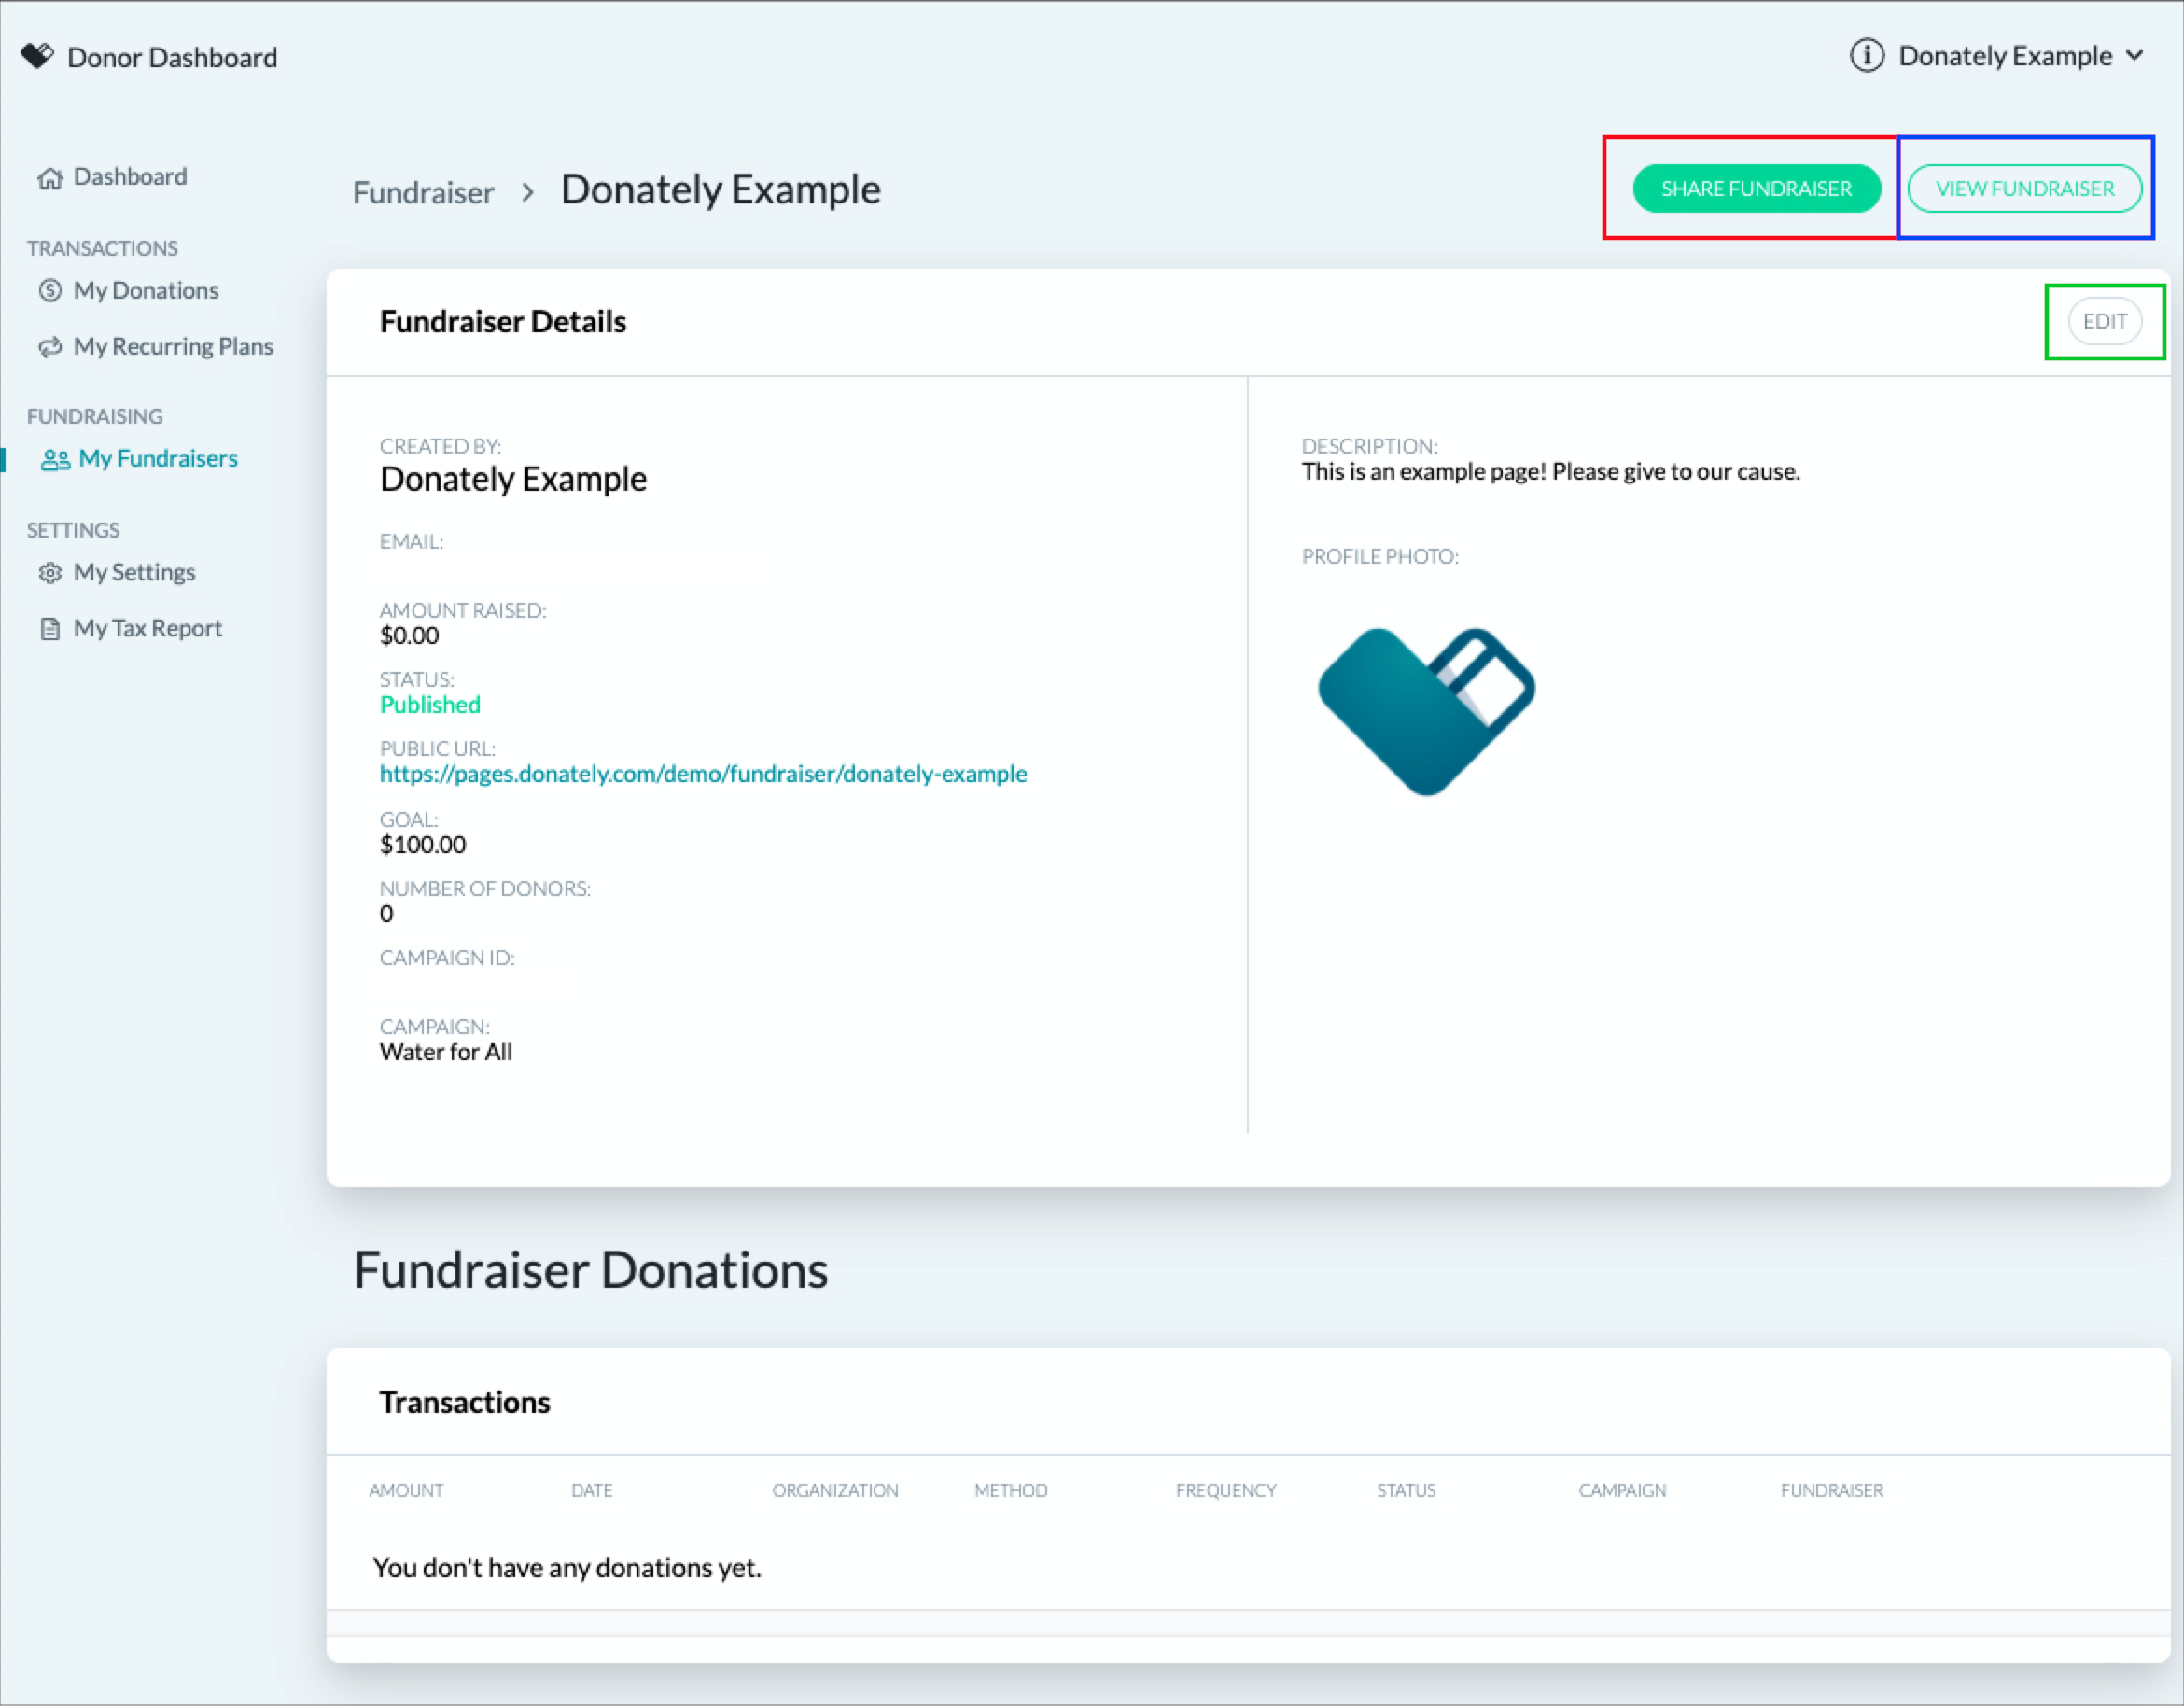
On this page, you can do a few things:
- Share your Fundraiser (Red Box in image)
This will open a new tab, in which you'll be presented the options to share you page on Facebook, Twitter, or quickly copy the link
- View your Fundraiser (Blue Box in image)
This will open your page in a new tab, where you can view the live version.
- Edit your Fundraiser (Green Box in image)
This will give you the ability to edit your page, including the goal and the content. Please note, if you change the Title of your Fundraiser, that will change the URL. That is - if you've already shared your Fundraising page on social media or via email, the link you shared will no longer work if you change the title!
Step 4. Collect Donations!
Now that you've done all the work to get your page up and running, it's time to share your page and collect donations for the cause
Once you do get donations, we'll send you an email to let you know who gave, and how much they gave, along with your progress towards your goal. The subject of this email will be "You've received a Donation", and it will come from the name of the organization for which you're fundraising.
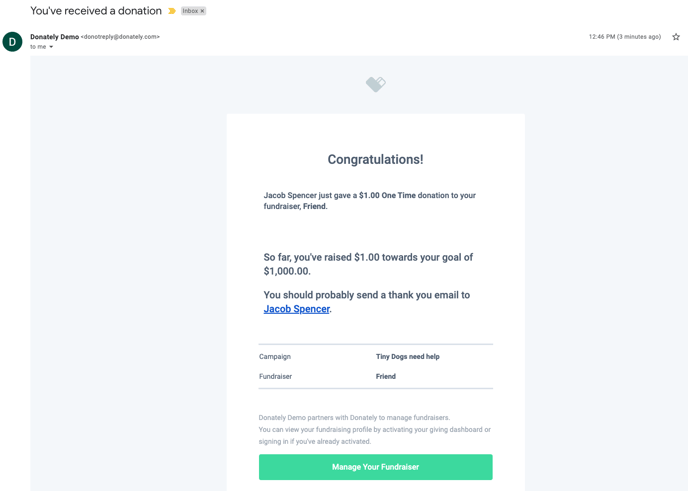
This email will also give you a link to send an email to your support directly in order to thank them for their donation.
If you have any questions, we recommend reaching out to the organization directly.