
Add custom fields to a donation form
Ask donors your own questions on a donation form, the field types available, and where the answers show up afterwards.
Donately's forms already collect the usual donor details. Custom fields are for the questions only you need to ask: an employer for matching gifts, a t-shirt size, a Gift Aid declaration, which programme a gift should support.
Add a field
- Go to Forms and open the form you want to change.
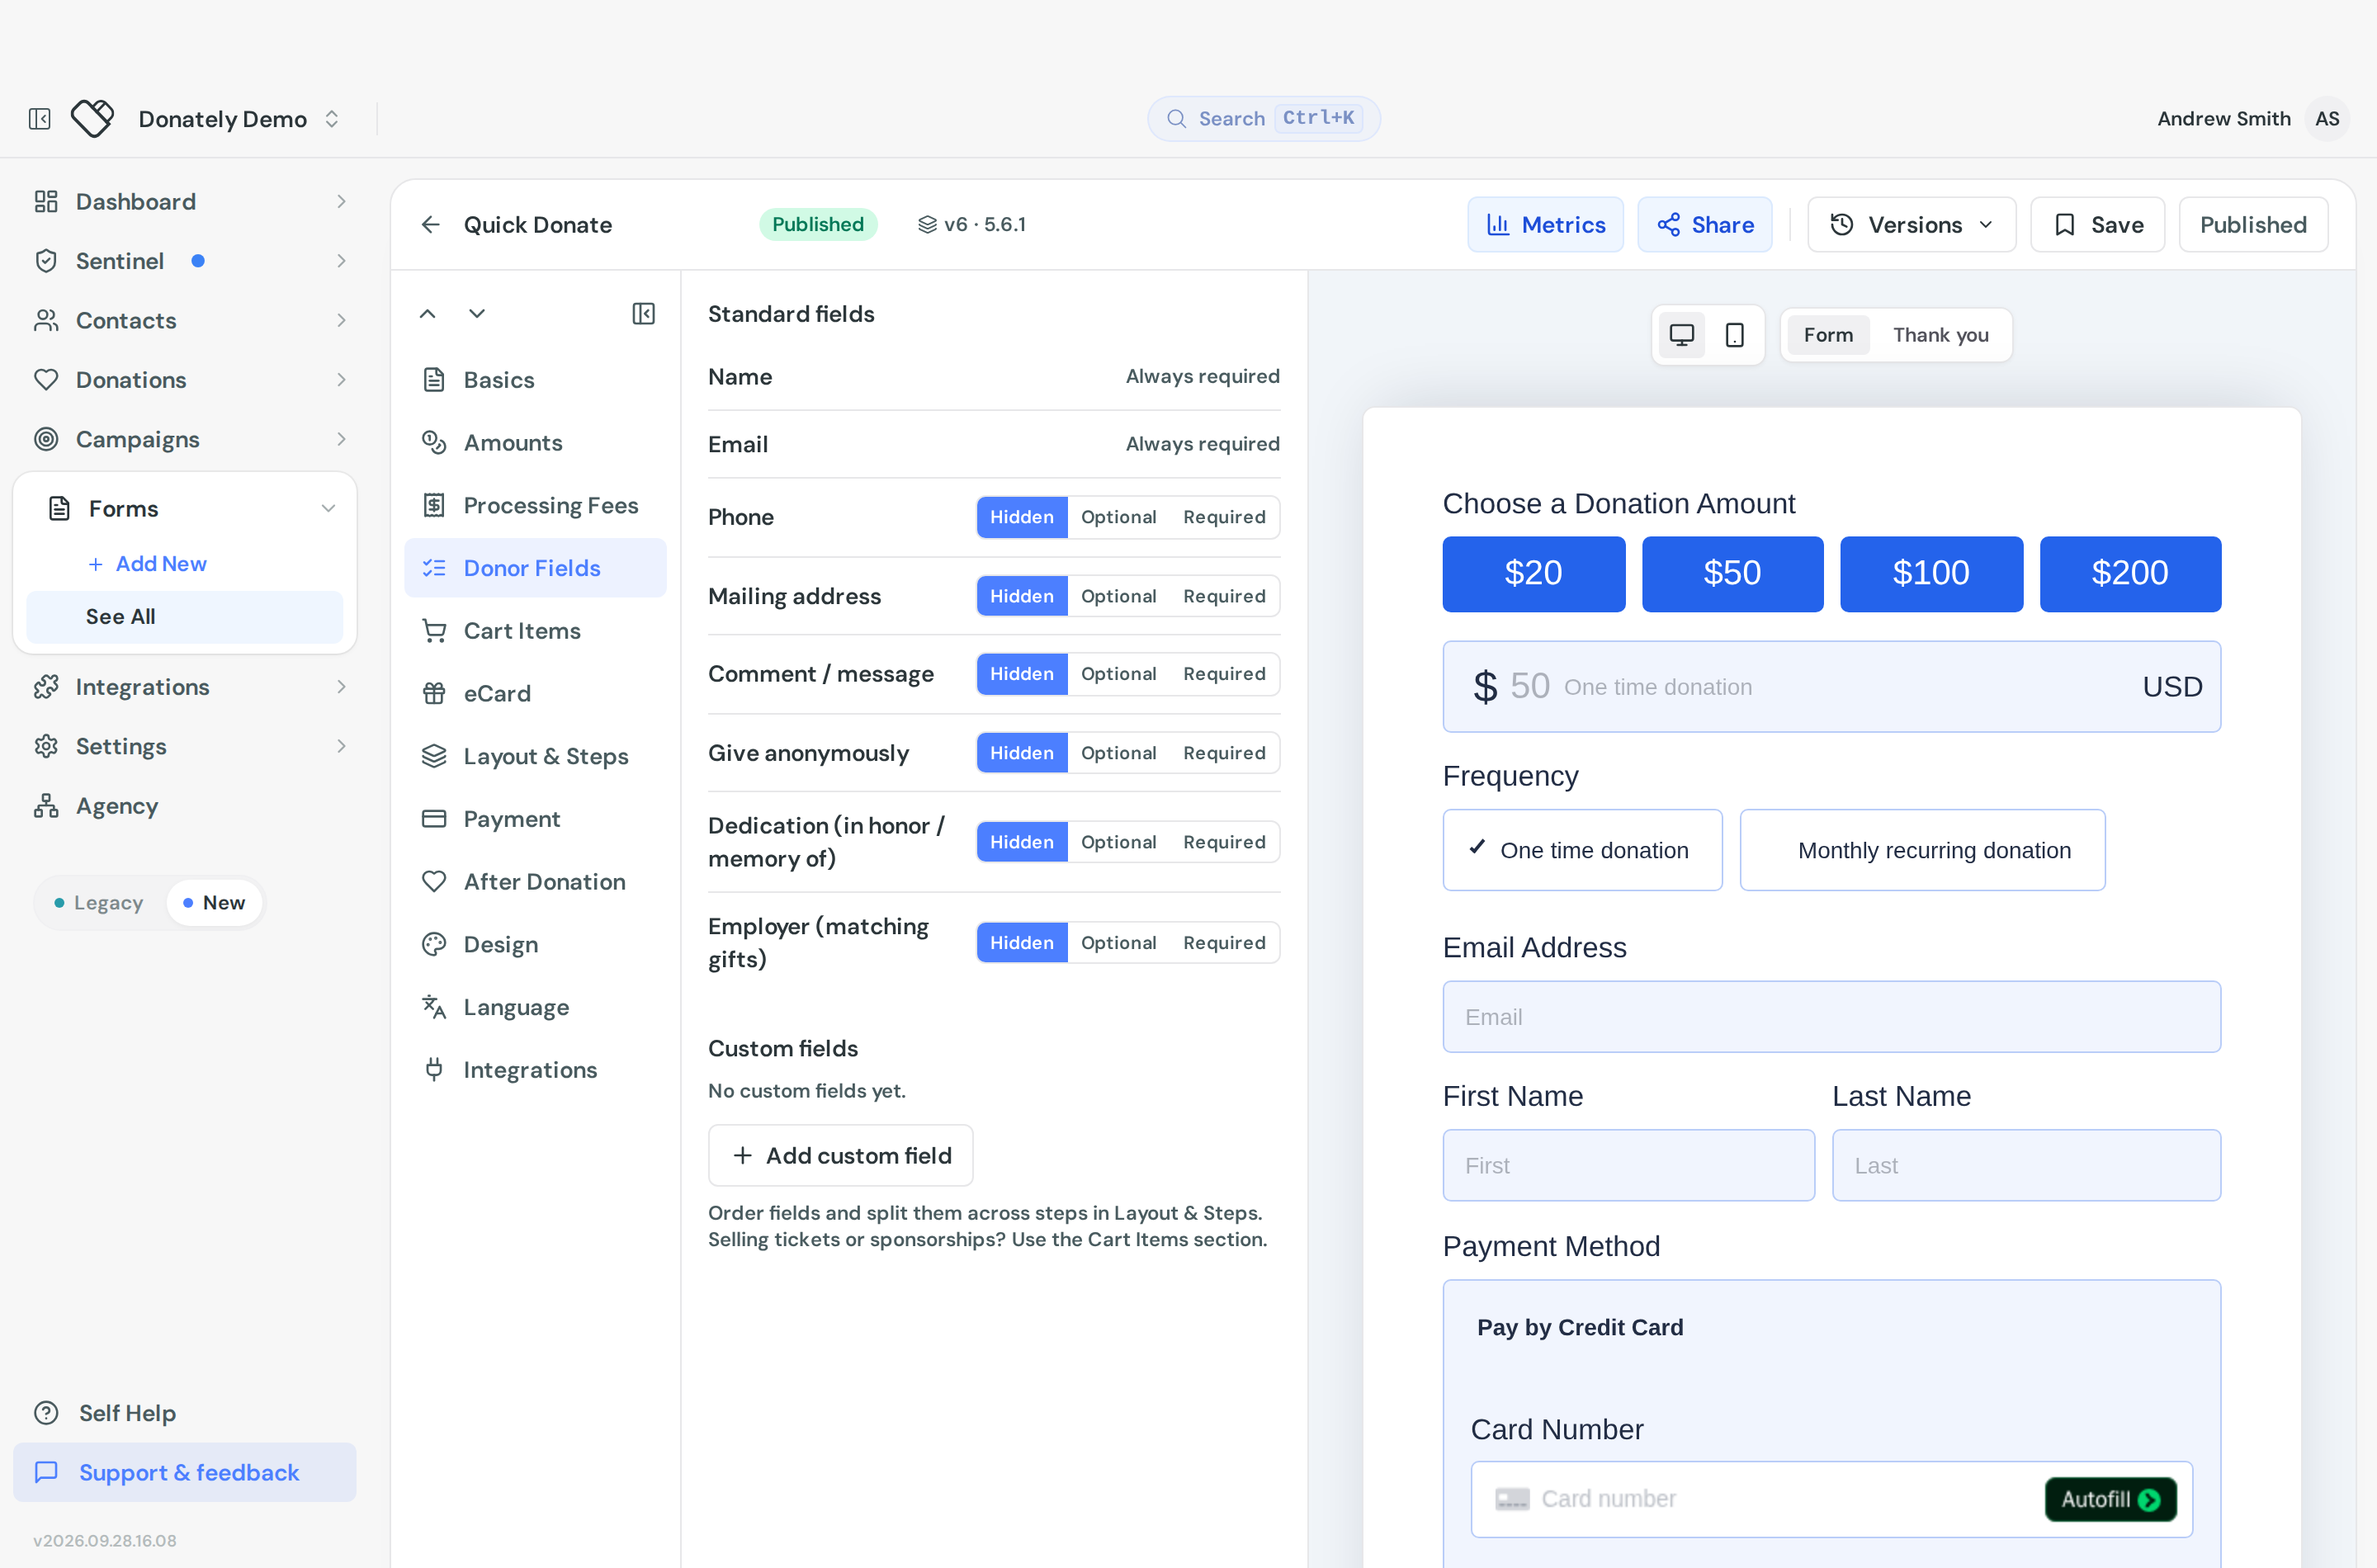
- In the left rail, choose Form Fields. It opens on the Donor fields tab, which has two blocks, Standard fields and Custom fields.
- Select Add custom field. The panel switches to Edit field.
- Pick a Field type, give it a Label, set anything else the type needs, then use Back.
- Publish the form when you are done.
Existing fields are listed with their label and a summary line showing the type and whether they are required. Select a row to edit it, or use the remove icon to take it off the form.
Standard fields are separate and work differently: email is always required, name is optional / required, and phone, mailing address, comment, anonymous giving, dedication and employer each have a hidden / optional / required switch.
The field types
- Short text for a single line, like an employer name.
- Paragraph for longer answers, like feedback or a dedication message.
- Email for a second email address, such as a secondary contact.
- Dropdown when the donor picks one option from a list.
- Multiple choice for the same thing shown as radio buttons.
- Checkbox for an opt-in or an agreement.
- Section heading for a block of explanatory text with no input.
- Campaign select and Fundraiser select let the donor choose where their gift is credited.
- Form summary shows the donor a running recap of what they have selected and their total.
There is no date field, number field or file upload.
Field settings
Which settings appear depends on the type.
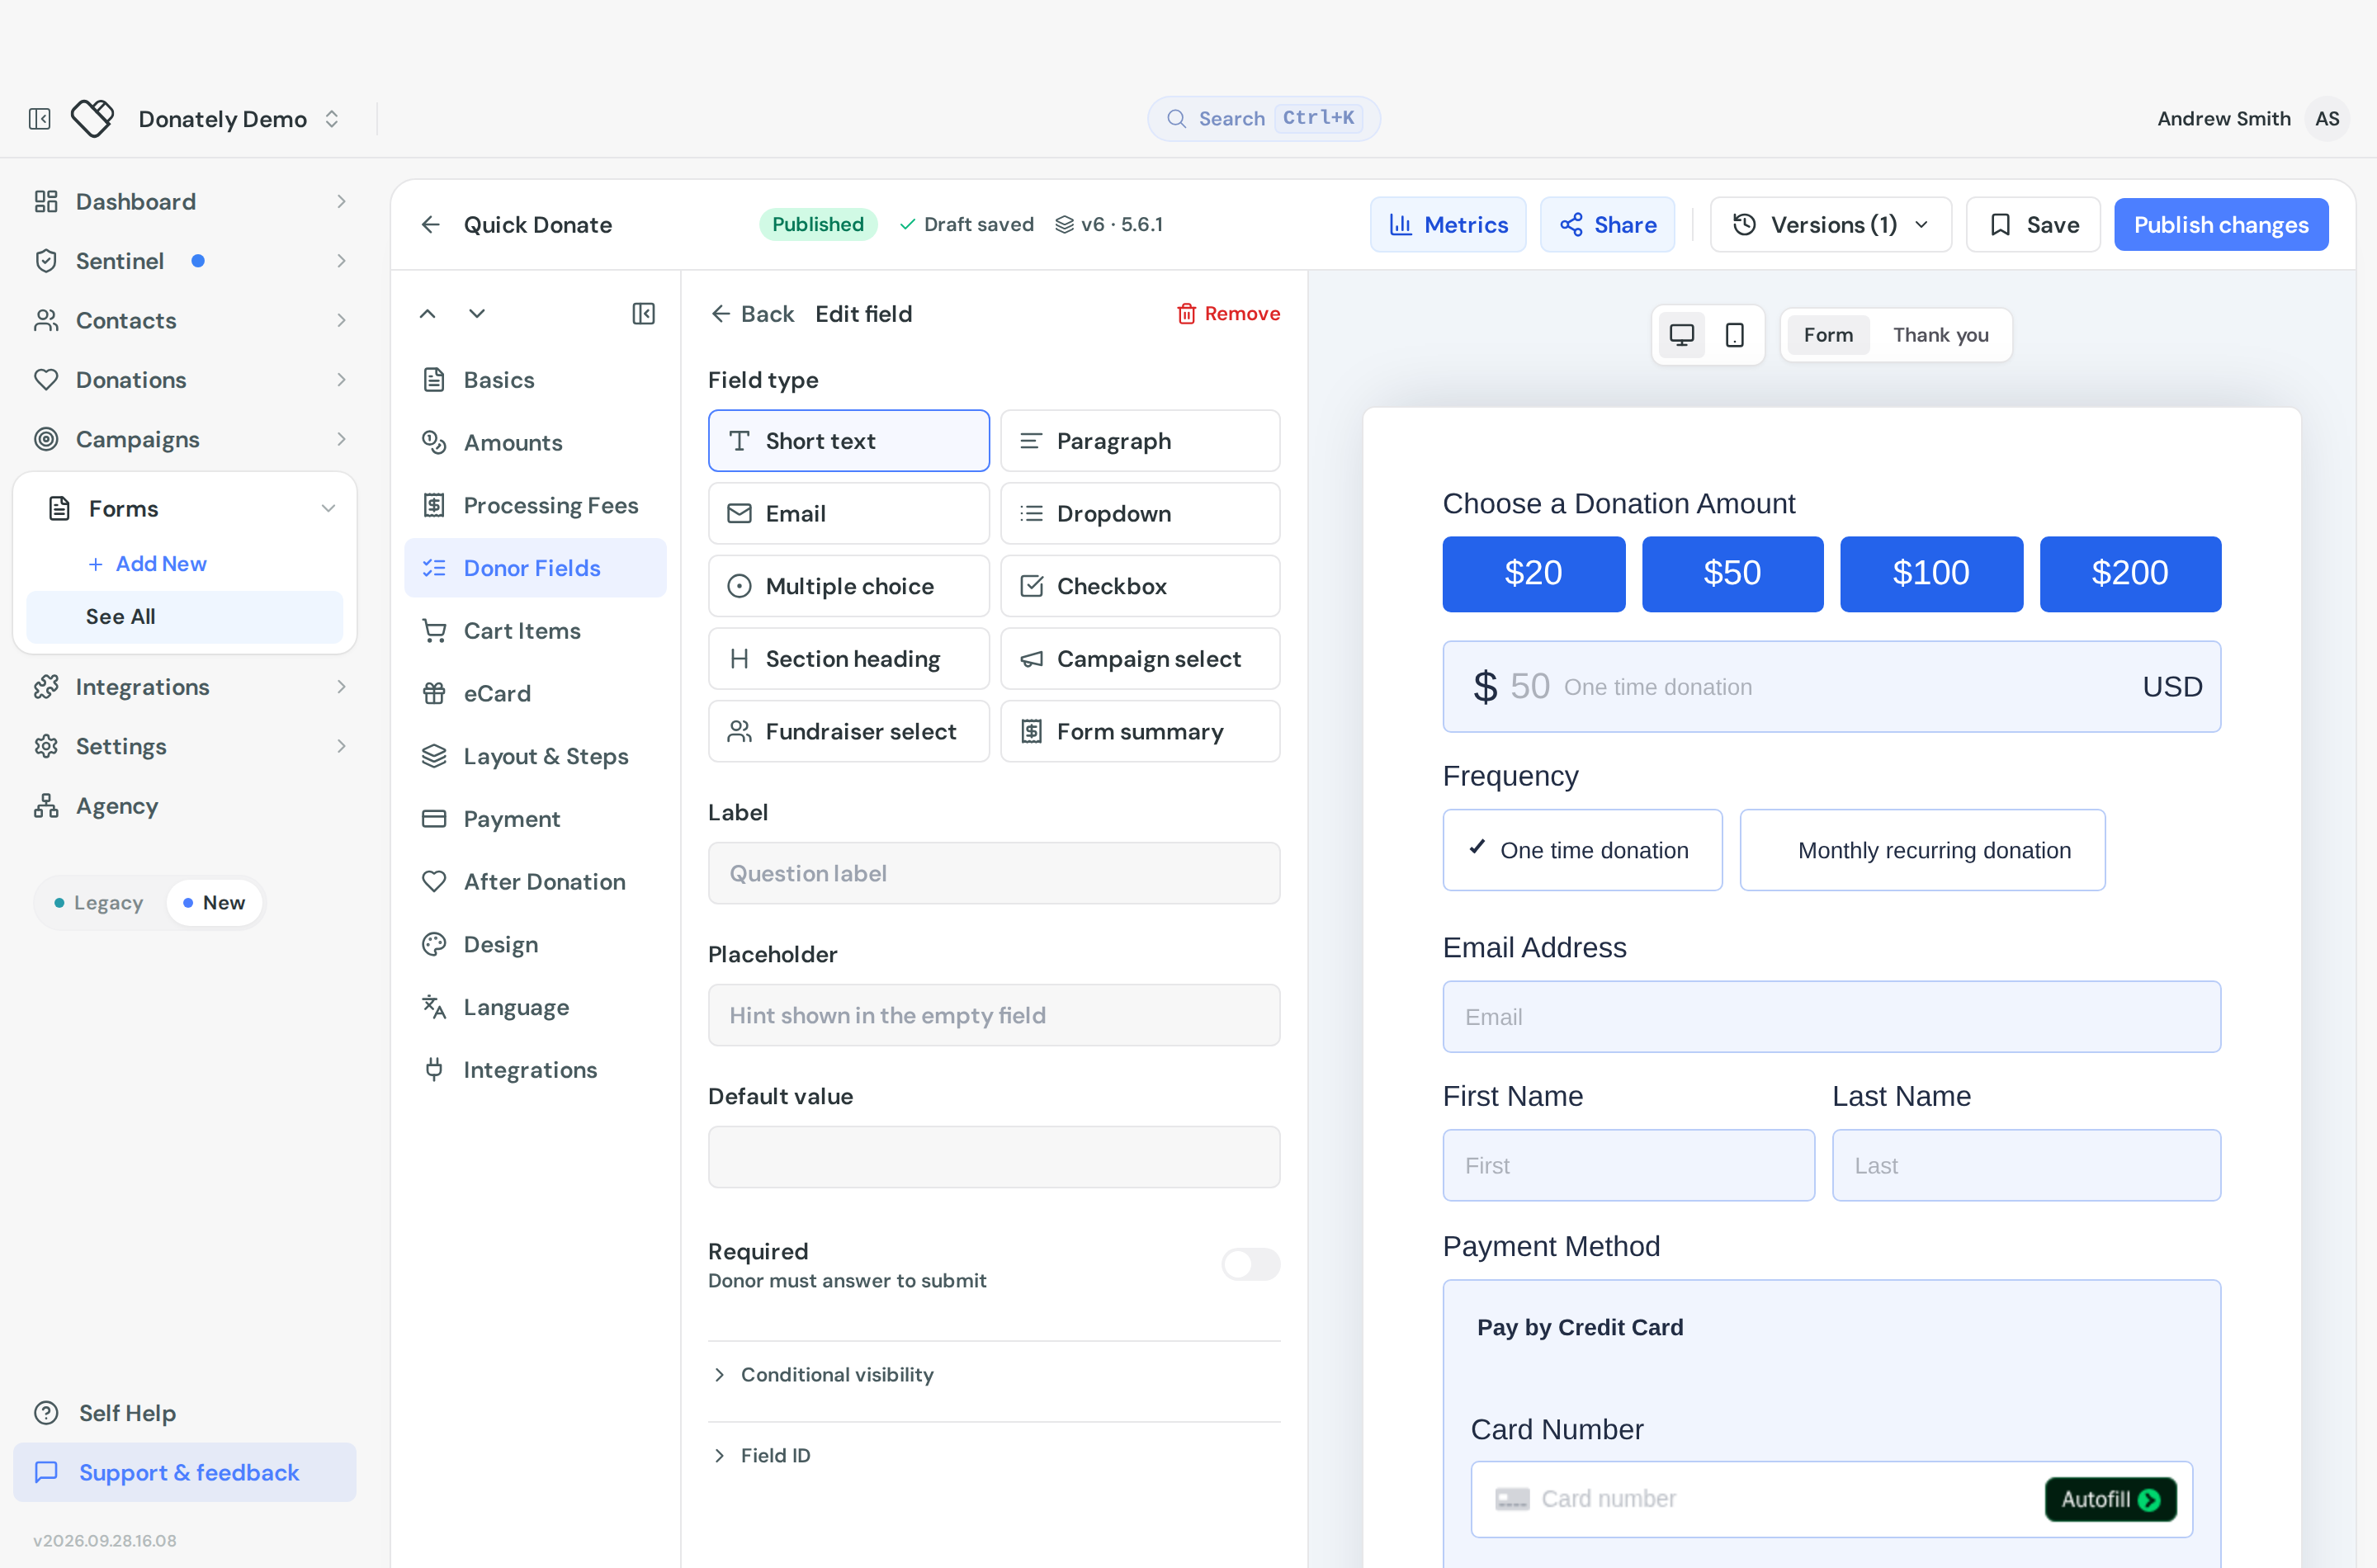
Label is what the donor sees above the field. For a section heading it becomes Heading, with Section text underneath for the explanatory copy.
Choices appears for dropdown and multiple choice. Each choice has a label and an ID. The label is what donors see; the ID is what gets saved with the donation and what integration routing rules match on. Renaming a choice leaves its ID alone, which is what you want. Changing an ID only affects future donations: past gifts keep the old value, and any rule matching it stops firing.
For Campaign select and Fundraiser select, the choices are a checkbox list of your own campaigns or fundraisers.
Placeholder and Default value apply to the text, paragraph and email types.
Required makes the donor answer before they can submit. On a checkbox, that means they have to tick it, which is how you enforce a terms agreement.
Conditional visibility shows the field only when another answer matches. Use Add a condition, then pick a source field, an operator (is, is greater than, is less than) and a value. The source can be the donation amount or another custom field on the form, and each field takes one condition.
Field ID is read-only. Donately generates it from your label, lowercased with spaces turned into underscores, so "Employer name" becomes employer_name. It is the key used in links, the API and integrations, and it follows the label automatically. That last part matters: renaming a label changes the field ID, and while Donately remaps the references inside the form for you, donations already collected keep the old key.
Ordering is not set here. Use the Layout & Steps section to arrange fields and split them across steps. New fields are added at the end of the last step before the submit button.
Where the answers show up
On the donation. Open a donation from the Donations list and look at the Donation Metadata card. Each answer shows with its friendly label and the raw key beside it, and dropdown choices are resolved back to their readable labels. Recurring plans show the same thing as Plan Metadata, copied from the gift that started the plan.
In the donations list. The column picker has a Custom Fields group, one column per field your account has collected. There is also a Form metadata filter under Advanced for finding gifts by a specific answer.
In exports. Both the browser download and the emailed export use the same columns. A field without options gets one column, headed "Your label (meta)". A field with options gets two: "(meta)" for the stored id and "(meta label)" for the readable label.
In the API. Answers live in meta_data on the donation.
They do not appear on the contact record. Custom field answers belong to the donation, not the donor, so a contact's page will not show them.
Per-form, not account-wide
Custom fields are defined on one form. There is no account-level library and no picker for reusing a field you built elsewhere. To carry a set of fields to a new form, duplicate the existing form from the forms list.
The reporting side is account-wide, though: two forms using the same label produce the same field ID and therefore share one column in your donations list and exports.
Removing a field takes it off the form only. Answers already collected stay on those donations and keep showing in your list and exports.
There is no limit on how many custom fields a form can have, and they are available on every plan.
Example: a Gift Aid declaration
UK organisations can claim 25% back on eligible gifts, and the declaration can be collected on the form itself with two custom fields.
First add a Section heading to explain the scheme, along these lines:
Add 25% more to your donation at no cost to you. A Gift Aid declaration allows us to claim tax back on eligible donations. It means that for every £1 you donate we can claim back 25p, at no extra cost to you.
Then add a Checkbox with the declaration itself as its label, for example:
By ticking this box I confirm I am a UK taxpayer and would like [your organisation] to reclaim the tax on all qualifying donations I have made, as well as any future donations, until I notify you otherwise. I understand that if I pay less Income Tax and/or Capital Gains Tax than the amount of Gift Aid claimed on all my donations in that tax year I may be asked to pay any difference.
Give the checkbox a clear label so the field ID is easy to spot later, then publish the form. Every gift that opted in will carry that answer in its metadata and in your exports, which is what you need when you make a claim.