Integrating Donately with SendGrid is a great way to power up your donation receipts! With SendGrid, you'll get complete control over what is sent after a donor makes a donation, providing further flexibility as compared to the standard Donately donation receipt.
Note: Zapier does have a free tier, however, depending on your usage, you may need a premium subscription. For more information on this, please visit Zapier's pricing screen. Note that Zapier does offer a nonprofit discount. Please see this page for more details.
Step 1. Navigate to Zapier
You'll need to sign up for a Zapier account if you don't already have one. Signing up is very quick, and you can always start on the free plan and upgrade as needed.
Step 2. Click "Make a Zap!" button.

If you're on the newer version of Zapier's dashboard, you may have to click on "Make A Zap" from the left-side menu.
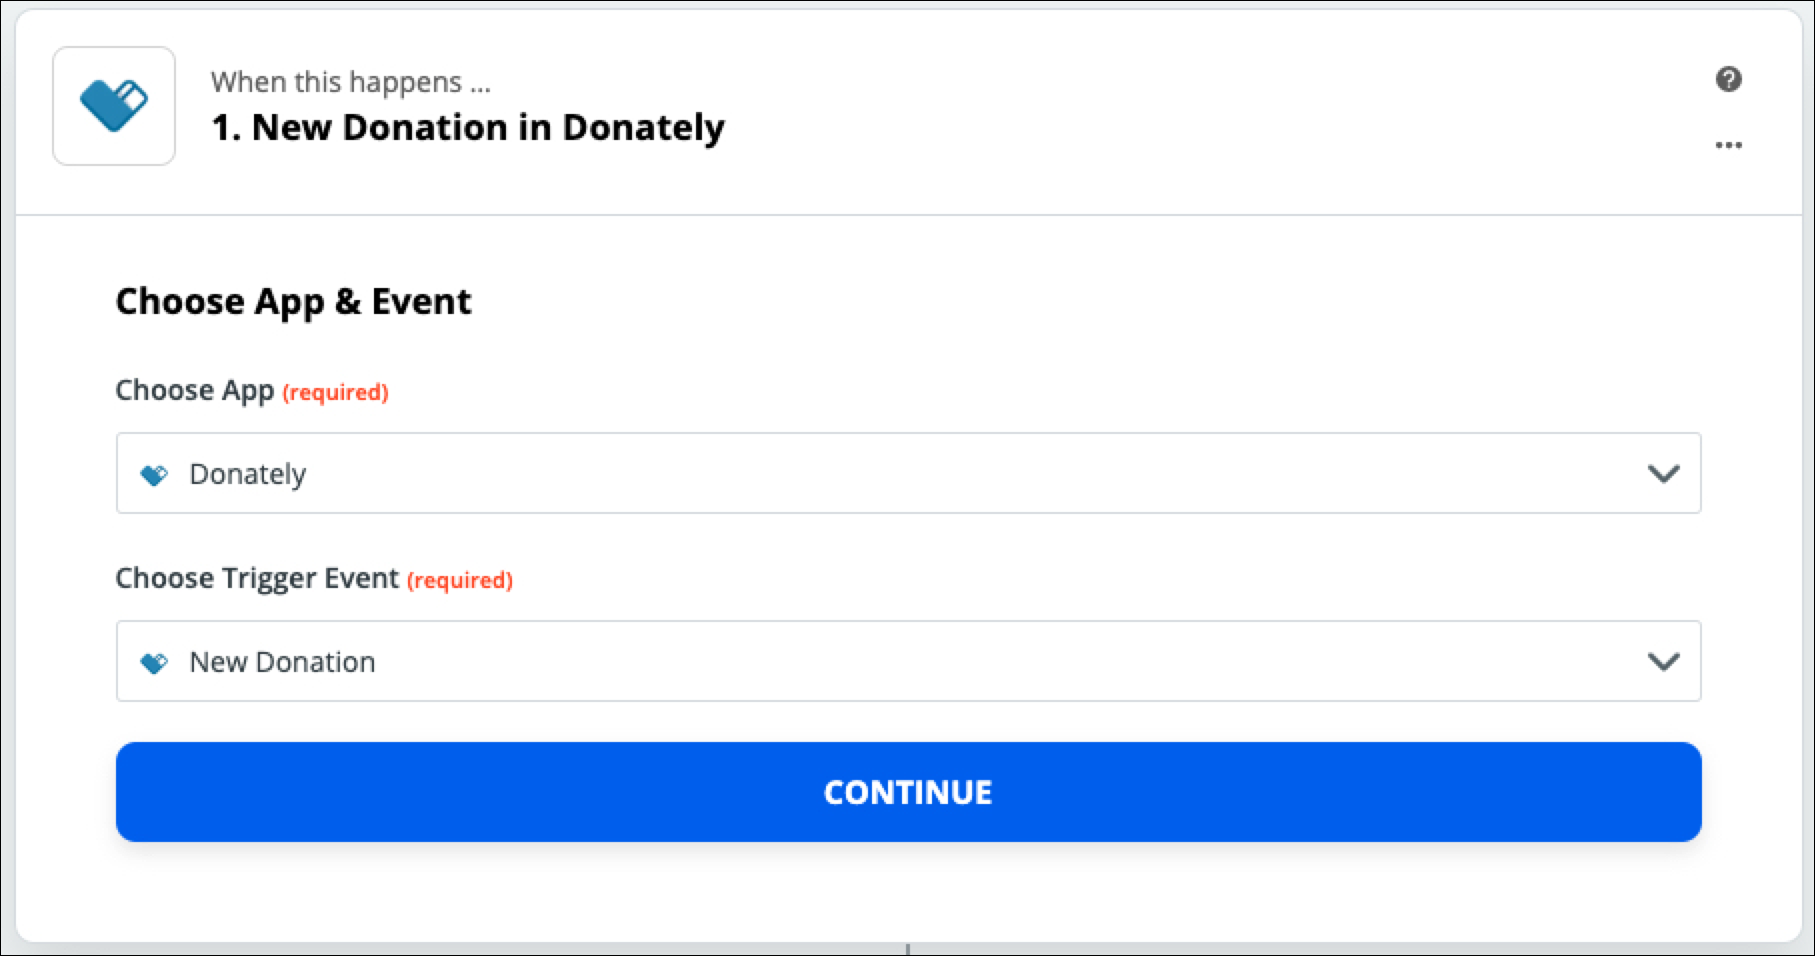
Step 3. Search for Donately & Set "New Donation" as the Action Event
This means that the "Zap" will trigger every time a donation is made. Click "Save + Continue"
Step 4. Link Your Donately Account
Note: You should only have to do this once! If you've already done this, please skip to Step 6.
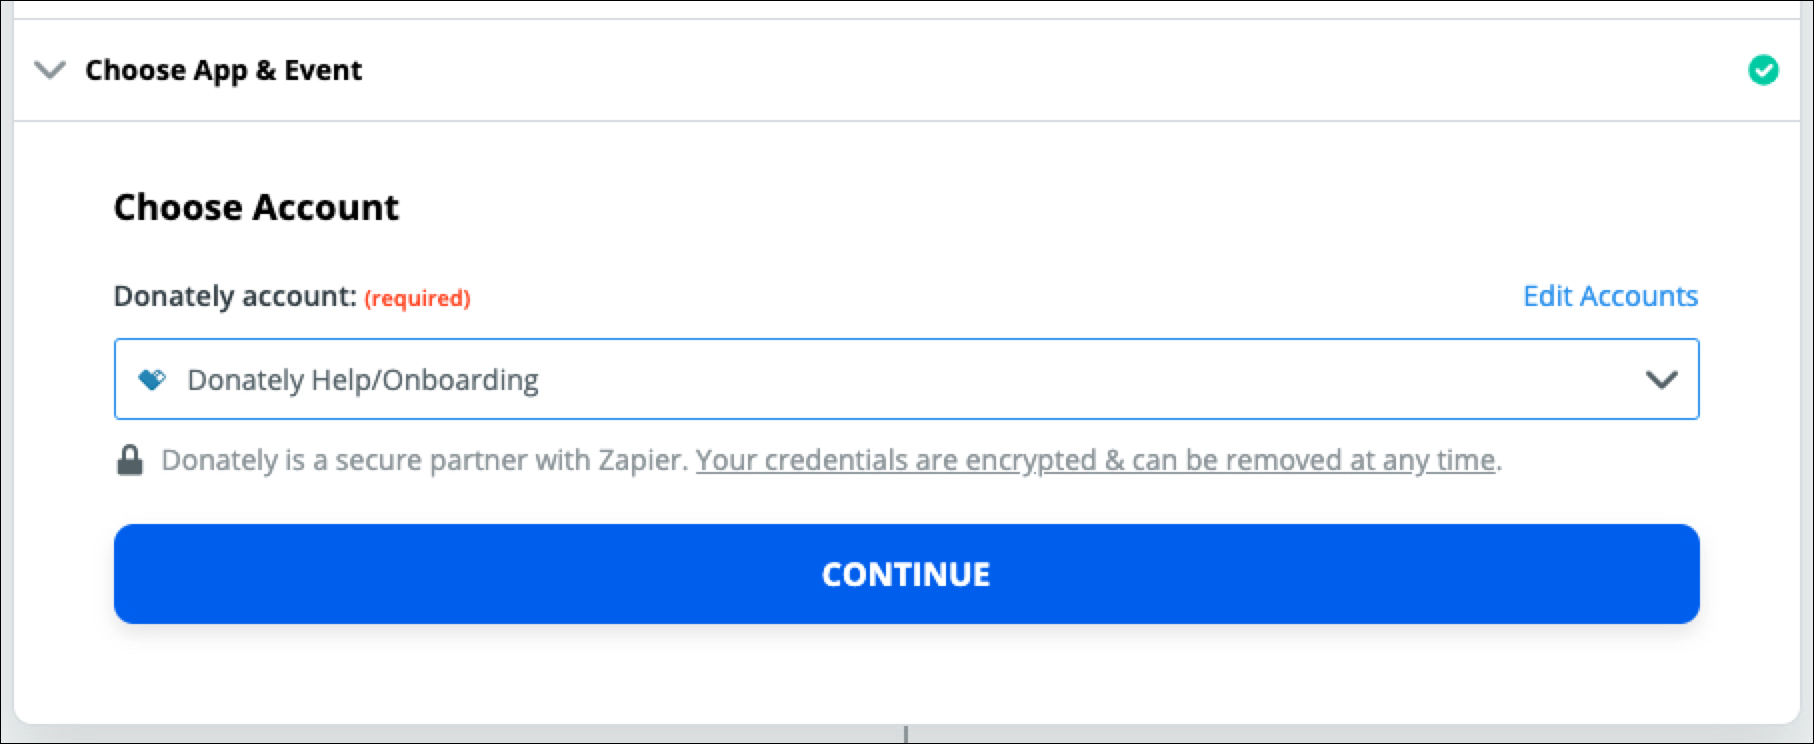
The next step will trigger a pop-up, asking for information to connect your Donately account to Zapier. See the instructions below on how to find each of these elements.
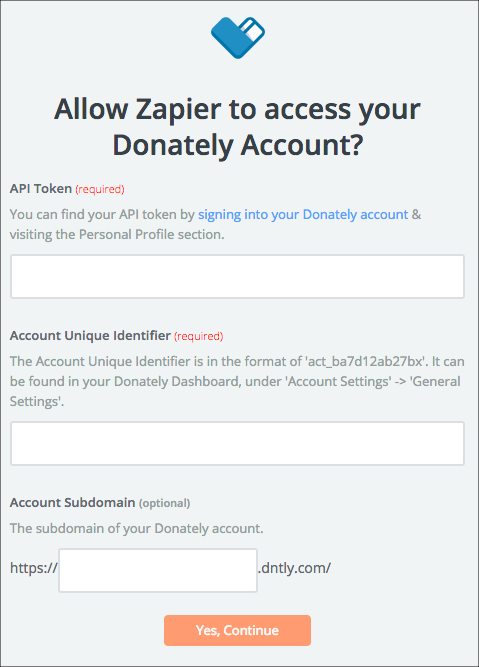
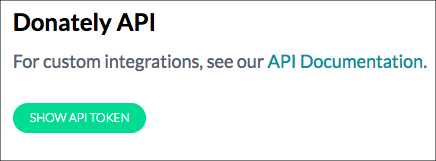
To find your API token & Account Unique Identifier
Go directly to this page, or click on "Integrations" along the left-hand menu. Once on the "Integrations" page, click "Donately API". The next screen will have both your Account ID as well as your API token. Simply click "Show API Token" to reveal your token.
Copy and paste both into the appropriate fields in the Zapier pop-up. Note: When you paste in your Account ID, be sure no space is added to the end!
To find your Account Subdomain
Go directly to this page, or click "Account Settings" from the left-hand menu. Your "Account Subdomain" is your "Account Slug" in the Donately dashboard. This is the second field under the "Account Attributes" section.
Copy and paste the slug into the "Account Subdomain" field in the Zapier pop-up.
After you fill in all of that information, click "Yes Continue." When you're back to Zapier, click "Continue":
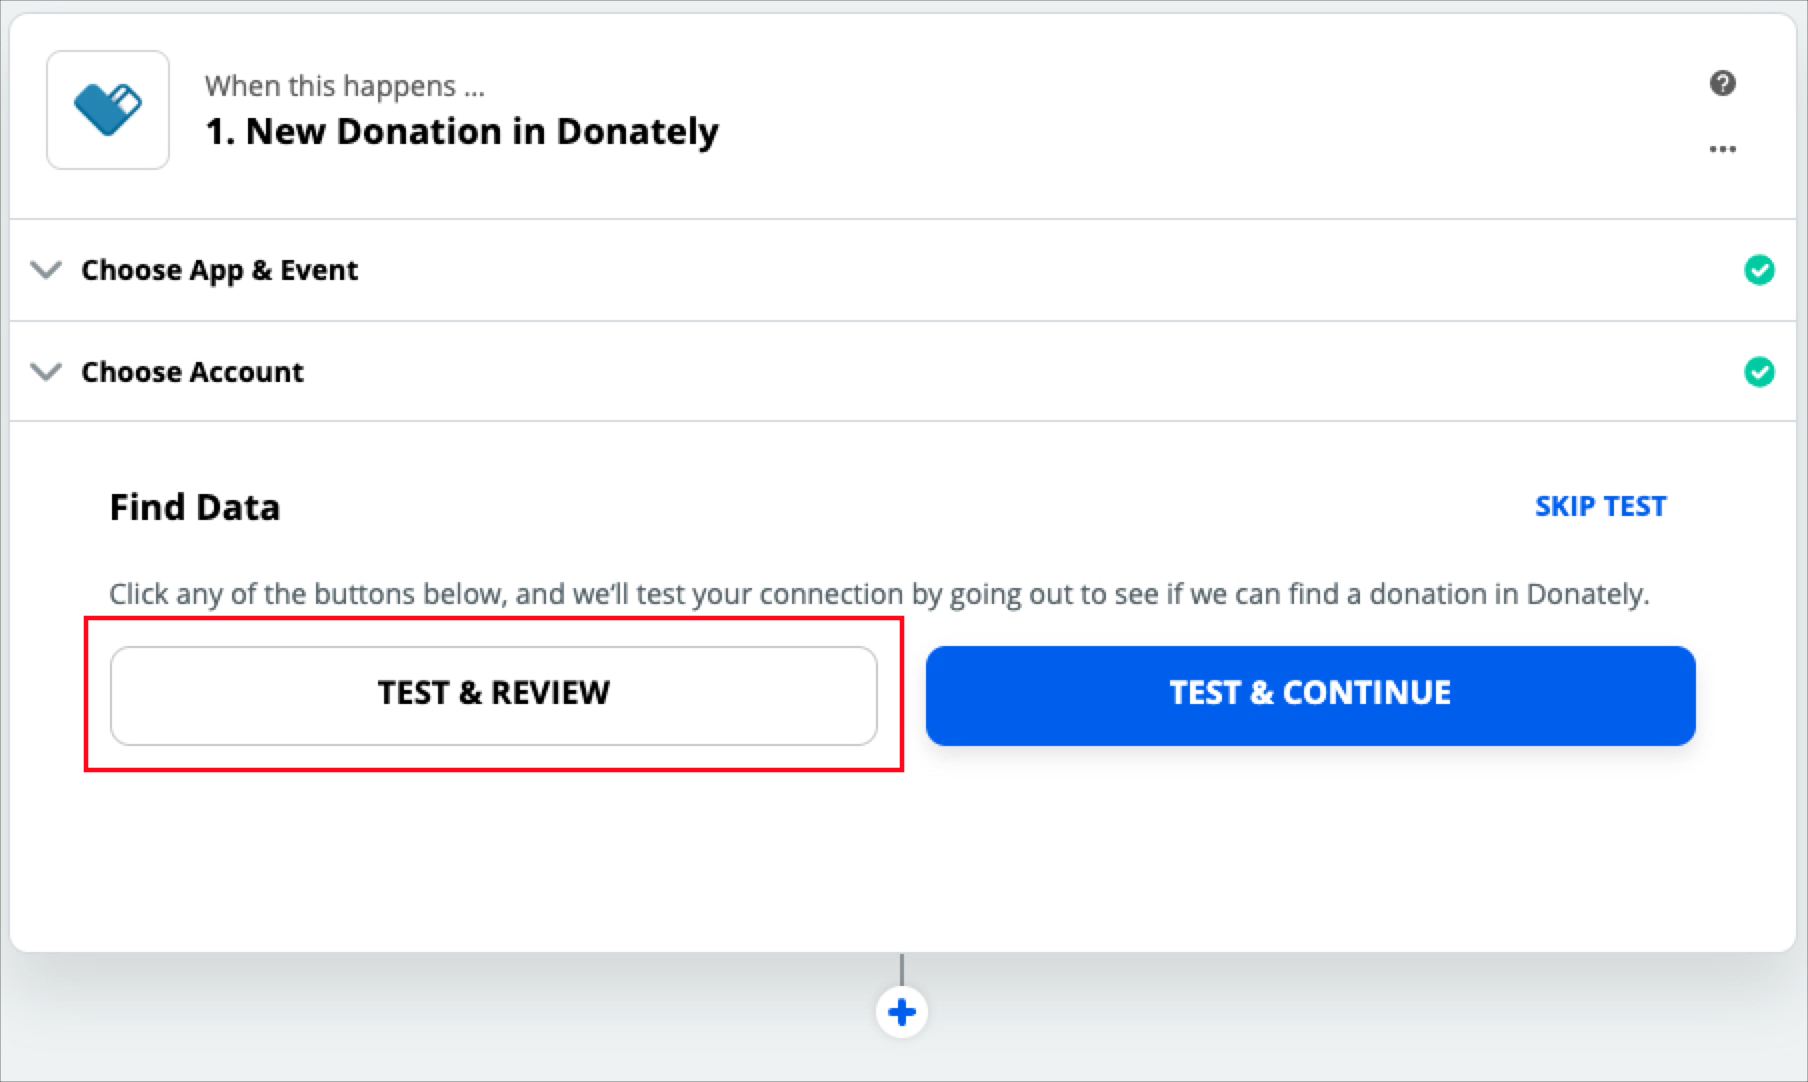
On the next page, you'll want to pull in example donation data, so that you have context for where you'll send data into HubSpot. We recommend clicking "Test & Review" to pull in donations from your Donately account.
If you do not have any donations yet, you can create a cash/check donation. Once you have one, click "Test & Review".
On the next screen, select the donation you'd like to use as your example:
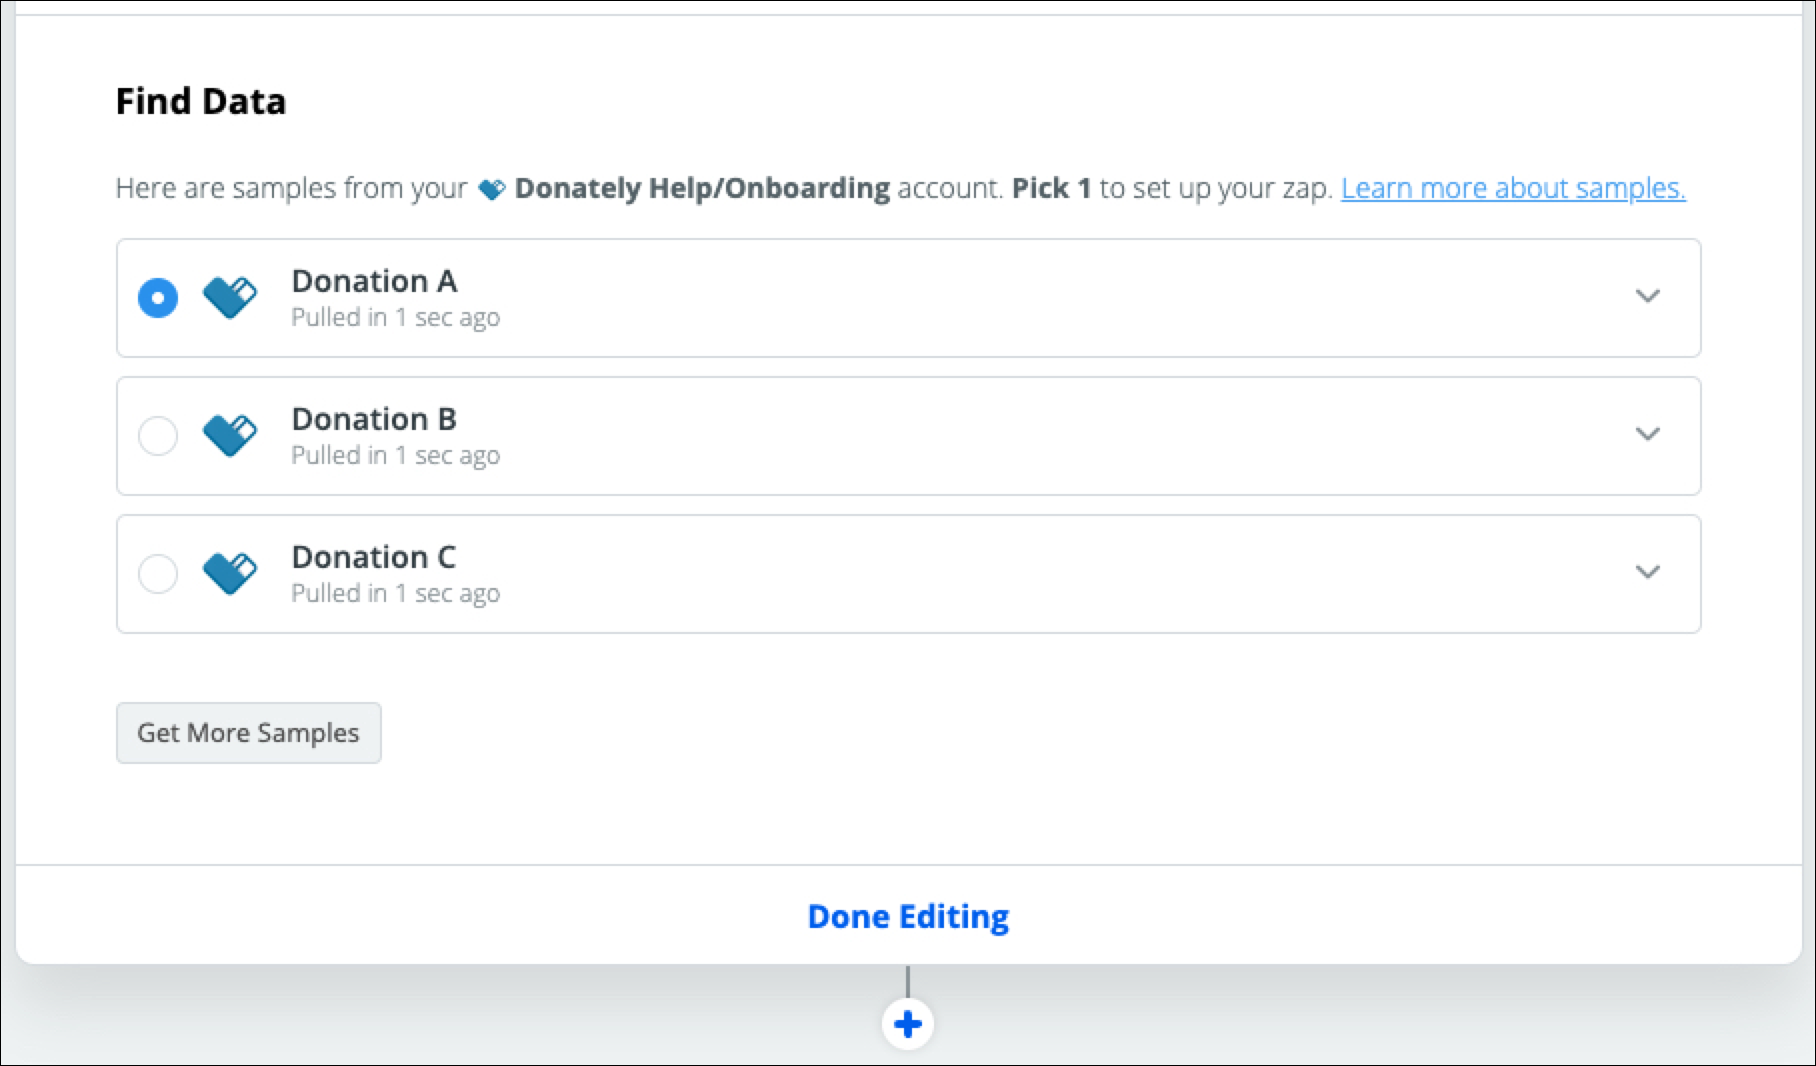
Click "Done Editing" to move on to the next step. You may need to click the little "+" button to bring up your choice of apps.
Step 5. Find SendGrid
When the second step box shows up, search for SendGrid. Once you click that, the only action event they offer ("Send Email") should be selected.

Click "Continue"
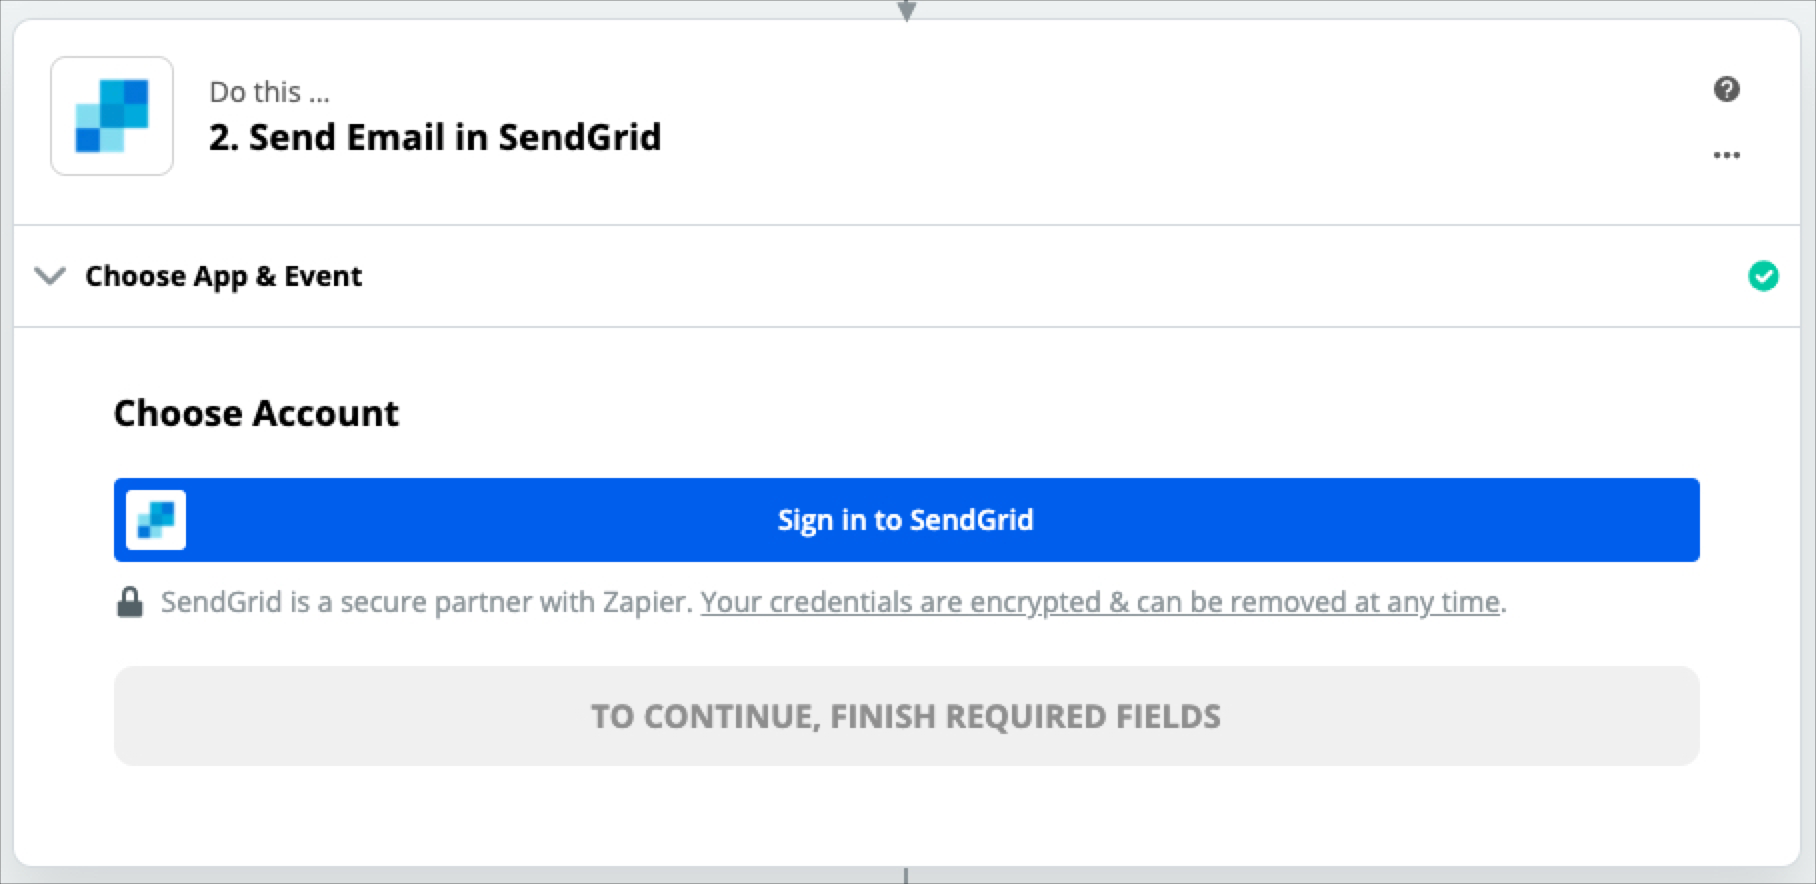
Step 6. Sign In to SendGrid
If you've used SendGrid in Zapier previously, simply select the account you've connected. If not, you'll need to click "Sign in to SendGrid" to continue.
Once you click that, a pop-up will open where you'll need to enter your username and password. Despite the other context on the sign-in pop-up, you can simply sign in using your password and username that you use to sign into SendGrid normally.
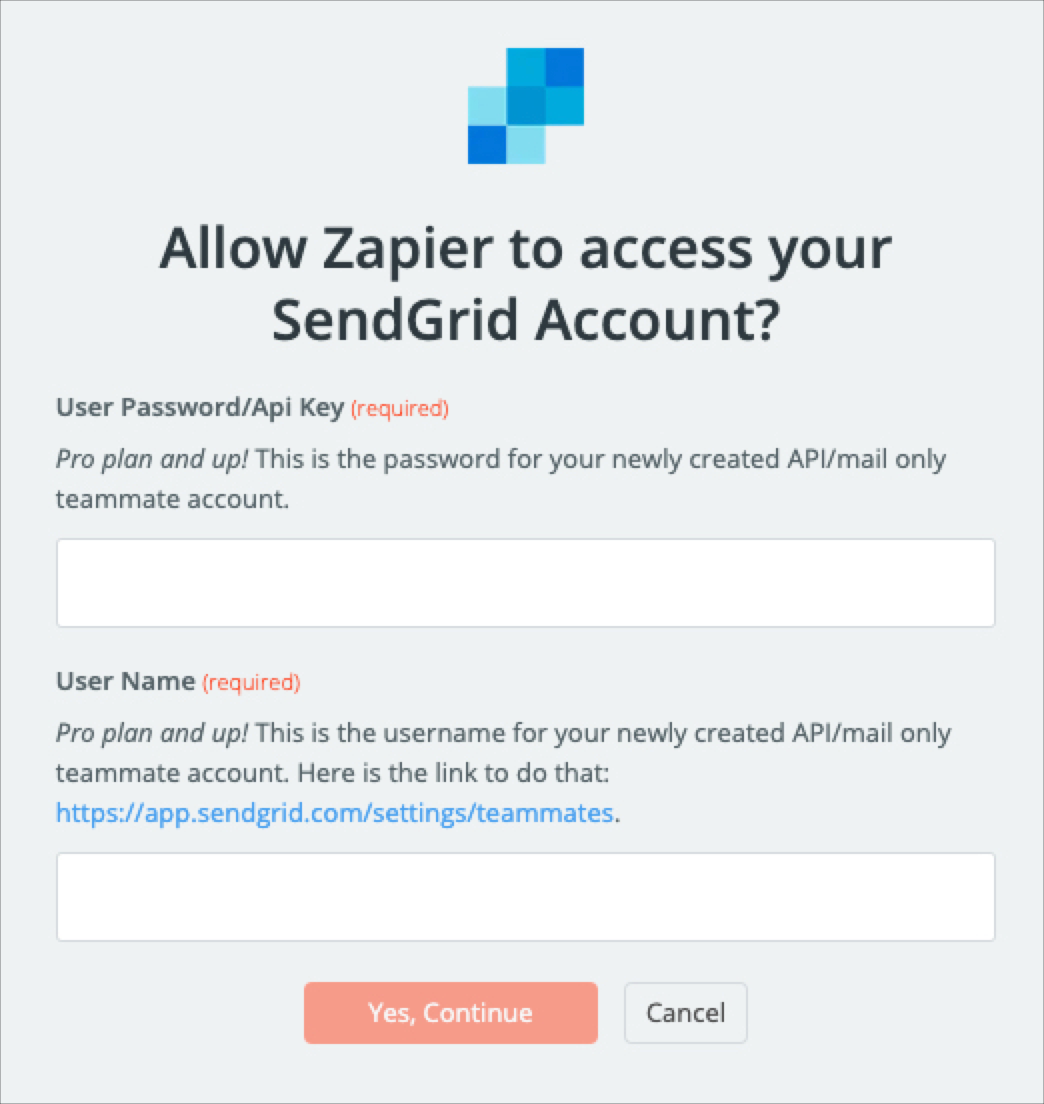
Once you enter those, click "Yes, Continue", and you'll be sent back to Zapier. Click on the SendGrid account you just signed into, if it's not already selected.
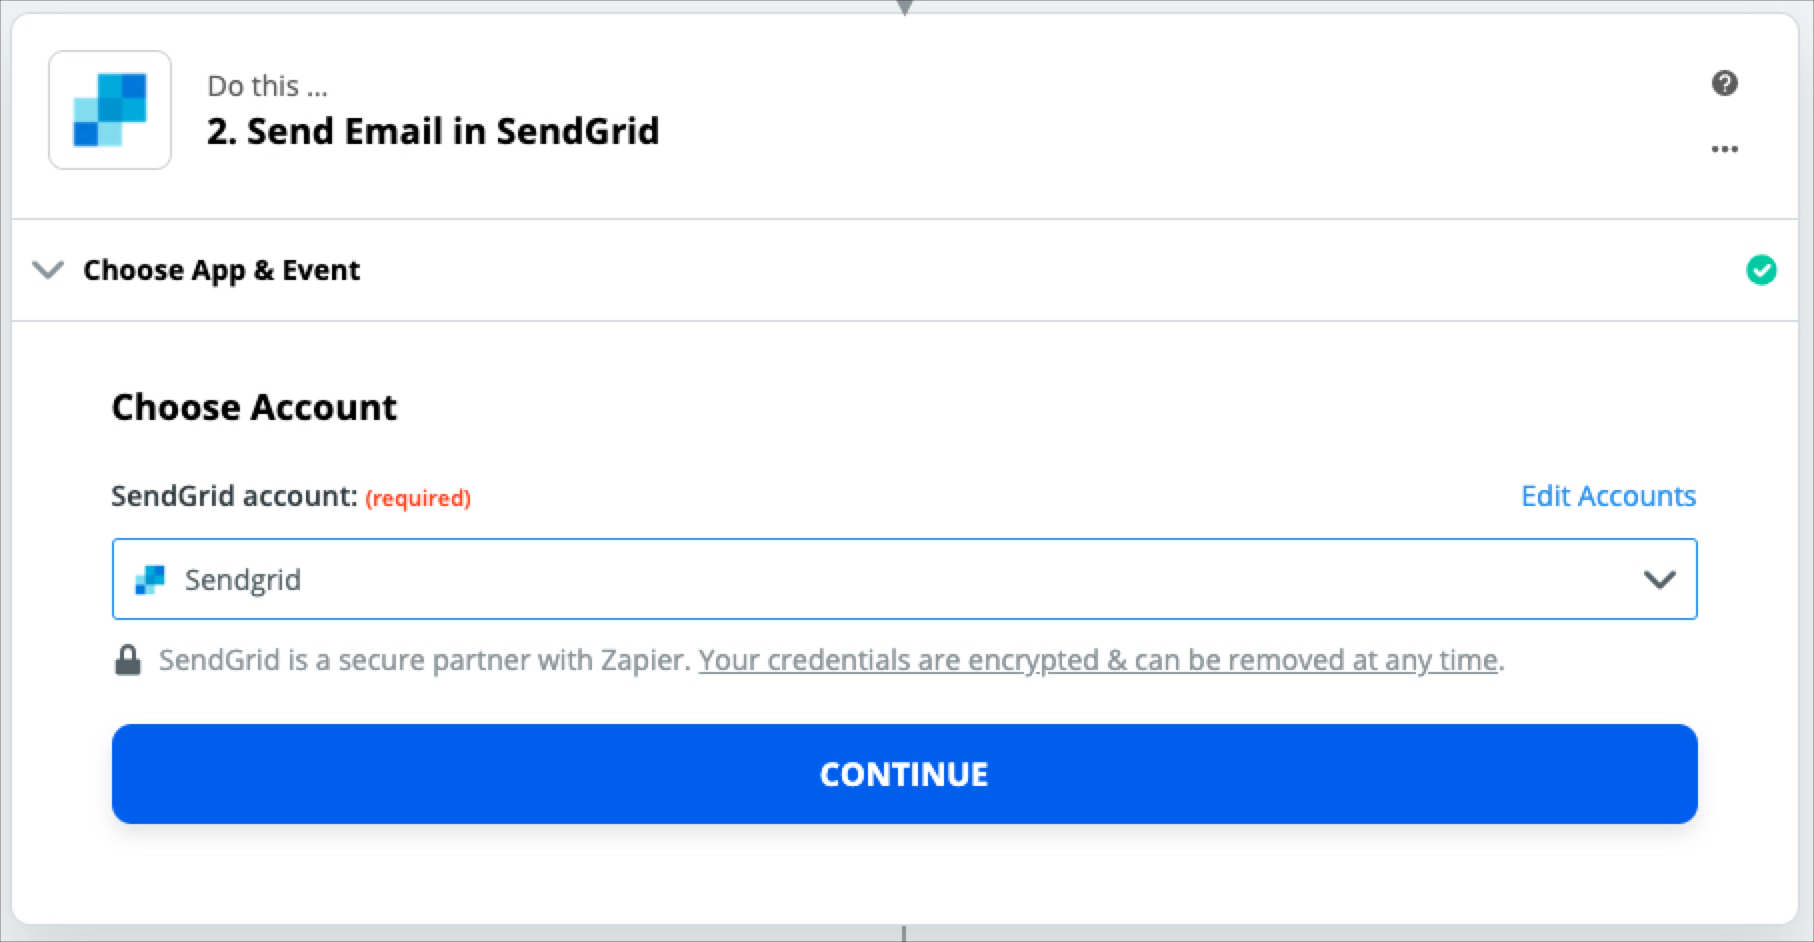
Click "Continue".
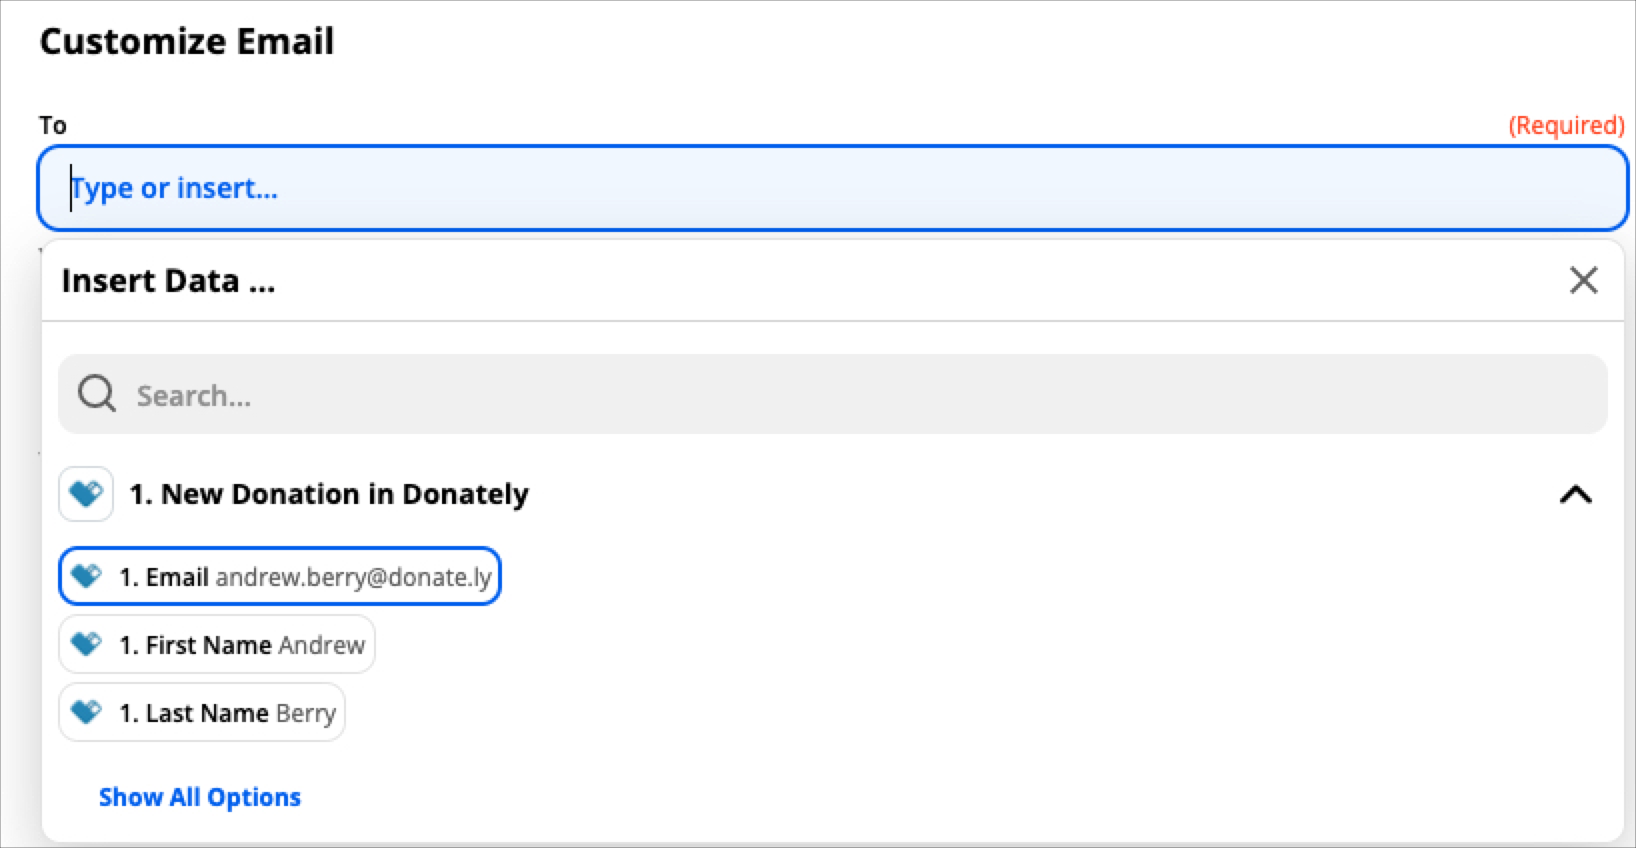
Step 7. Customize the Email
The next step is to fill in the information you want to use when sending each email. The first is the email address to which you'll be sending. Simply click on the field, and your options will display. Once it does, click on the "Email" field that shows up from Donately. This will be from the test data you pulled in during the initial steps. This field will change each time a new donation is made so that the email will send to the email that the donor enters.
The other field required is the "From" field. You'll want to get this directly from SendGrid, as this will be what is sent from their servers.

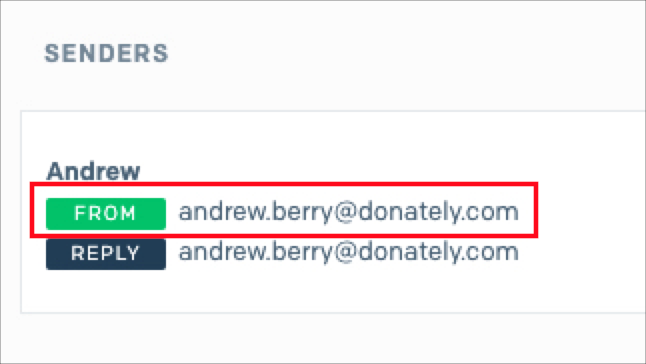
To find the "From" email in SendGrid, click on "Settings" on the left side, then "Sender Authentication".
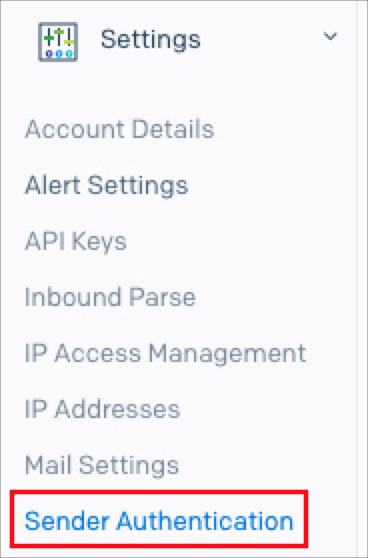
On the next page, you'll see a list of senders. Depending on how you have SendGrid set up, you may need to click into one of the authentications. Click on the authentication that may bring up another page, where you'll see the "From" email displayed.
Once you copy and paste that back into Zapier, fill out the rest of the form. For context, here is what we created as an example:
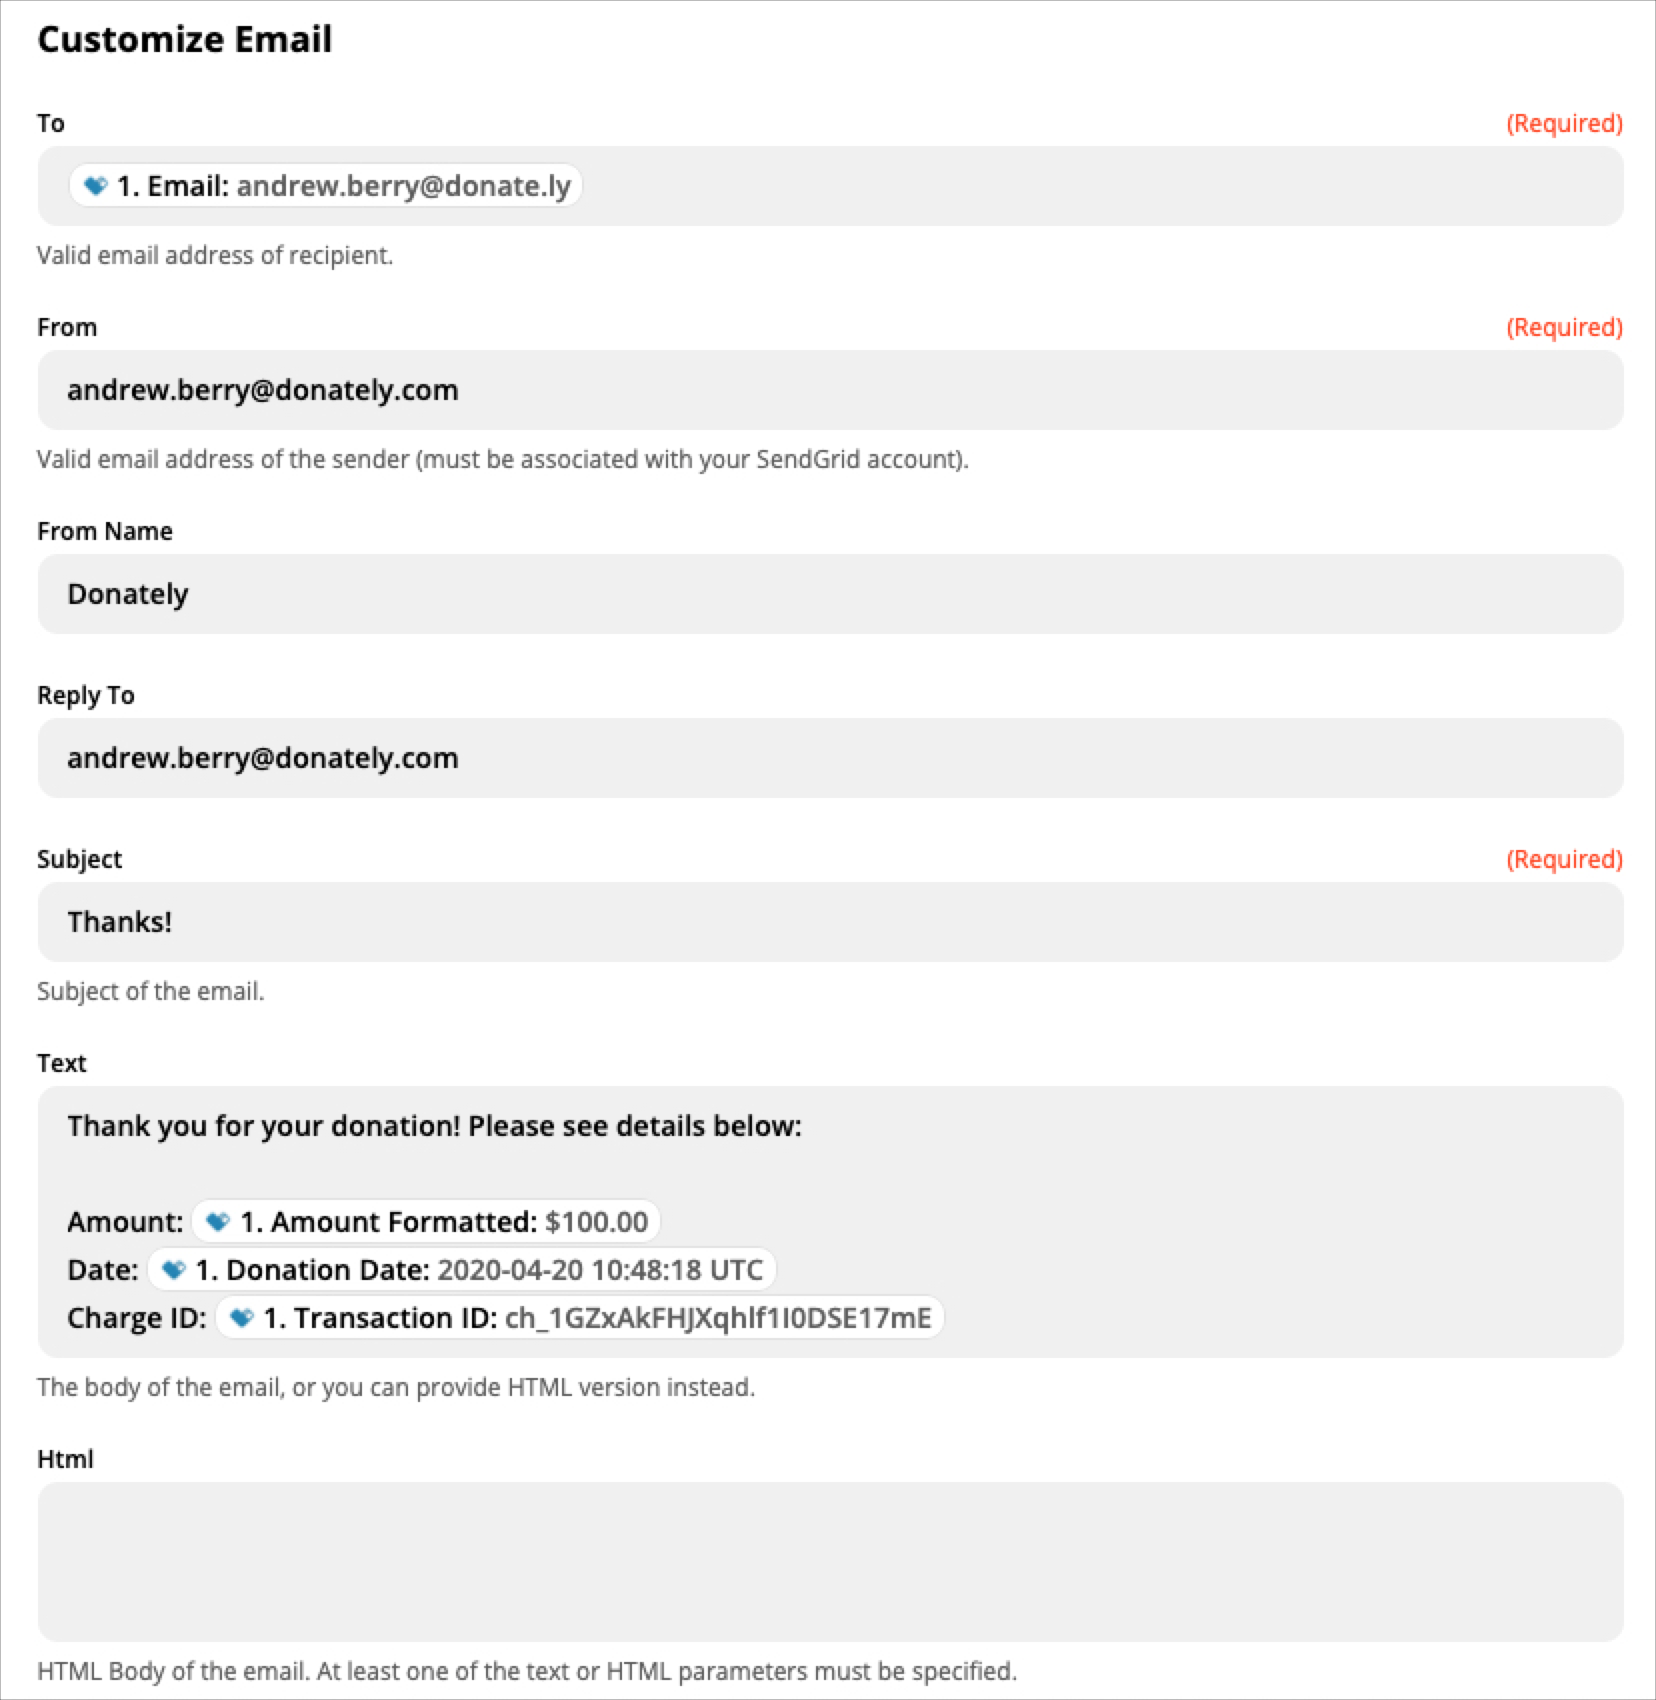
The Text or HTML content area is where you define what is sent on each email. When filling out the email content, you should get the menu of variable attributes you're able to pull into Zapier. This includes the donation amount, the date, and the transaction ID, as we did above.
If you're looking for a more custom email, you can also code it using HTML. This will allow you to customize colors, fonts, spacing, and more. This is a somewhat-advanced technique, so you'll probably want to have a little HTML know-how before getting into that.
Generally, for transactional emails, such as email receipts, the simpler the better.
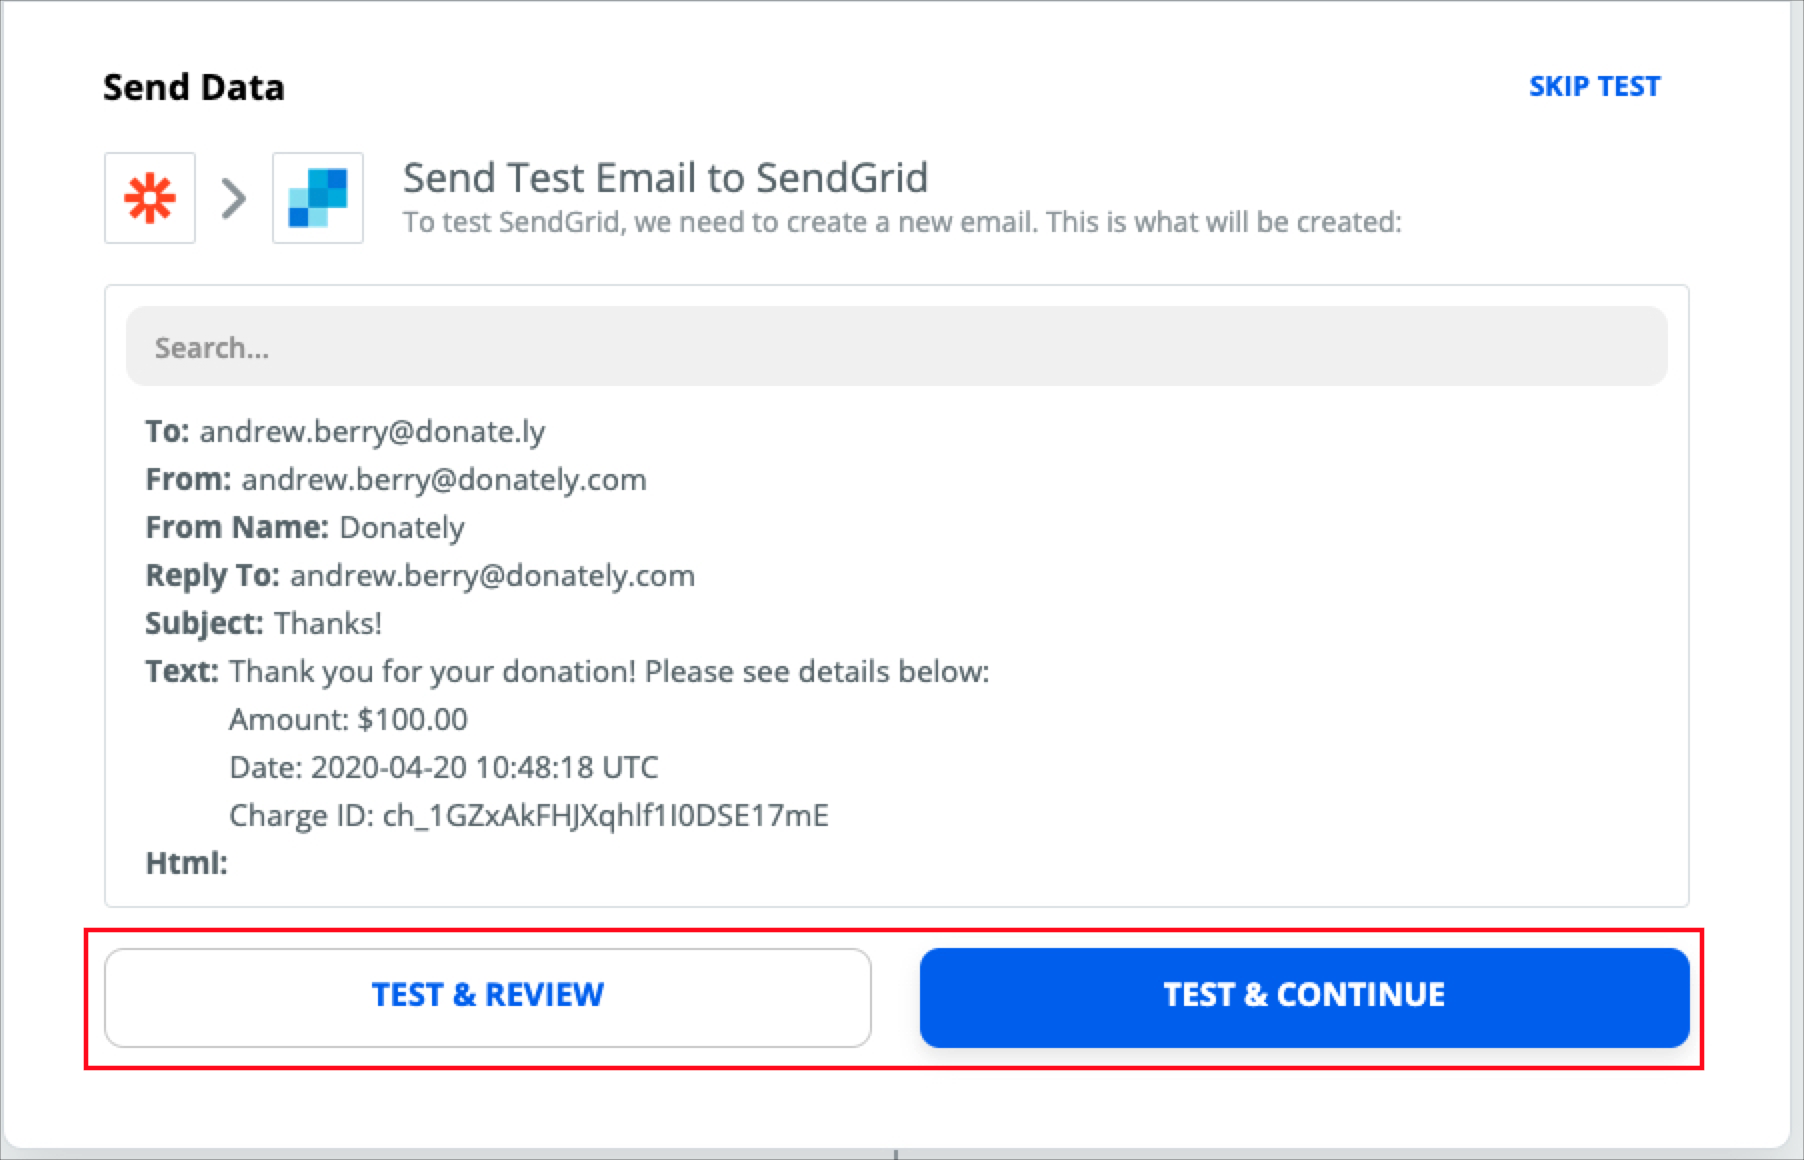
Step 8 (optional): Test Your Email
It's important to note, if you do choose to test, it will send an actual email to the example you filled in during Step 7. That is - if you pulled example data from a live donor donation, testing will send an email to that donor now! This may cause confusion. If this is the case, feel free to find another example in Step 3, or skip the test altogether.
If you're already pulling in test data, such as your own email, feel free to test this new email. Again, it will send a live email to the "To" email address as shown below.
In our example, here is what it looked like inside our email platform:
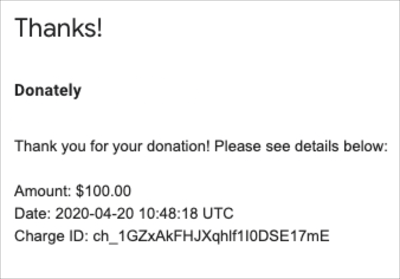
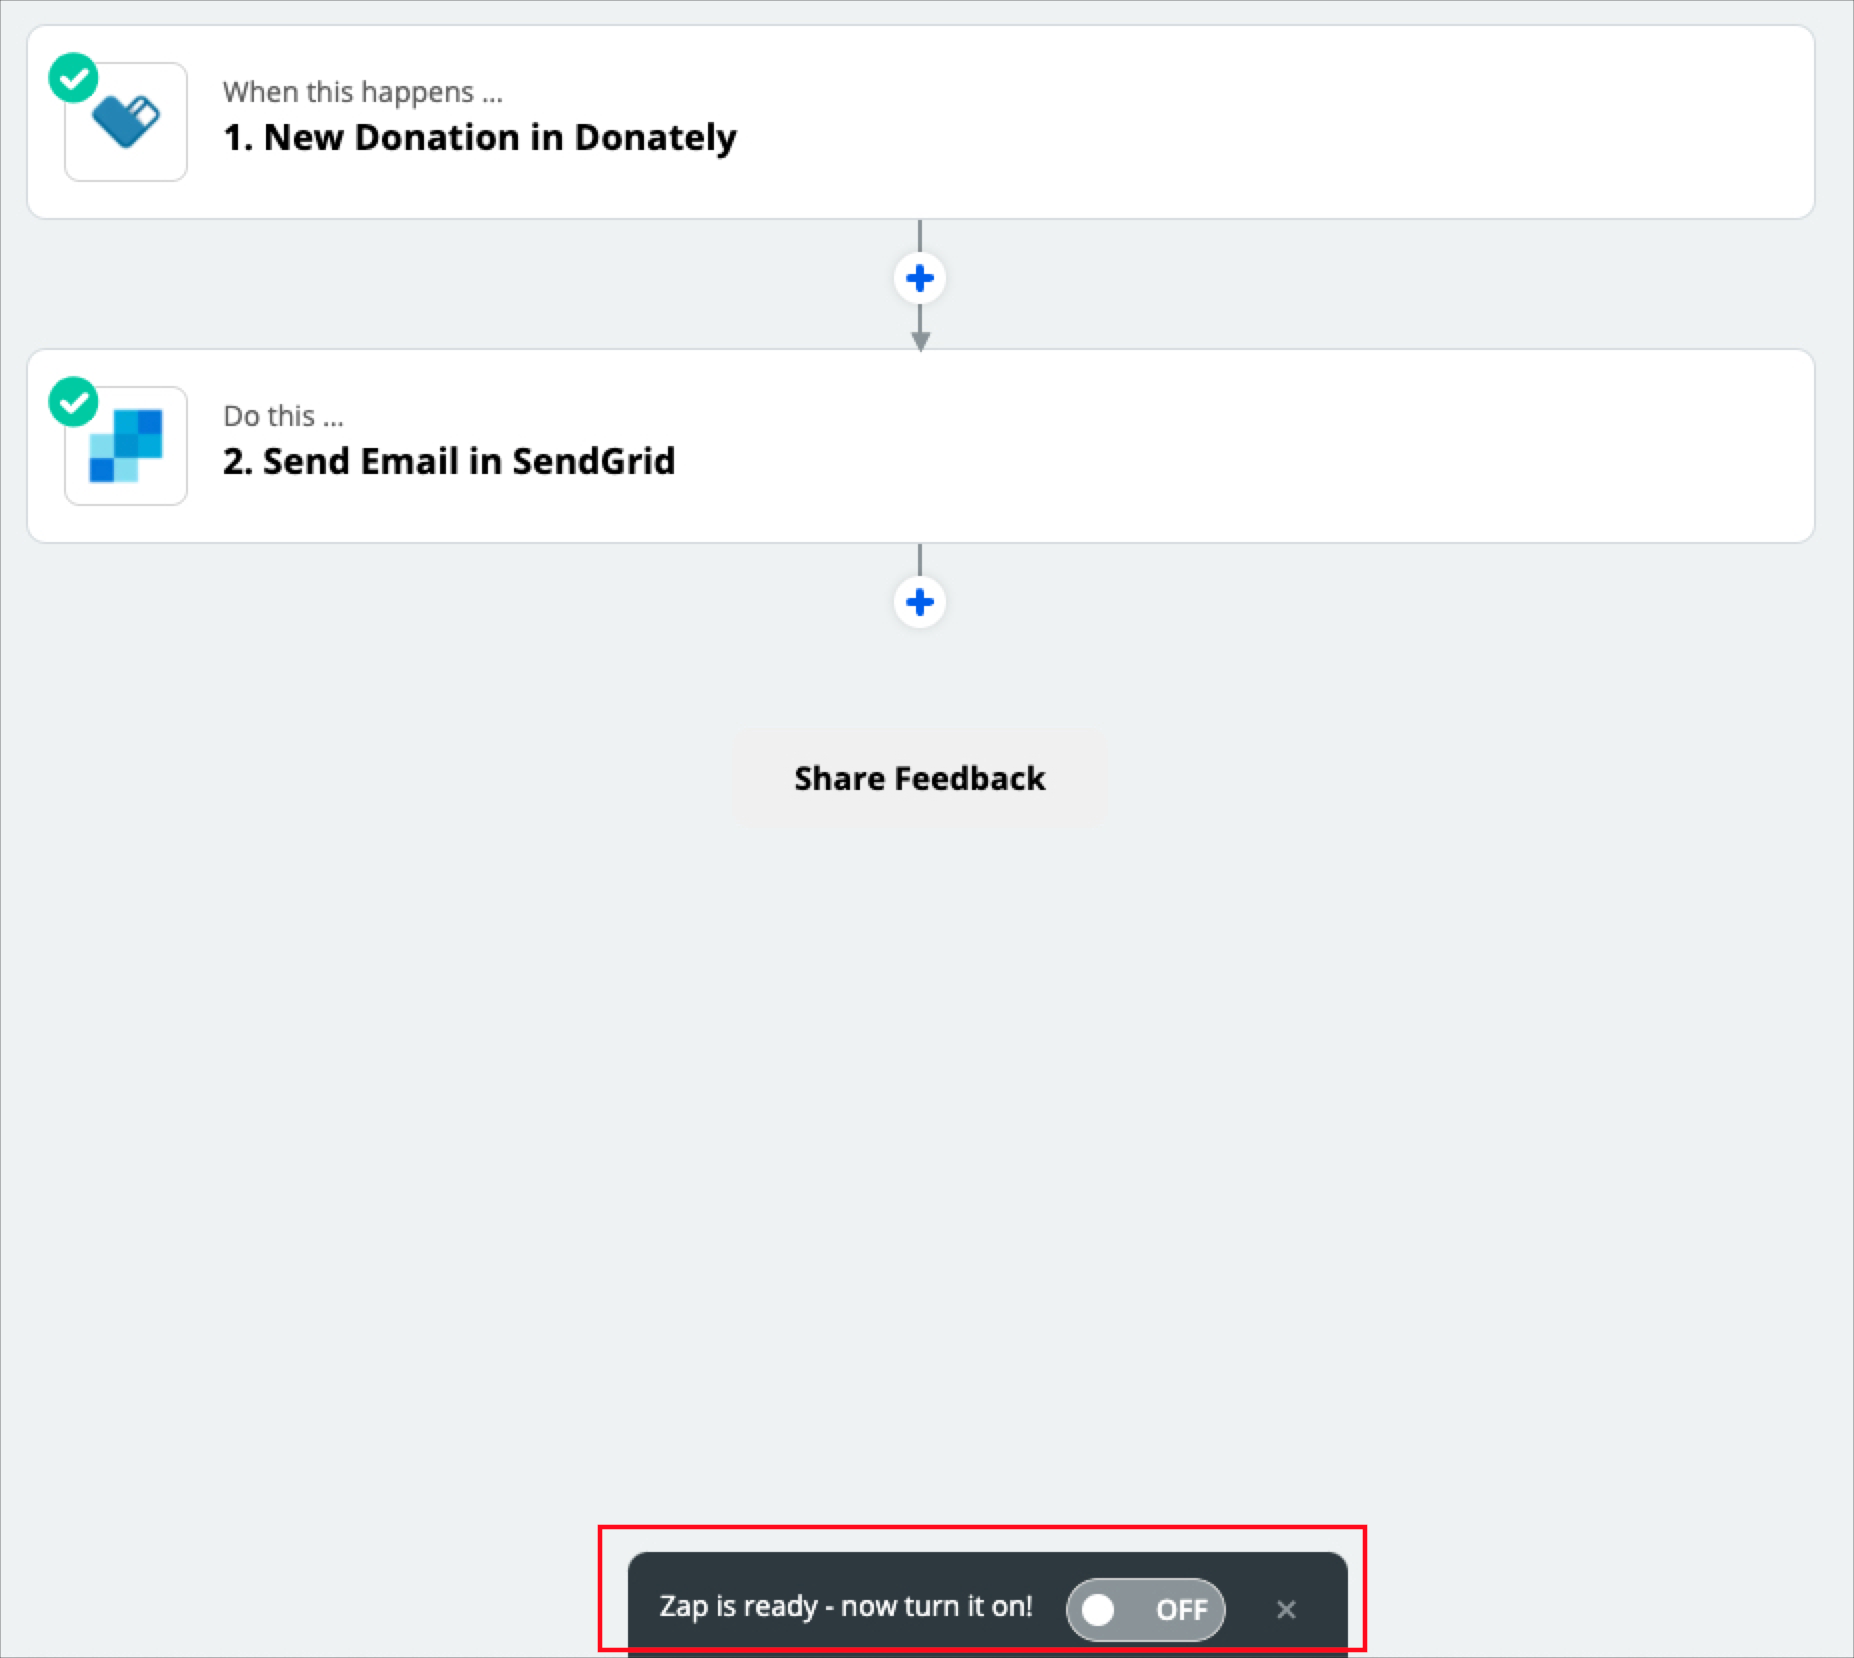
If you're satisfied with your email, you can now safely turn the Zap on!
That's all! If you have any issues, please send us an email.