Connecting Donately to MailChimp is very simple. We partner with a third-party site called Zapier to make complex connections like this possible. An example of this is pushing new donor emails into a MailChimp campaign. Every instance of data flowing between Donately and MailChimp through Zapier is called a "Zap".
Zapier does have a free tier, which includes 100 "Zaps" per month with some other restrictions. For more information on their plans, see their pricing page. Note that Zapier also offers a nonprofit discount. Please see this page for more information.
Please note: MailChimp is not an ideal solution for sending transactional emails, such as a donation receipt. For that, we would recommend either Zapier's built-in email tool or a transactional email service like SendGrid.
Step 1. Navigate to Zapier
You'll need to sign up for a Zapier account if you don't already have one. Signing up is very quick, and you can always start on the free plan and upgrade as needed.
Step 2. Click "Make a Zap!" button.

If you're on the newer version of Zapier's dashboard, you may have to click on "Make A Zap" from the left-side menu.
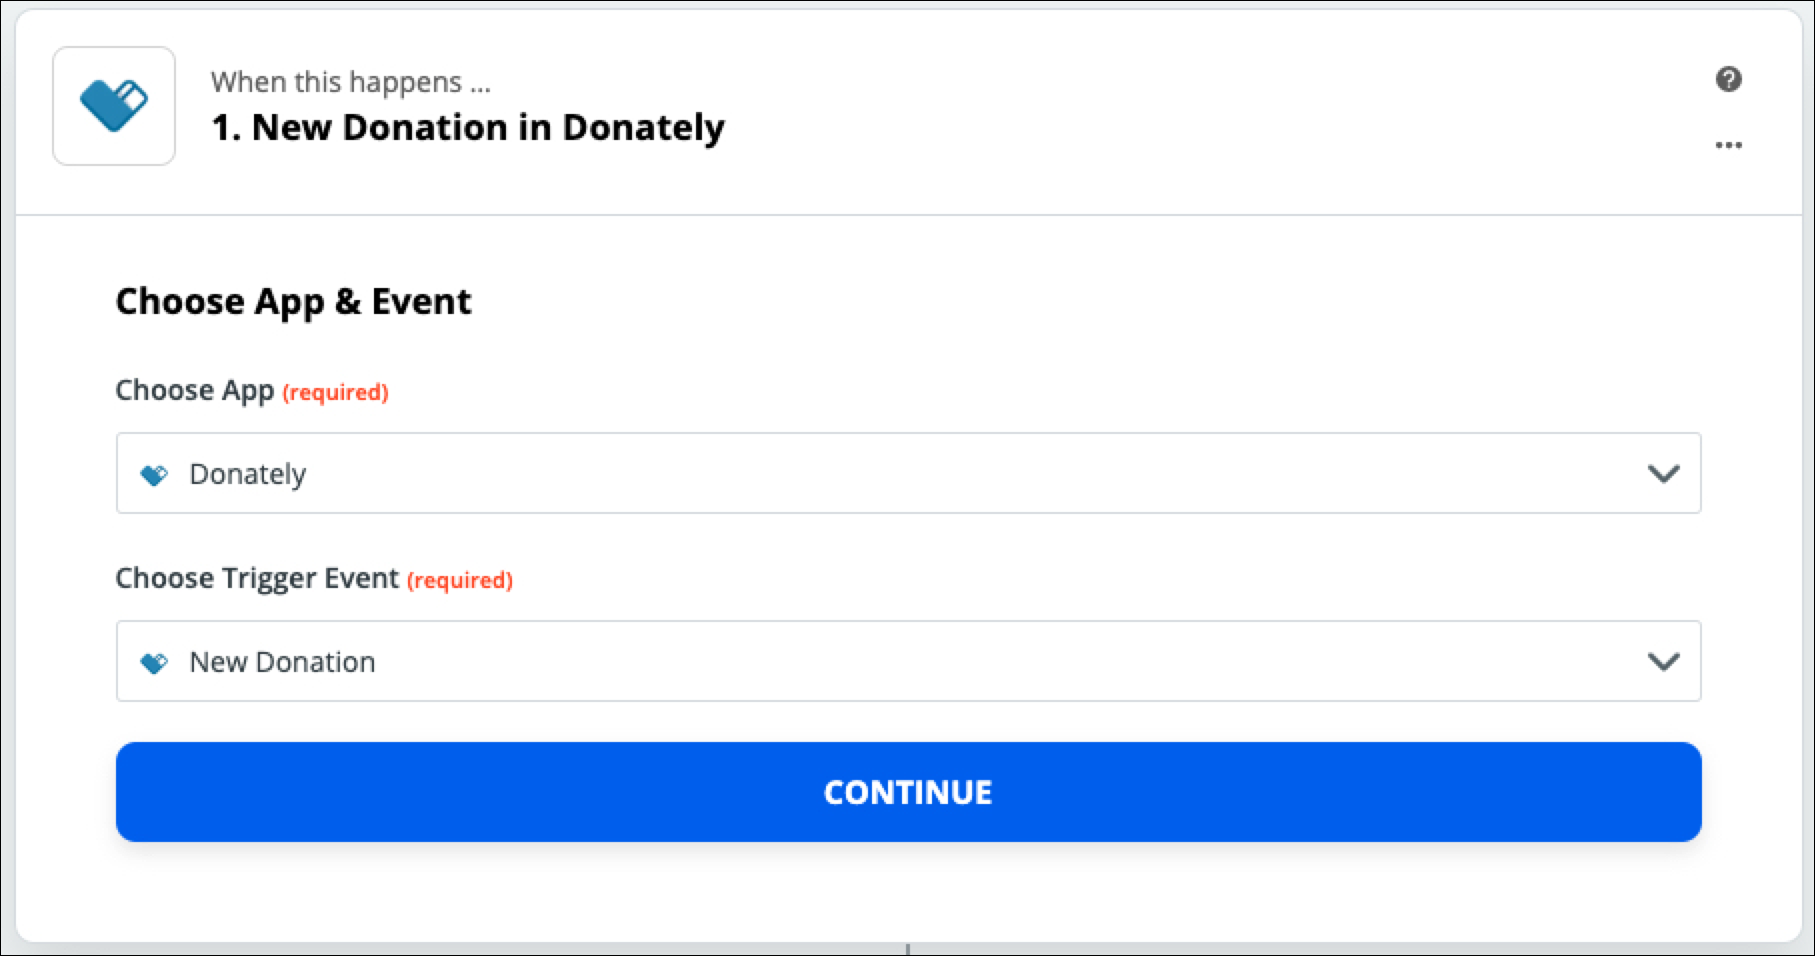
Step 3. Search for Donately & Set "New Donation" as the Action Event
This means that the "Zap" will trigger every time a donation is made. Click "Save + Continue"
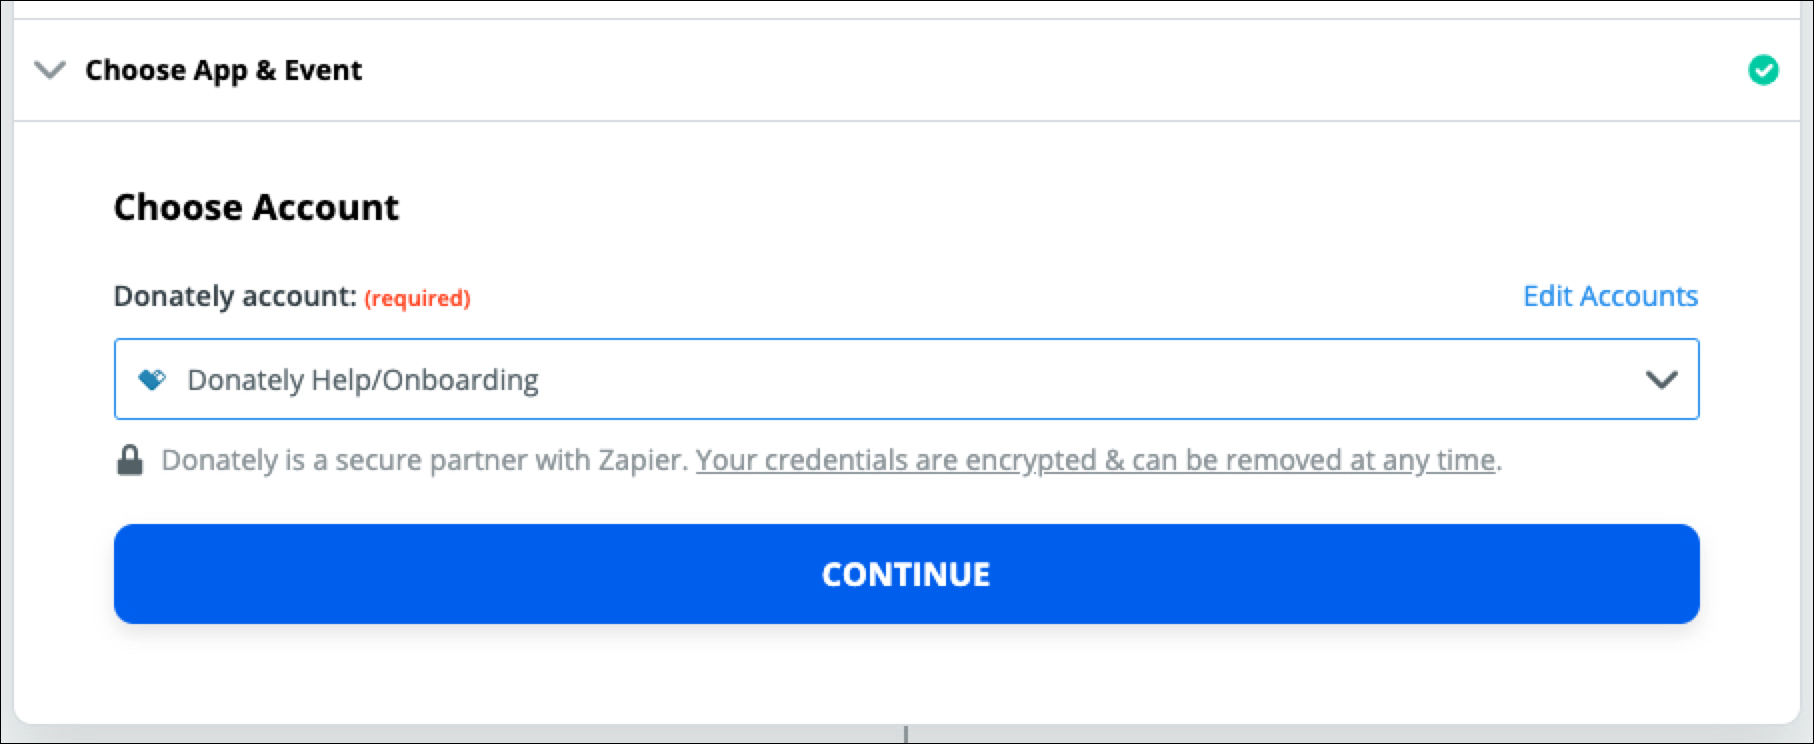
Step 4. Link Your Donately Account
Note: You should only have to do this once! If you've already done this, please skip to Step 6.
The next step will trigger a pop-up, asking for information to connect your Donately account to Zapier. See the instructions below on how to find each of these elements.
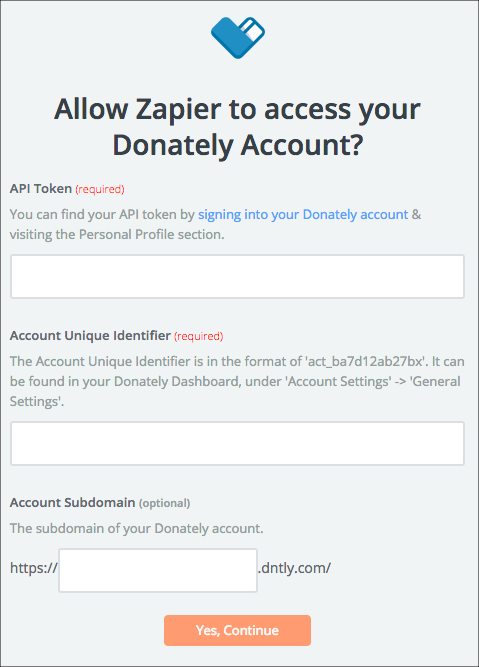
To find your API token & Account Unique Identifier
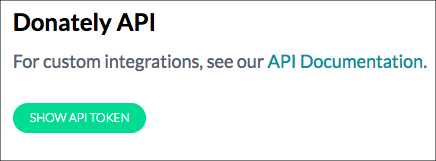
Go directly to this page, or click on "Integrations" along the left-hand menu. Once on the "Integrations" page, click "Donately API". The next screen will have both your Account ID as well as your API token. Simply click "Show API Token" to reveal your token.
Copy and paste both into the appropriate fields in the Zapier pop-up. Note: When you paste in your Account ID, be sure no space is added to the end!
To find your Account Subdomain
Go directly to this page, or click "Account Settings" from the left-hand menu. Your "Account Subdomain" is your "Account Slug" in the Donately dashboard. This is the second field under the "Account Attributes" section.
Copy and paste the slug into the "Account Subdomain" field in the Zapier pop-up.
After you fill in all of that information, click "Yes Continue." When you're back to Zapier, click "Continue":
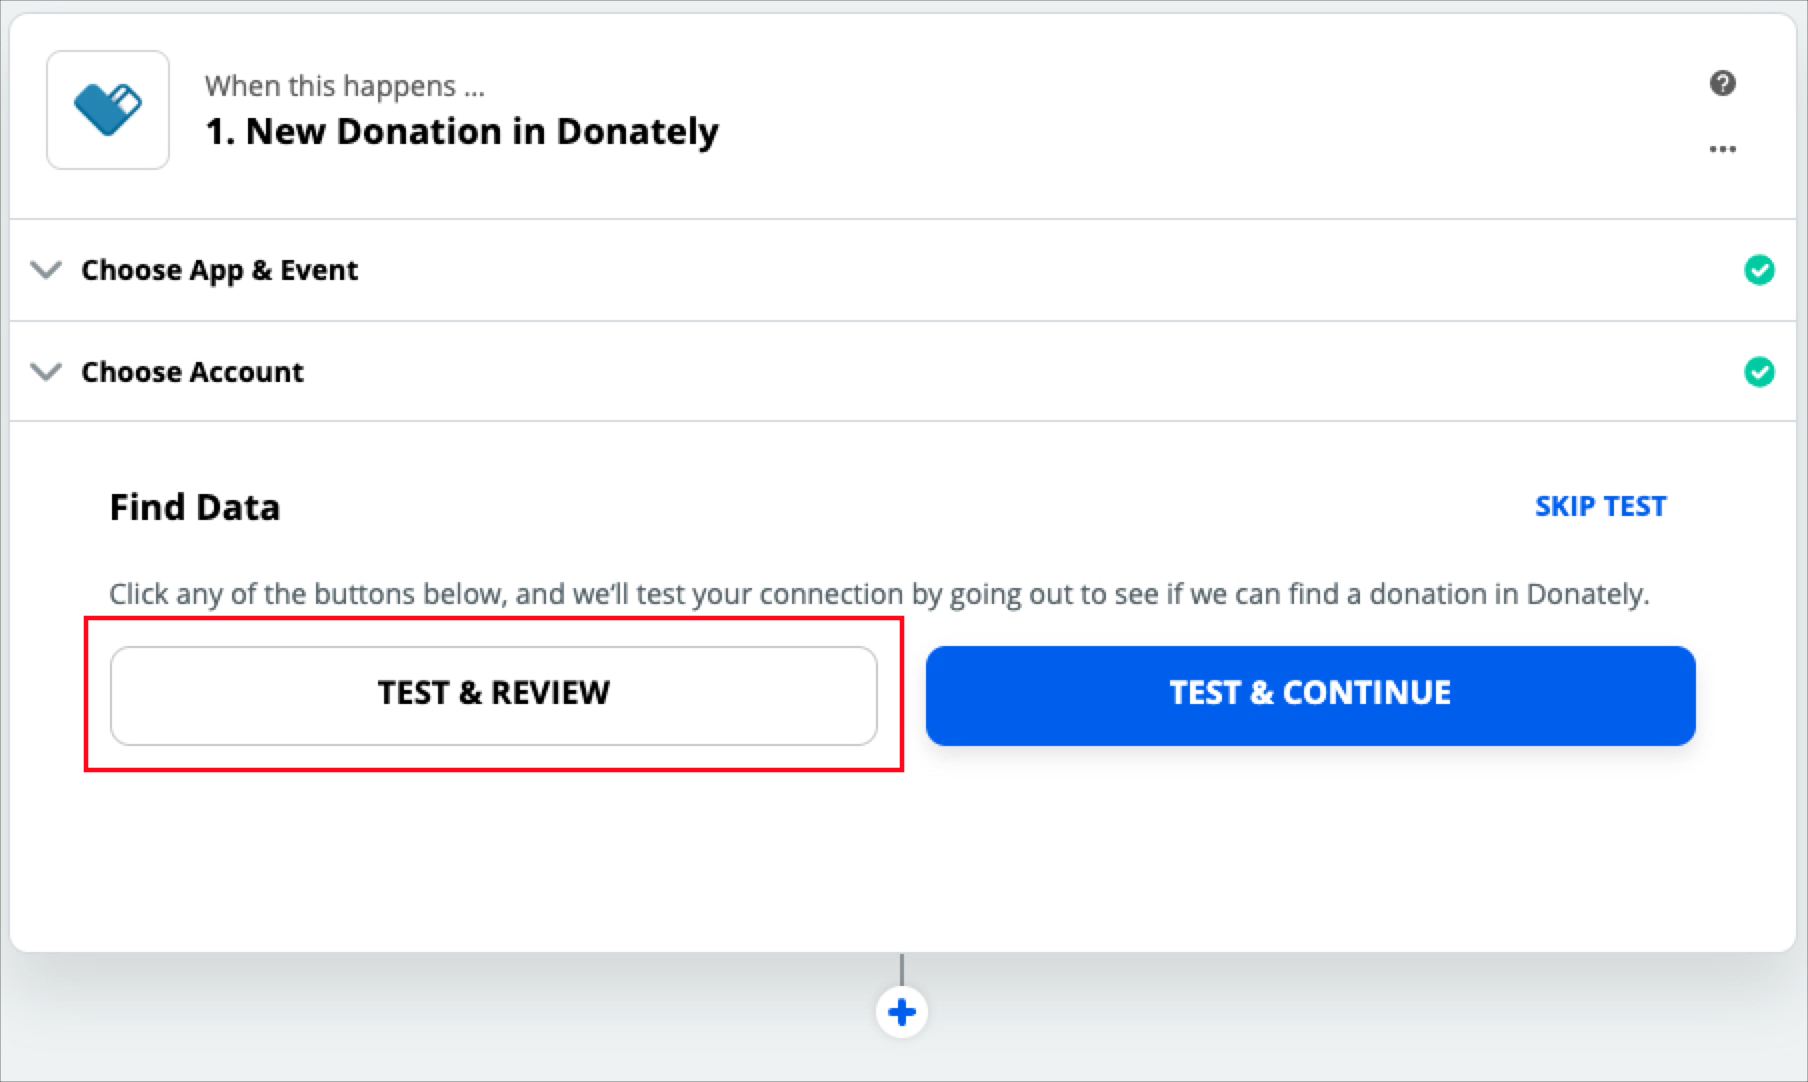
On the next page, you'll want to pull in example donation data, so that you have context for where you'll send data into HubSpot. We recommend clicking "Test & Review" to pull in donations from your Donately account.
If you do not have any donations yet, you can create a cash/check donation. Once you have one, click "Test & Review".
On the next screen, select the donation you'd like to use as your example:
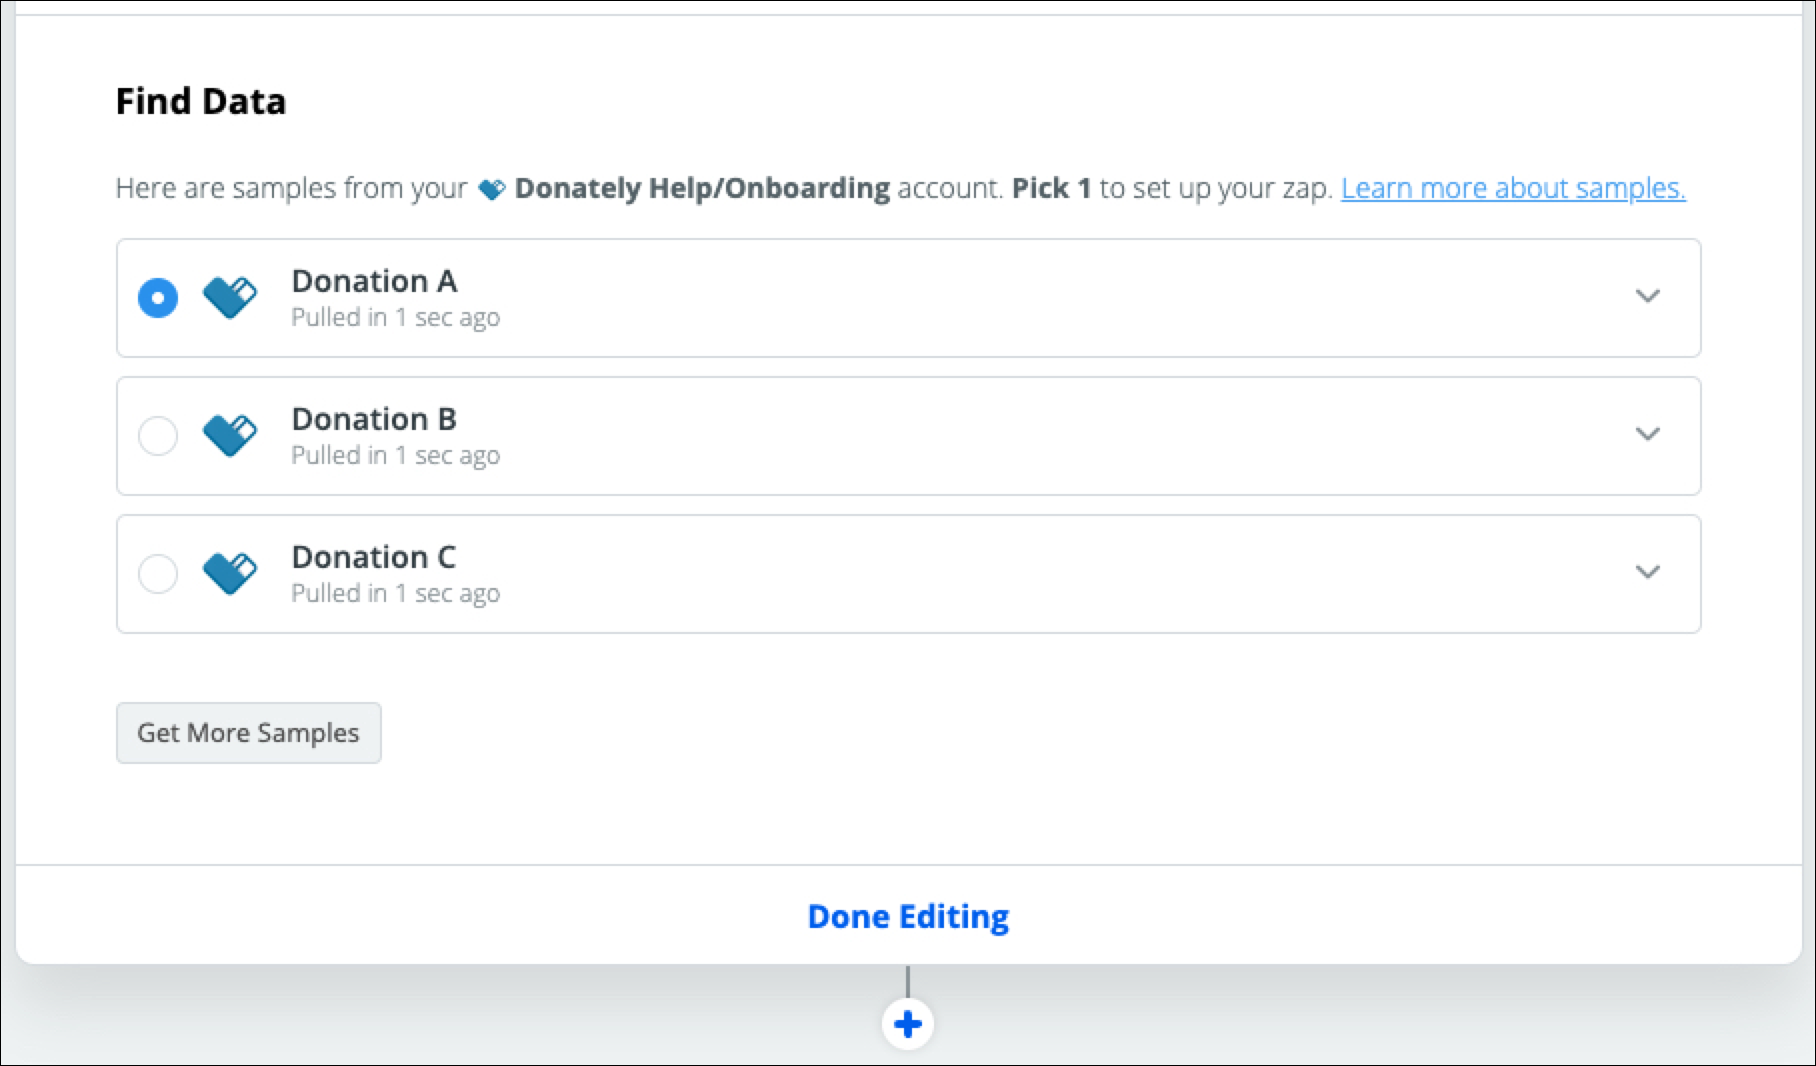
Click "Done Editing" to move on to the next step. You may need to click the little "+" button to bring up your choice of apps.
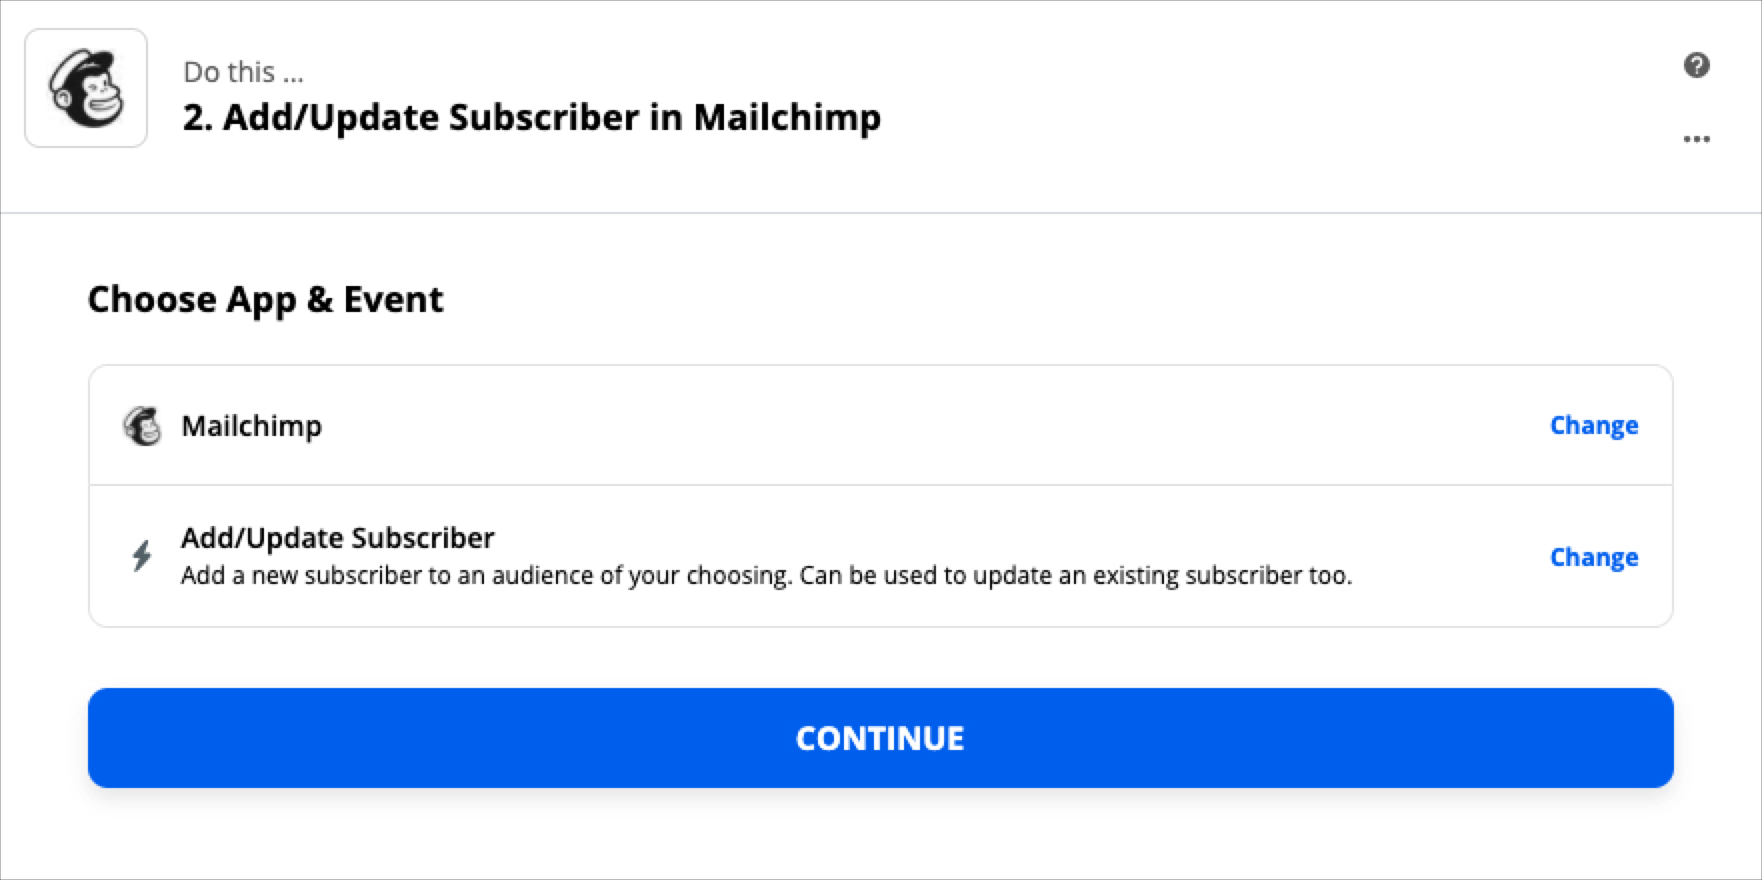
Step 5. Choose MailChimp & Your Event
First, you can either search for MailChimp in the search bar or select it from popular apps.
Once you select MailChimp, you'll see the list of available events. This will be what happens after a donation is made. In this example, we chose "Add/Update Subscriber", which is the basic set-up of the integration.
Another popular event would be to add a tag to a subscriber if you have automation set up within MailChimp. However, as noted before, remember that MailChimp is not an ideal solution for sending transactional emails, such as a donation receipt. For that, we would recommend either Zapier's built-in email tool or a transactional email service like SendGrid.
Click "Continue" after you make your selection.
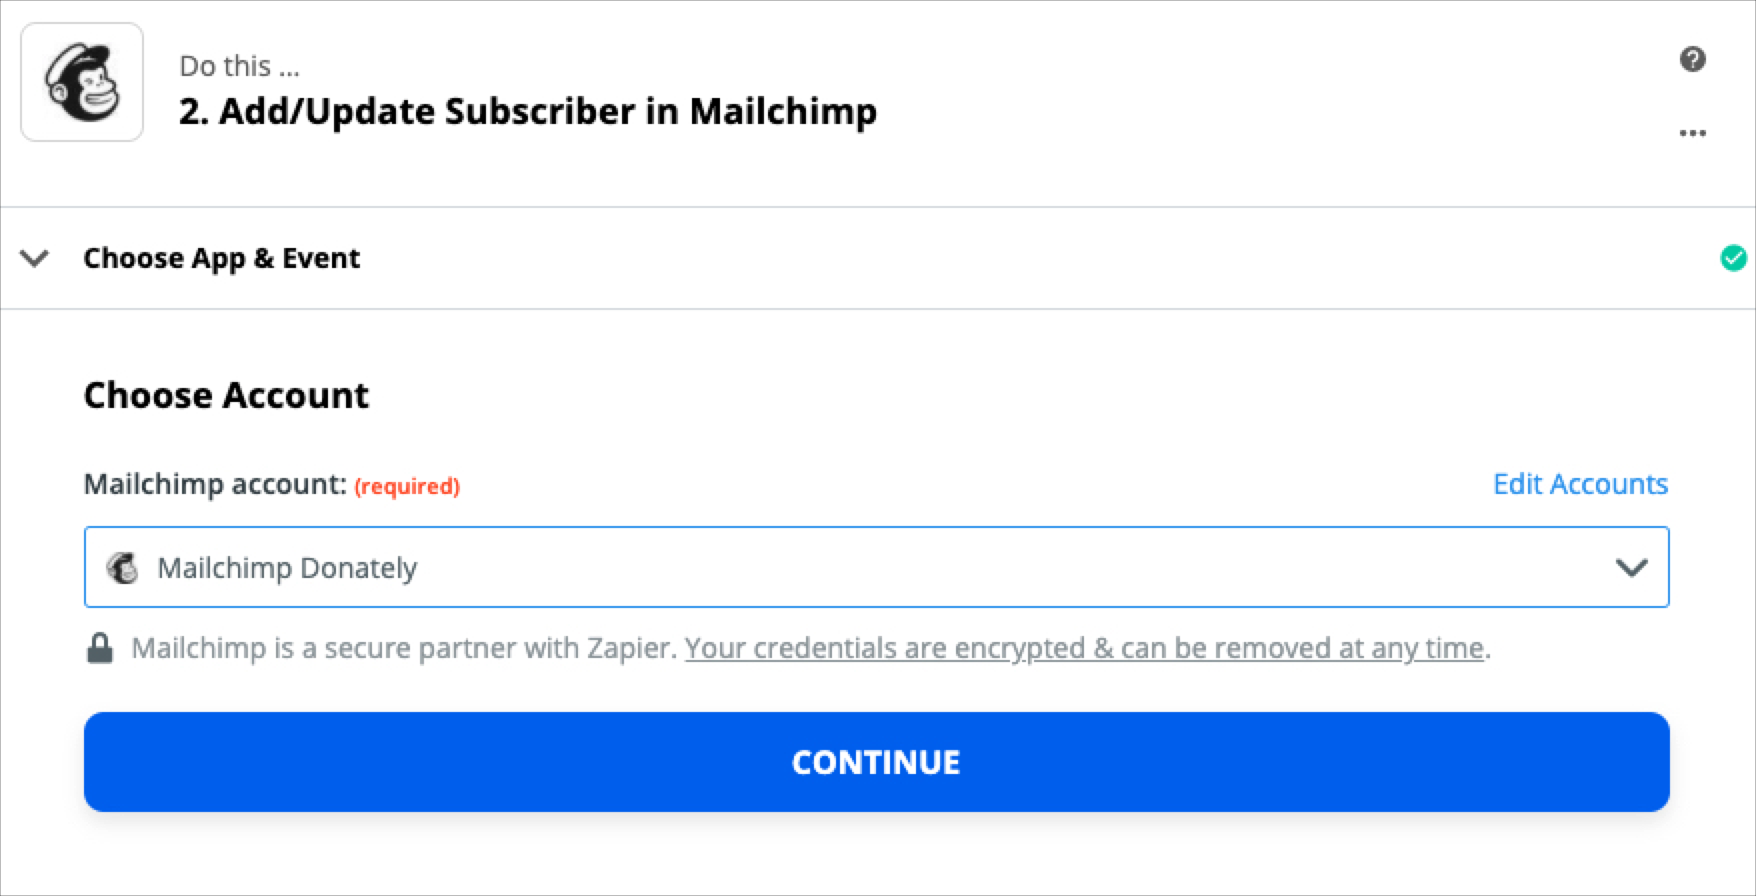
Step 6. Connect your MailChimp account
If you've never linked your MailChimp account to Zapier before, you'll need to sign into MailChimp through the prompts in Zapier. Click on the big "Sign in to MailChimp" button, and a pop-up should appear where you can log into MailChimp. You may need to accept terms & conditions.
Once you do that, you should see that the step updates to look something like this:
Step 7. Select Your Audience & Pull in Custom Fields
The first thing you should do on the next step is to select the audience you'd like this donor added to. In our example, we'll be adding the donor to our "Subscribers" Audience, but this list of Audiences will pull directly from your own MailChimp account.
Once you've selected your audience, scroll down to the bottom of the step, and click "Refresh Fields":
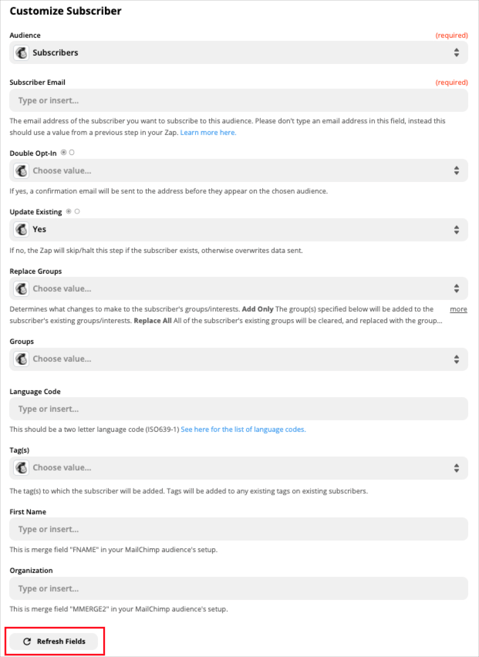
What this action will do is make sure that any custom fields that you have added for this specific audience are pulled into this template. Typically, this happens automatically without the need to press "Refresh Fields", however, we feel it's a good habit to get into to be double sure!
Step 8. Map Your Fields
Once you have the right audience, we recommend going one-by-one down the fields and decide a selection for the most relevant ones. Naturally, email is the only required field by default, however, depending on your custom field settings, others may be required as well.
To map the fields from your Donately donations to MailChimp, simply click into the field. Once you do that, you'll see a dialog come up where you can choose the right data for that field:
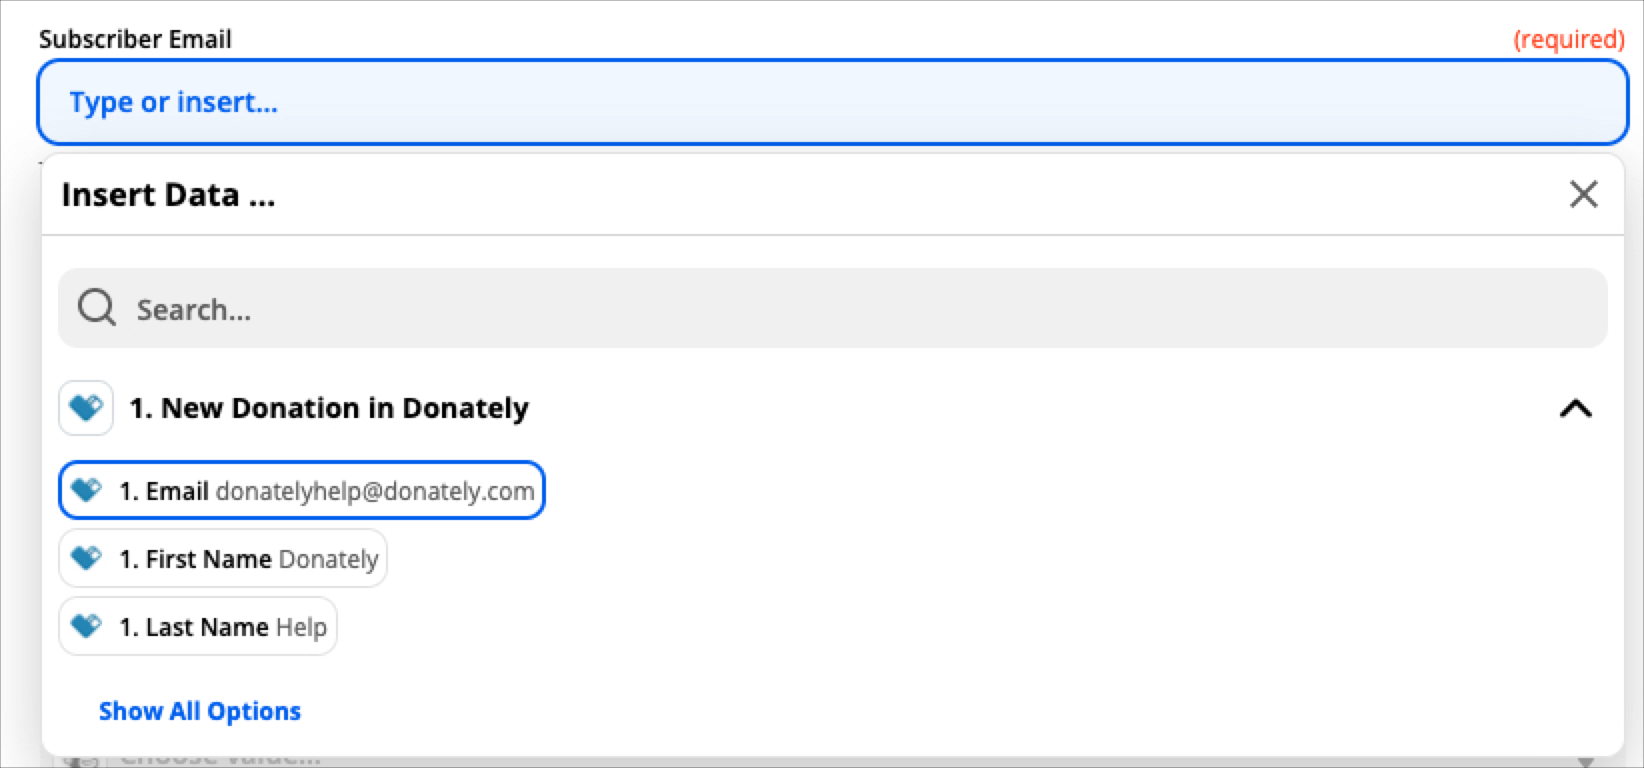
Once you select all of your fields, click "Continue". You will see a summary of the data that will be pushed into MailChimp with an example.
Step 9. Test your connection (optional)
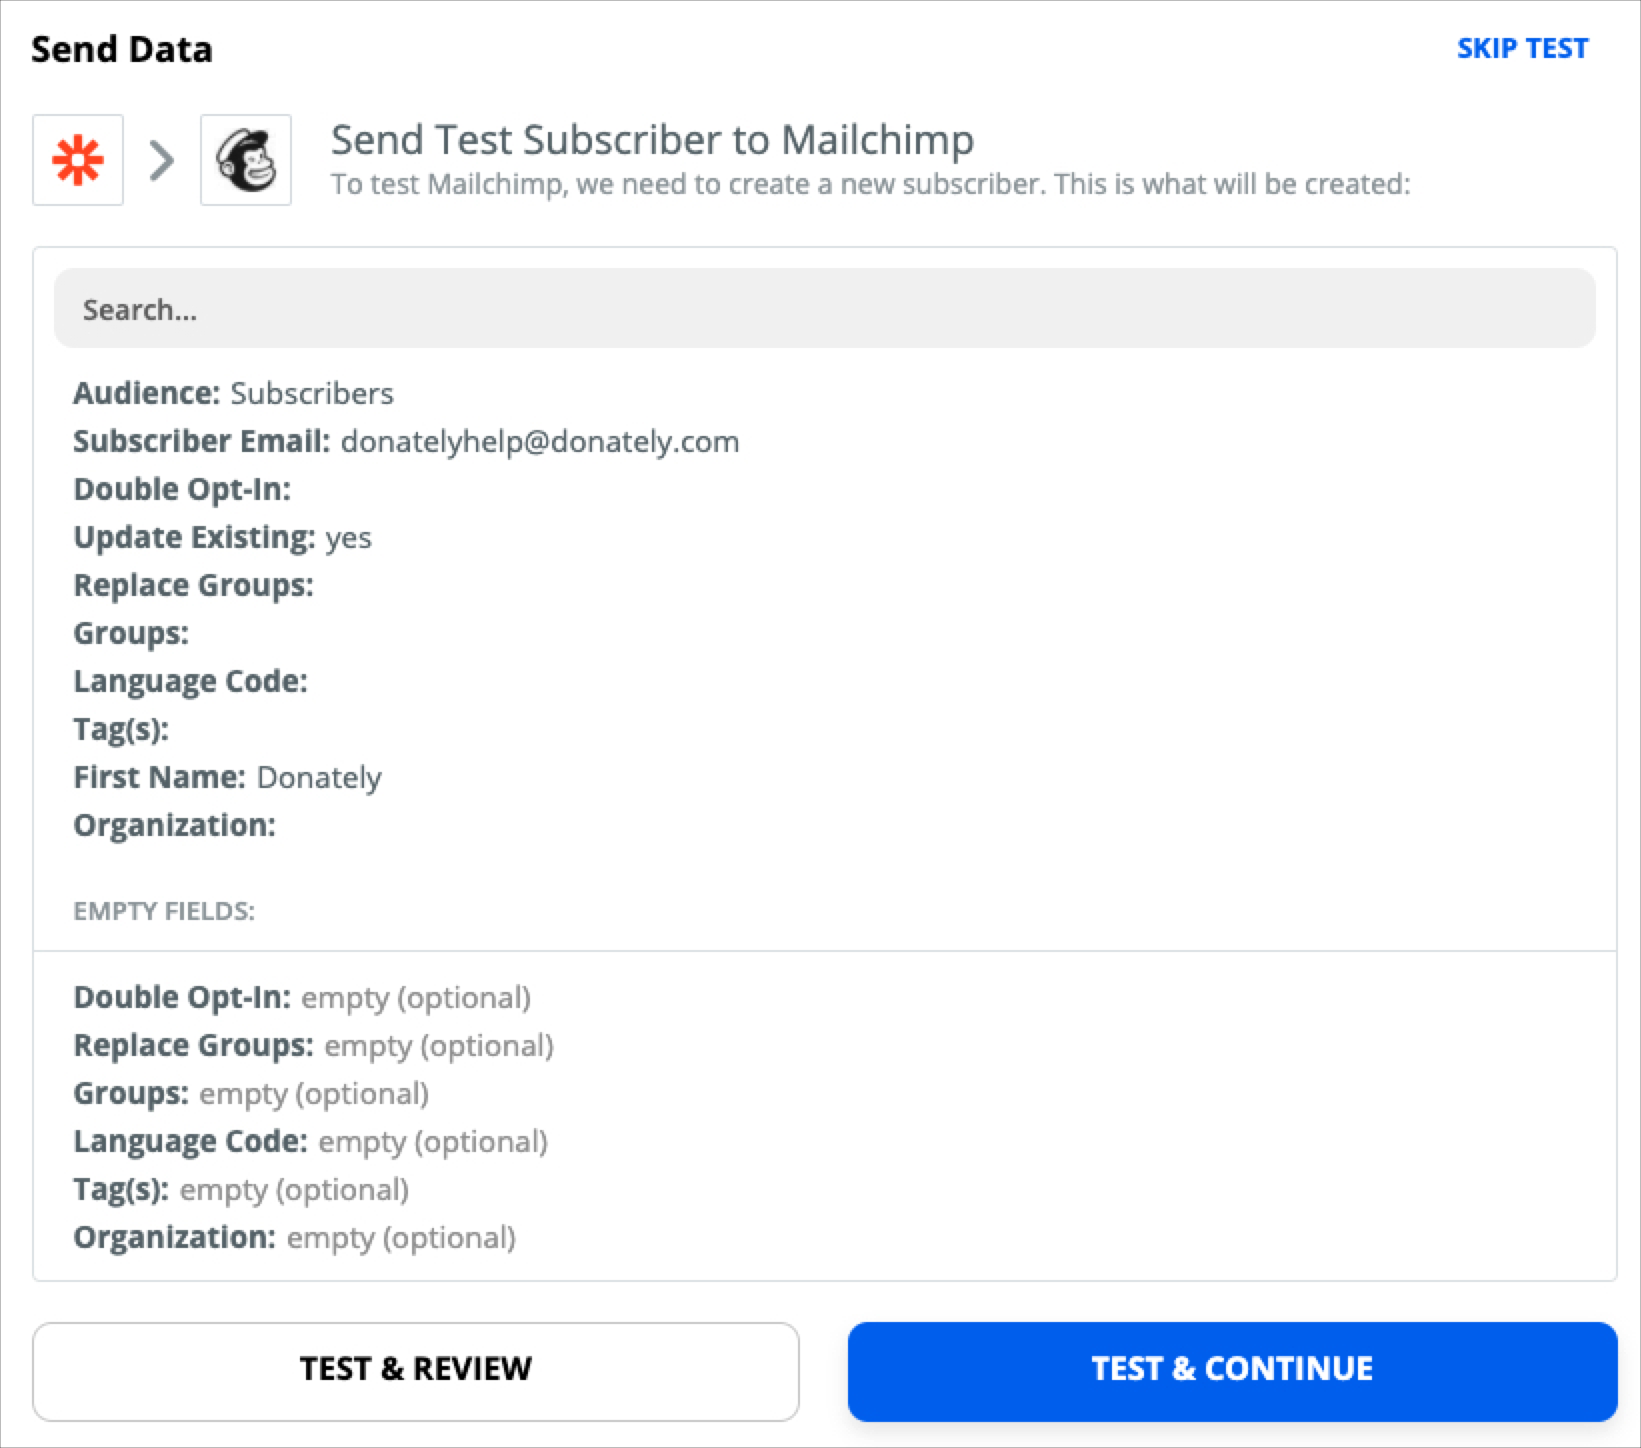
If you click "Test & Continue", you should see this screen next:
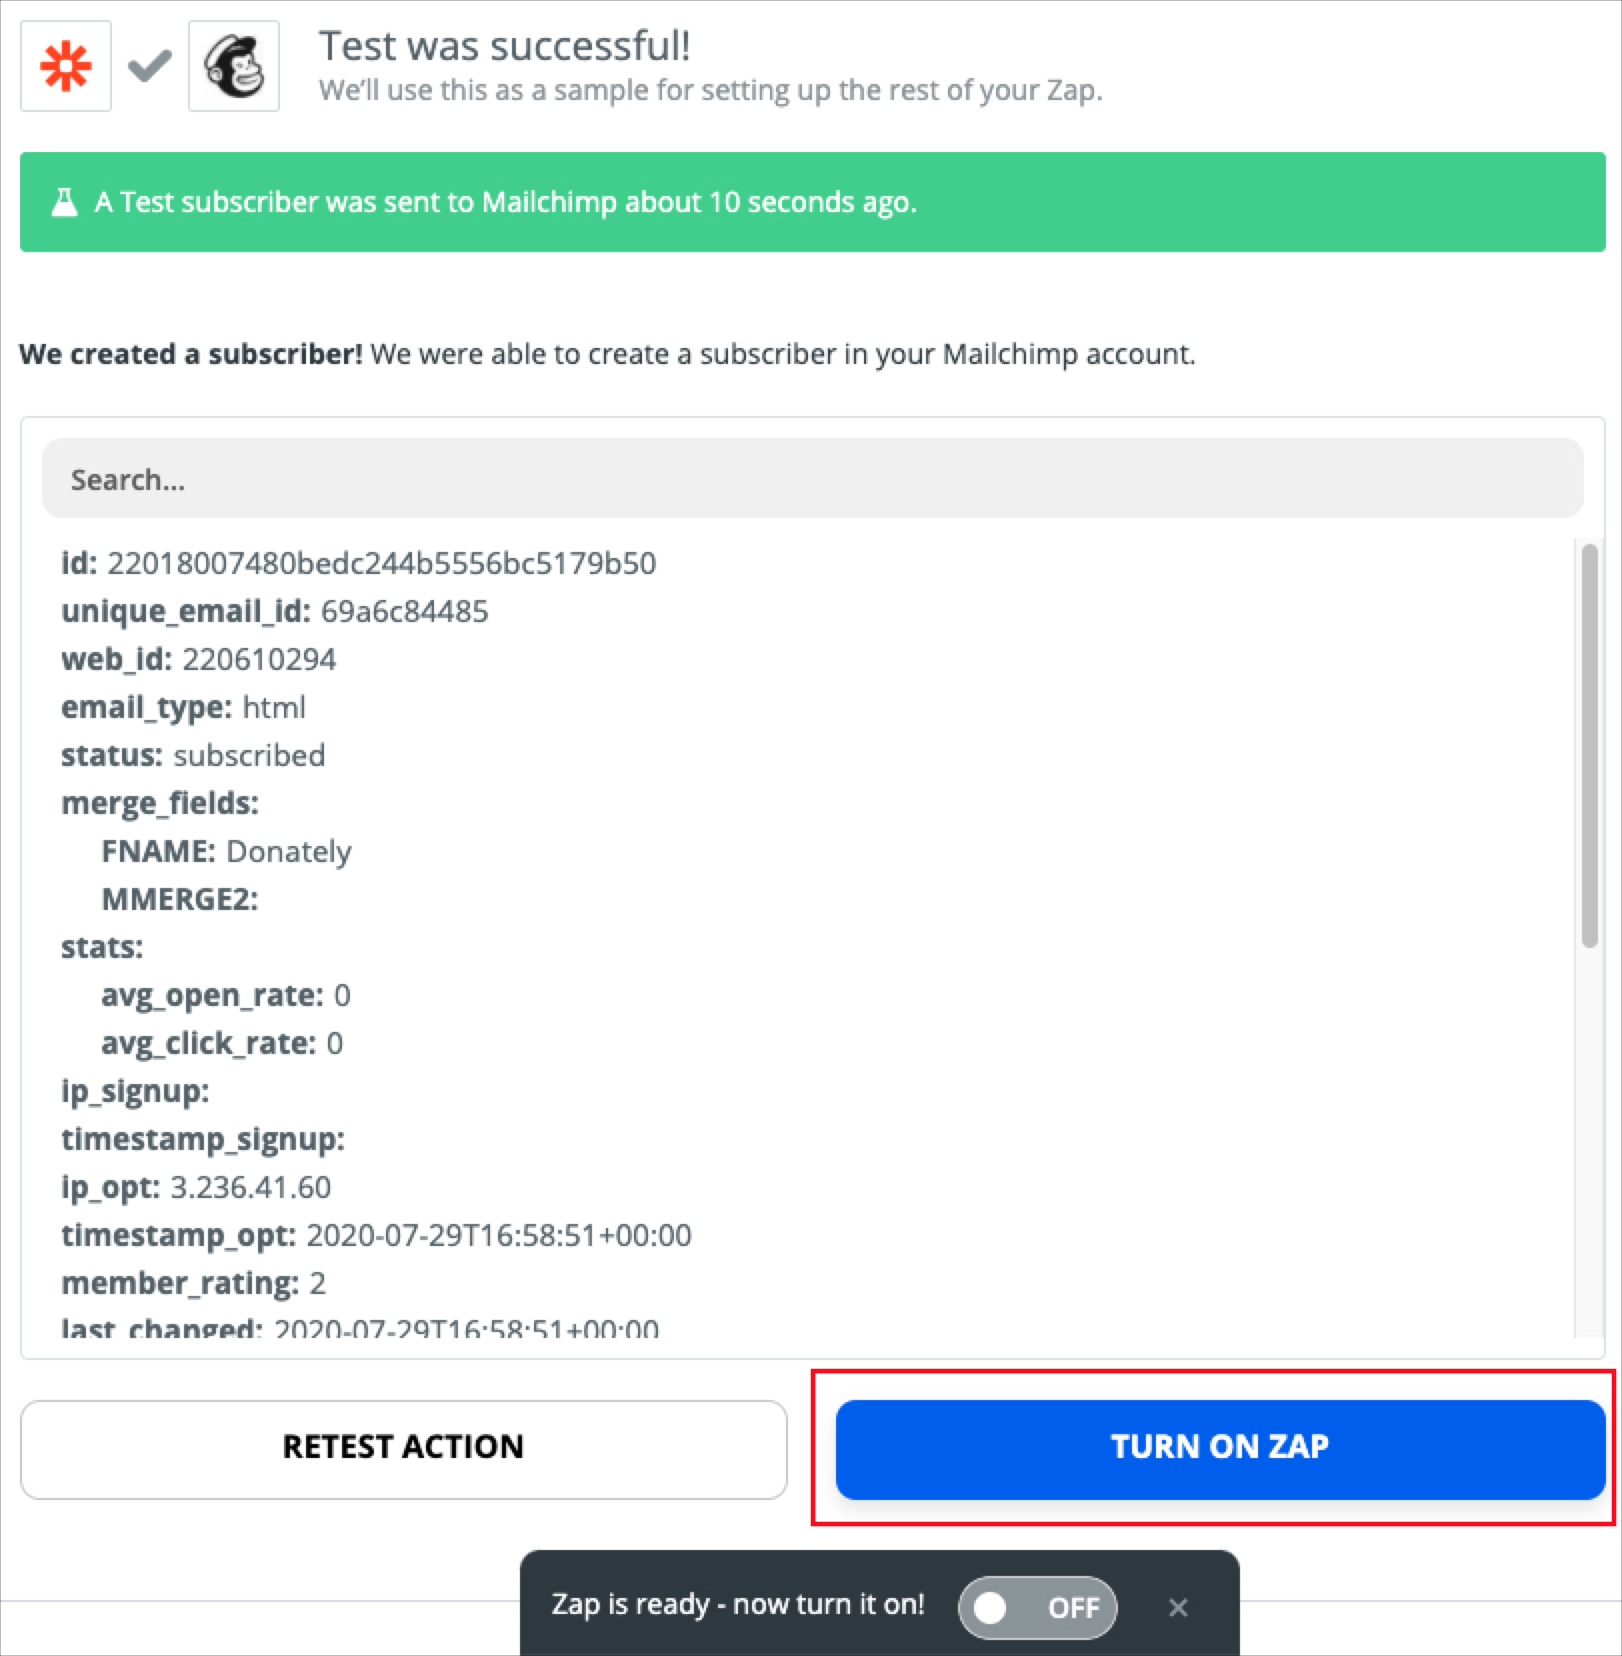
If your test was successful & the data looks good inside of MailChimp, click "Turn on Zap". Once the Zap is on, data from all new donations will automatically be sent to MailChimp in this exact way!